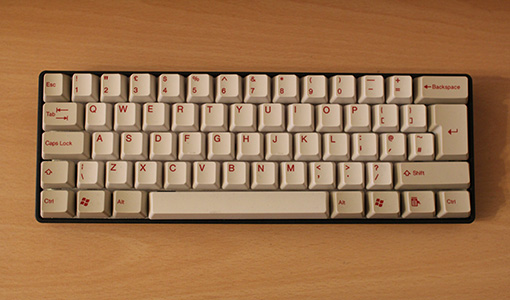
60% Keyboard PCB In most cases, those who are starting to make their keyboards are not for the sake of saving money because you might find that they may end up using triple the amount depending on the parts that one is buying. The main point is for one to customize the keyboard and choose the details that one needs which include; the type of switch, which can be red, brown, or even blue; the key layout, which will depend on whether you want a split spacebar, arrow cluster or even ortho-linear; the color or type of the cases which can be aluminum, wooden or plastic and whether you want the rainbow, two-tone colors or standard black keycaps. The best part of building a 60% keyboard PCB is that you must not customize all of these parts initially as you can change the different parts later hence keeping the keyboard fresh.
This helps in satisfying the craving for a new keyboard style without building a new keyboard always. When creating a new keyboard, one requires some skills in soldering so that you can quickly put the switches in place needed on the circuit board of the keyboard.
1.The Process Of Building 60% Keyboard PCB
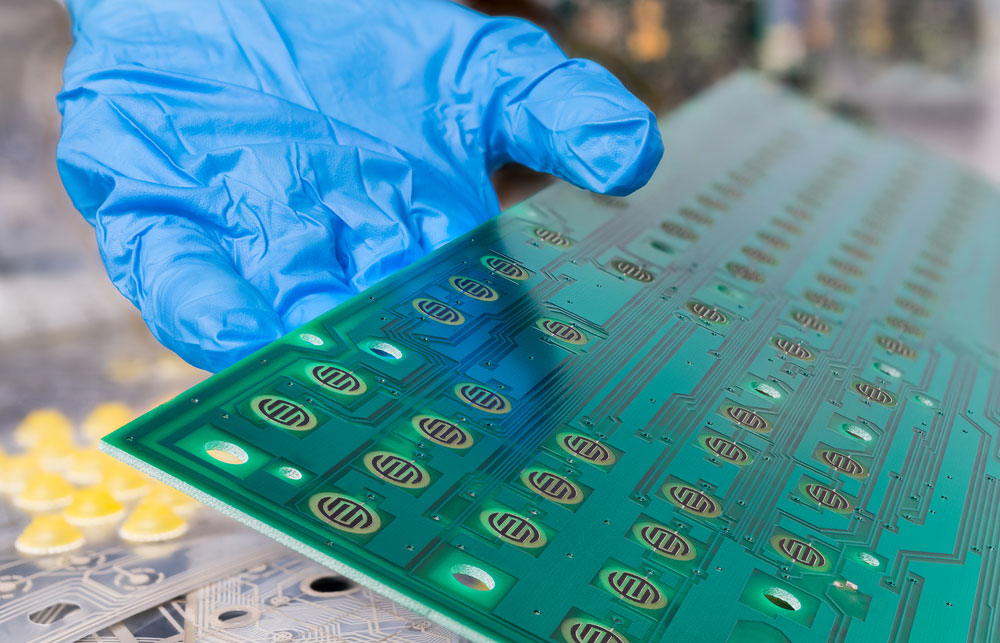
♦ Testing of the PCB
One should test the PCB before starting to assemble to ensure there is no hardware fault.
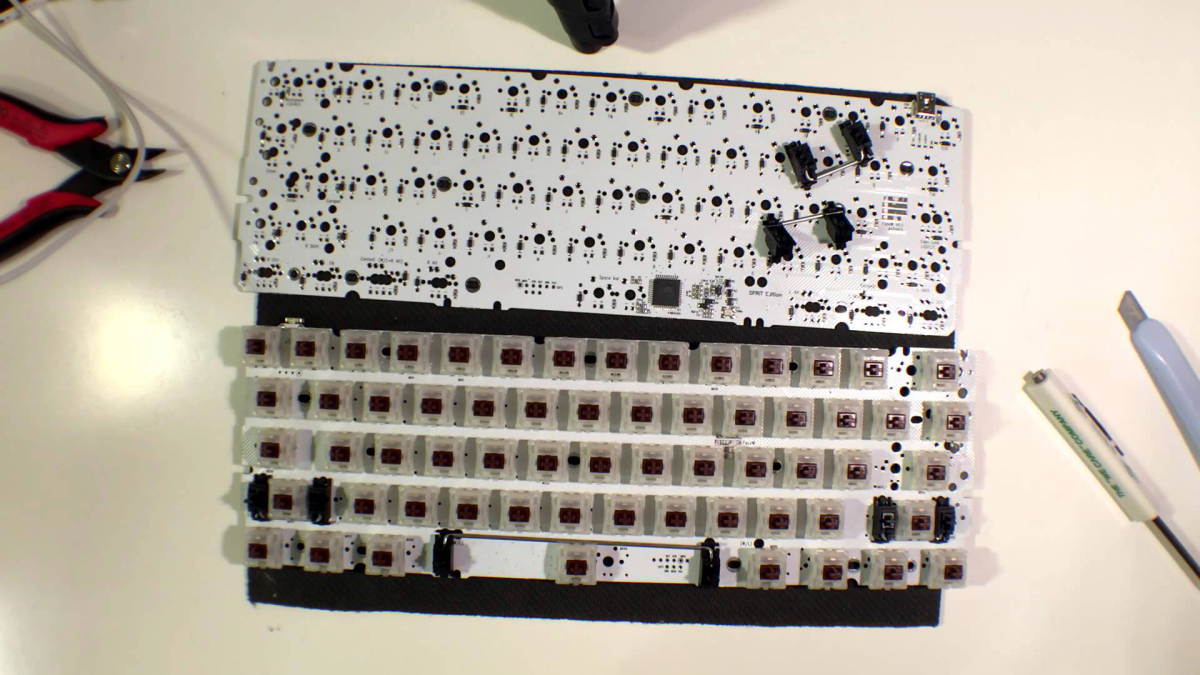
♦ Testing the key layout
One should first confirm the valid points of soldering for the kind of layout you want to create.
♦ Testing the stabilizers
They are used on the long keys like shift and spacebar keys so that the keycaps do not wobble when pressed on the edges.
♦ Lubricating and clipping the stabilizers
This makes the stabilizers feel better.
One should be careful with this stage to avoid damaging the board.
♦ Mounting the keyboard in its case
One should put everything in the case, which is simple as there are several mounting holes where you screw in these pints.

♦ Adding keycaps
This is an exciting part where one enjoys the end product and programs the layout.
Conclusion
Those who have never soldered before may find this boring, but when one gets the soldering tutorials from videos, they find it easy. Several parts are required in building a 60% keyboard. They include; PCB: DZ60, which is the most important as it contains the circuitry that makes it work, switches, a plastic white case, keycaps from Tai-Hao Aquamarine cubic keycaps, and plain mini-USB cables.
