
Generally, light sensors convert light energy into electrical energy and are applicable in several sectors like smart devices, agriculture, and security.
Today, we will discuss the various types of light sensors and their working principles.
What are Light Sensors?
Light sensors are passive photoelectric devices converting photons (light energy like infra-red or visible light) into electrical signals (electrons).
The electrical signal output often indicates the light intensity after measuring the radiant energy in a light spectral range.
How do Light Sensors Work?
The working principle for all light sensor types is the generation of voltage/current in response to an input light energy. However, they notably have different modes of operation.
Now, let’s see the variety of working principles in specific light sensors in the following section.
Types of Light Sensors
They include the following.
Photoresistors (LDR)
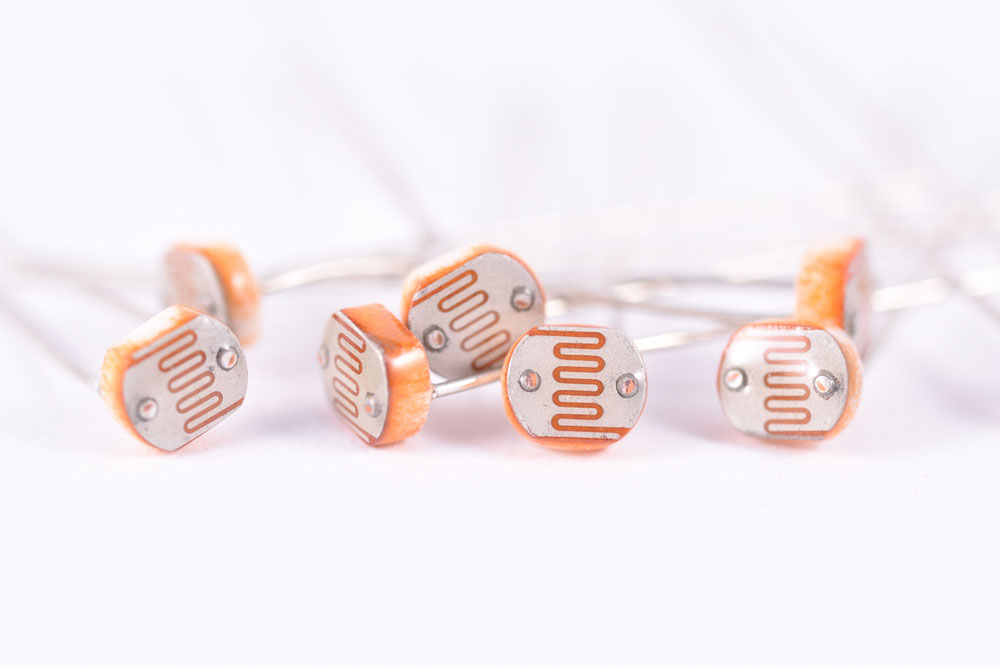
(photoresistors)
Light-dependent resistors (LDRs) (photoresistors) are the major light sensors applicable in light sensor circuits.
The components that make up photoresistors are cadmium sulfide cells which are high resistance photoconductive materials. Additionally, the cells have high sensitivity to near-infrared and visible light.
Working principle
Often, a photoresistor works similarly to a regular resistor. However, the electrical resistance change in photoresistors depends on the quantity of light exposed to them.
Therefore;
- There’s a higher resistance amongst the cadmium sulfide cells if there’s low light intensity from a light source. And vice versa.
Mostly, you’ll notice the working principle above in applications like street lamps. In such cases, there’s lower resistance due to higher light intensity, hence no light production during the day.
Photodiodes
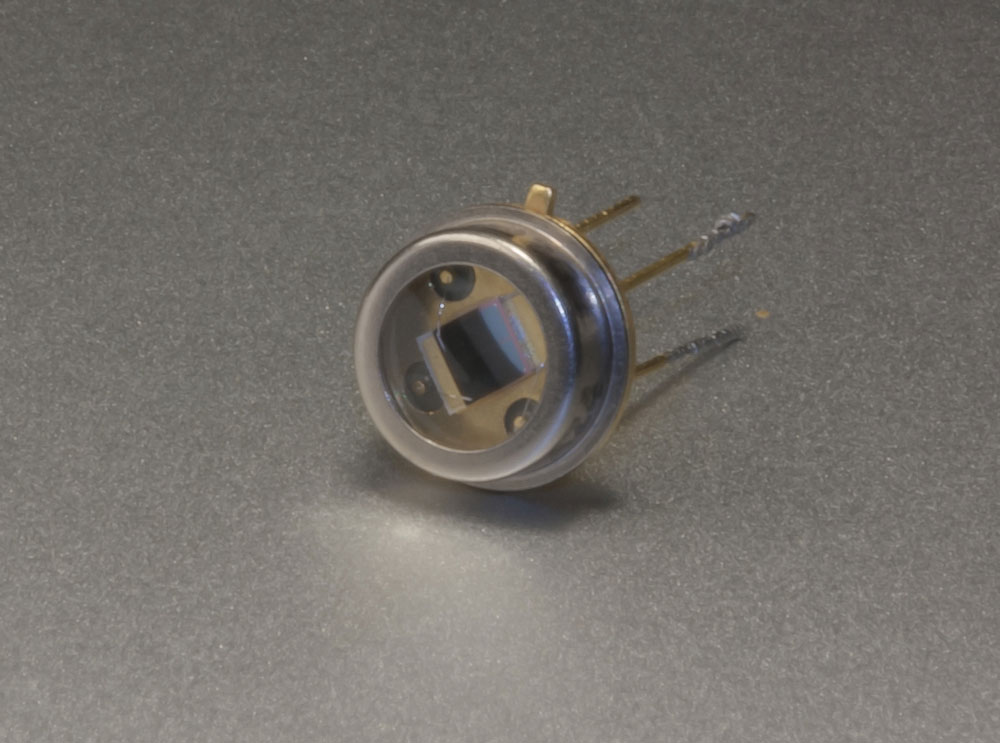
(photodiode)
Photodiodes or photosensors are our second light sensor type.
Unlike photoresistors that work depending on resistance change, photodiodes have a complex adaption to light. They instead change light levels into an electric current flow.
Manufacturers make photodiodes out of germanium and silicon materials. The sensors also have surface areas, built-in lenses, and optical filters.
Working principle
After a beam of light hits on a photodiode, electrons loosen. Consequently, there’s the formation of electron holes permitting the flow of electrical current.
Note; The electric current is directly proportional to light brightness. Thus, brighter light culminates in a stronger electric current.
Applications
Due to its working principle, it mostly suits applications with fast light response changes.
The examples include;
- In medical applications like equipment for analysis purposes and measurement.
- In consumer electronics such as smoke detector applications and compact disc players.
- Solar energy systems like solar panels with solar cells made of polycrystalline silicon to power homes and road signs.
Phototransistors
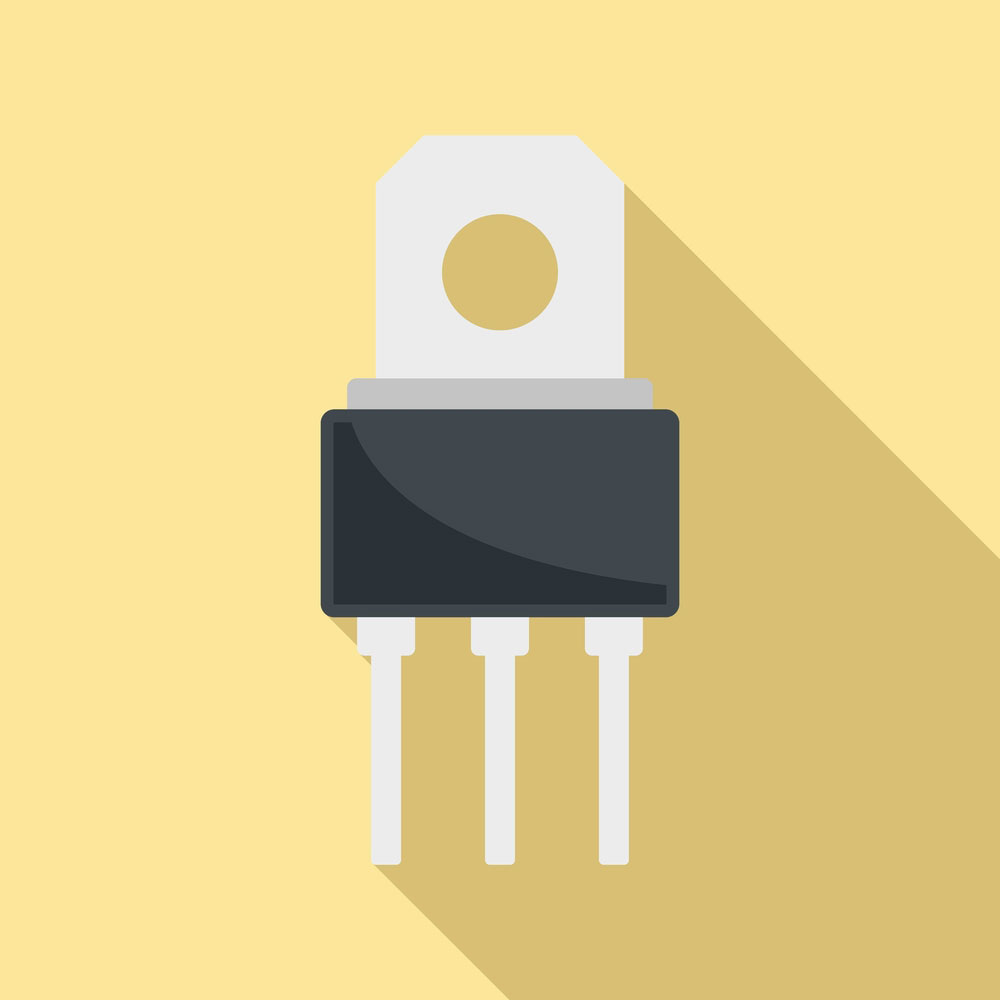
(voltage phototransistor)
Ideally, a phototransistor is an amplifier and a photodiode with a current gain. The amplifier is a bipolar NPN transistor having a large electrically unconnected base region. But, some may have the electrical connection to regulate light sensitivity. Moreover, the outer casing of most phototransistors has a clear lens or is transparent to concentrate light on the base junction.
The additional amplification results in higher light sensitivity (up to 50 or 100 times) in phototransistors. However, compared to photodiodes, its sensitivity to a low level of light is wanting.
Its working principle is similar to that of a photodiode.
Applications are in TV-type remote control, light beam sensors, and optoisolators.
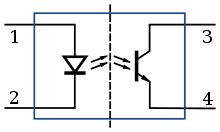
Circuit diagram of an optoisolator
Source; Wikipedia
How to use a light sensor with Arduino?
We will show you how to incorporate a light sensor with an Arduino.
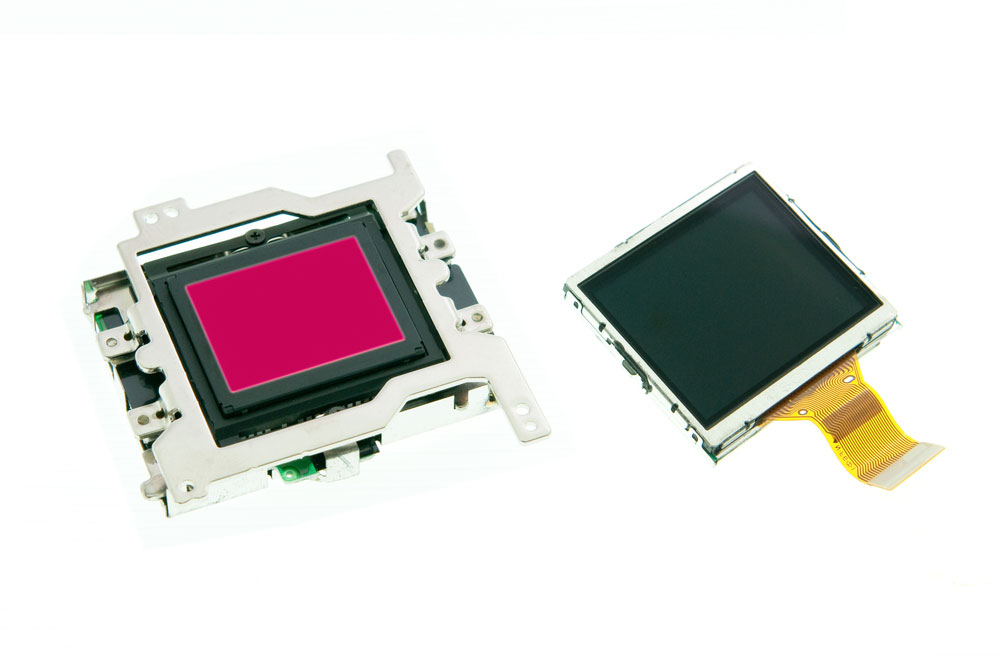
(photo CMOS sensor and LCD screen)
Components needed
- Arduino board
- Grove base shield
- Grove-LED bar
- Grove-light sensor
Hardware steps to follow for the light sensor circuit
- Start by connecting the grove-light sensor to the grove-base shield AO port.
- Then, connect the grove-LED bar to the grove base-shield D2 port. You can also connect your grove-light sensor directly to the Arduino board.
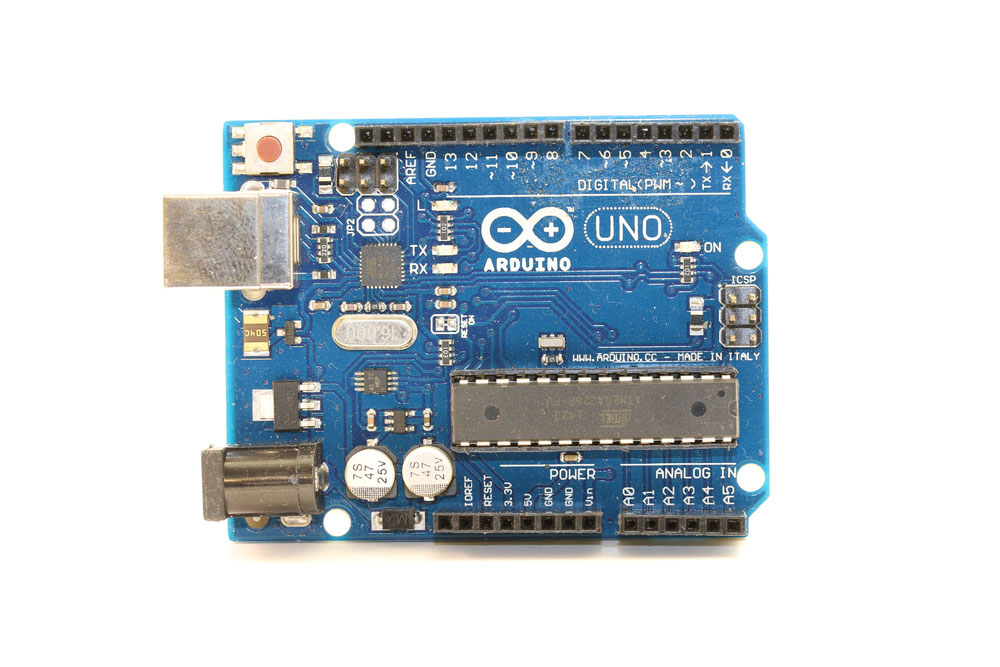
(Arduino board)
- Thirdly, plug your grove-base shield into the Arduino.
- Finally, use a USB cable to connect the Arduino to a PC.
Conclusion
Light sensors are passive devices that have improved living standards since they have many applications. That’s all we have today for light sensing. If you need clarifications, you can always contact us.