
Garden lights and street lights need to stay on, especially at night. For that reason, solar panels play a vital role. Engineers value the QX5252 ASIC for domestic and industrial lawn LED lights.
Therefore, if you are enthusiastic about making DIY LED circuits, the QX5252 will be handy. Here we cover all about this IC, how it works and how to utilize the IC in projects.
1. Qx5252 Pin Configuration
| Name of Pin | Type of PackageTO-94 / DIP-8 | Type of pin |
| SBAT | 1 / 6 | Input pin |
| LX | 4 / 3 | Output pin |
| LS | – / 5 | Input pin |
| BAT | 2 / 7 | Output pin |
| VSS | 3 / 2 | Ground pin |
| NC | – / 1, 4, and 8 | Not connected. |
To learn more, consult the QX5252 datasheet for more information.
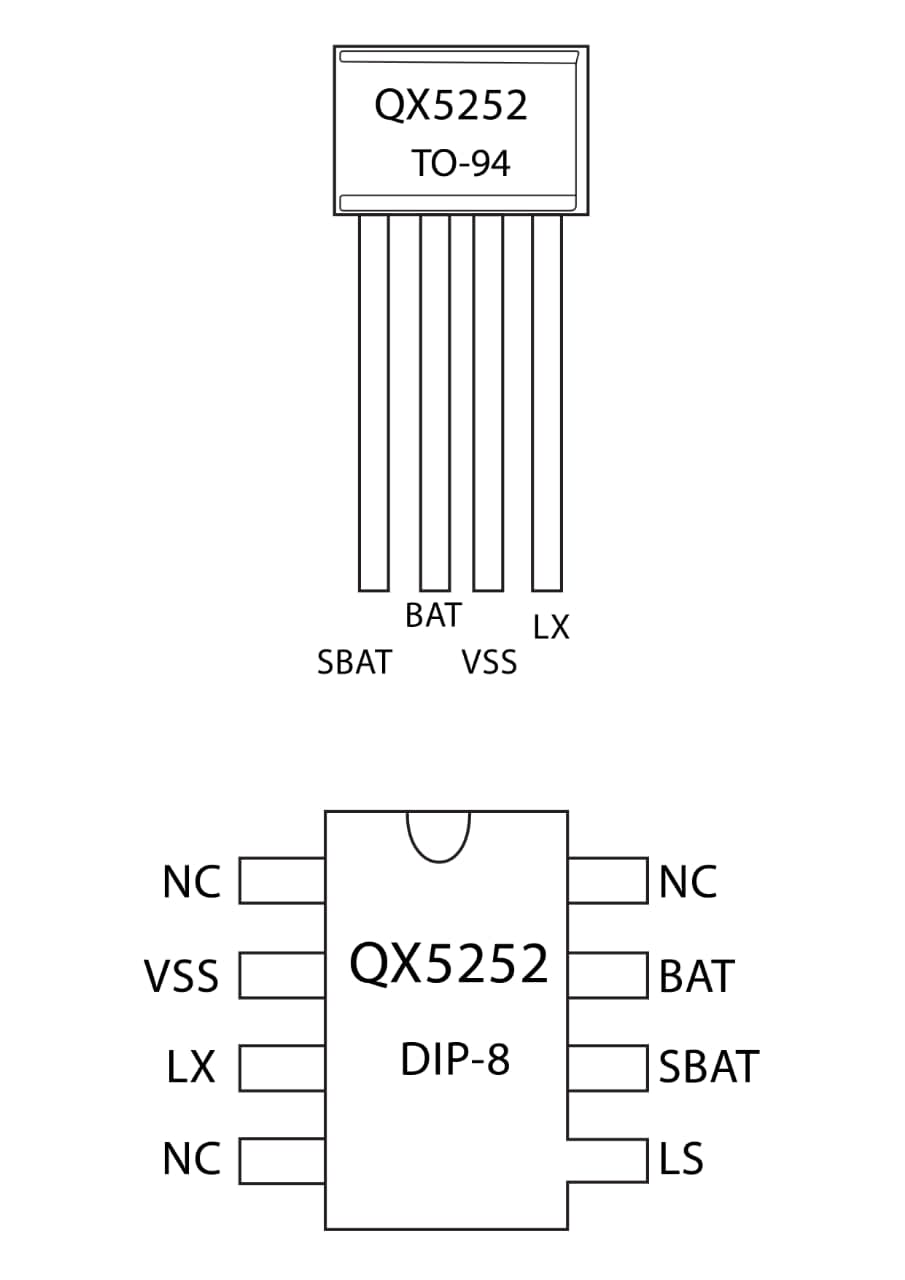
Source: Creative Commons.
(Image showing the pins of the QX5252)
2. Features and Specifications
- Firstly, it has an operating voltage in the range of 0.9V to 1.5V
- Next is the output current between 3mA to 300mA.
- QX5252 has a patented over-discharge feature that lets it shut down.
- Also, it has an inbuilt light control switching feature.
- Further, there is a Schottky Diode built-in.
- It requires only one external inductor and a quiescent current of 17uA.
- This IC runs on CMOS technology and works on low power.
- Another great feature of this IC is its automatic charge.
- Lastly, QX5252 comes in a DIP-8 package and 4-pin TO-94 packages.
3. How does QX5252 Work?
First, the QX5252 integrated circuit charges the rechargeable battery using solar cells during the daytime. In this case, a single Ni-H battery or an AA battery is sufficient.
It transmits power from the 2.5V solar cell to the 1.2V battery to charge. The charged battery charge voltage now boosts above 3V. It boosts battery voltage and then goes to power the LED.
However, it would help if you used the LED at the correct voltage. Therefore, you need an inductor to serve as a boost converter. At an oscillation of about 100 kHz, the LEDs receive sufficient voltage output via the LX pin.
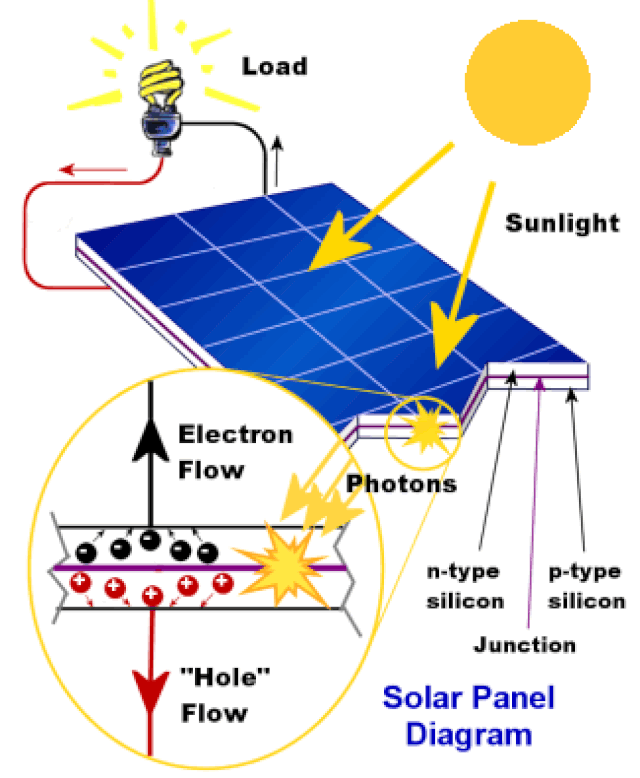
(A diagram showing how a solar cell panel works).
4. How to use QX5252?
The QX5252 solar LED driver works with elementary components. Next are the materials you need to get started.
Materials to prepare
- IC1, QX5252.
- A solar panel.
- A rechargeable battery – AG8 1.55V.
- An external inductor, L1.
- Blue LED 0805 SMD or LED of any color.
However, you need to set the LED power to get the desired results.
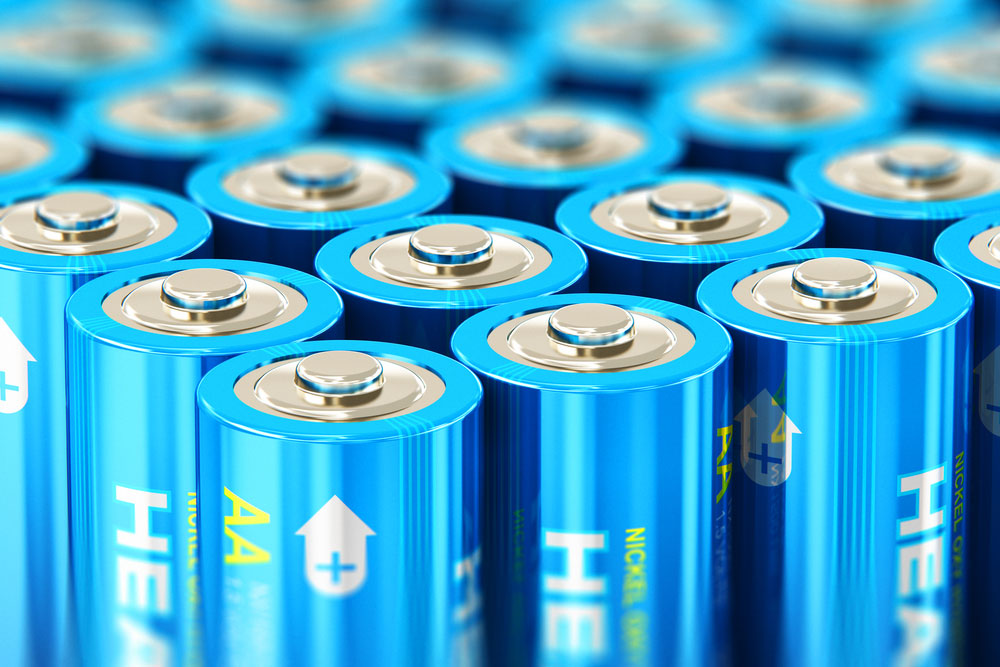
(A bunch of AA alkaline batteries).
LED power settings
Here, the inductance helps determine the power consumed by the LED.
Flash Control Switch Settings,
On the one hand, the QX5252F driver chip allows direct control from solar panels.
The other side is the QX5252E. However, it would help if you had a normal resistance and a photosensitive resistor to use this LS side. Hence, you set the LS voltage using:
VLS = [R1/(R1+R2)] VIN
Therefore, the LED goes off when 0.3 * VIN is less than the VLS. But, when 0.22 * VIN is higher than the VLS, open the LED of the flash control switch.
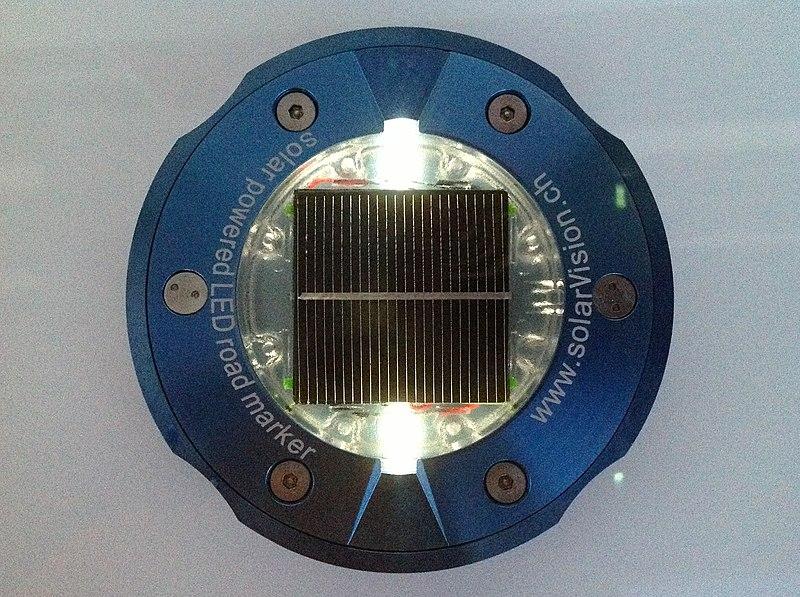
(A solar panel LED driver).
Powering Different LEDs using the QX5252
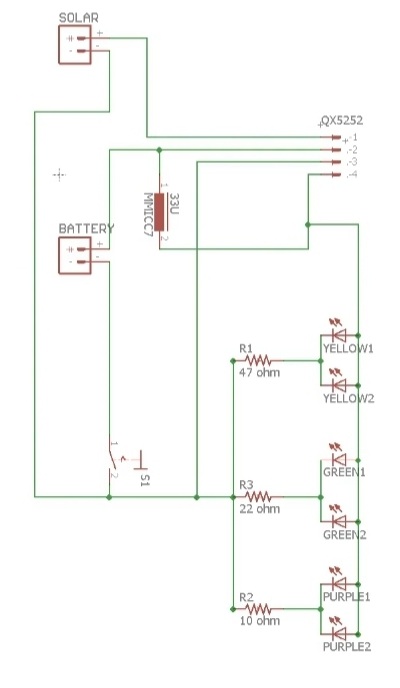
Source: Creative Commons
(A schematic diagram showing how to connect the QX5252)
Conclusion
The QX5252 is a solar LED driver with an ASIC design that uses several circuits to power LEDs.
Designing lighting circuits yourself is easy. Especially if you have the proper assistance, it even gets easier when you have all the required materials in one place. So, contact us today to get started right away.