
There are a lot of great lighting brands and products out there. However, few come close to the class and affordability of Altair LED lights. Altair lighting LEDs come in the form of ceiling lights and lanterns. The Altair LED flush mounts to use a set of integrated LED chips that deliver up to 1400 lumens and will last you up to 5 years.
We have previously covered how you can build your own LED light kit. Nevertheless, If you are unwilling to commit to a long DIY project, you can purchase a ready-made lamp from Altair. This guide will explore their outdoor offerings and show you how to install a light.
Altair Lighting Outdoor Lighting
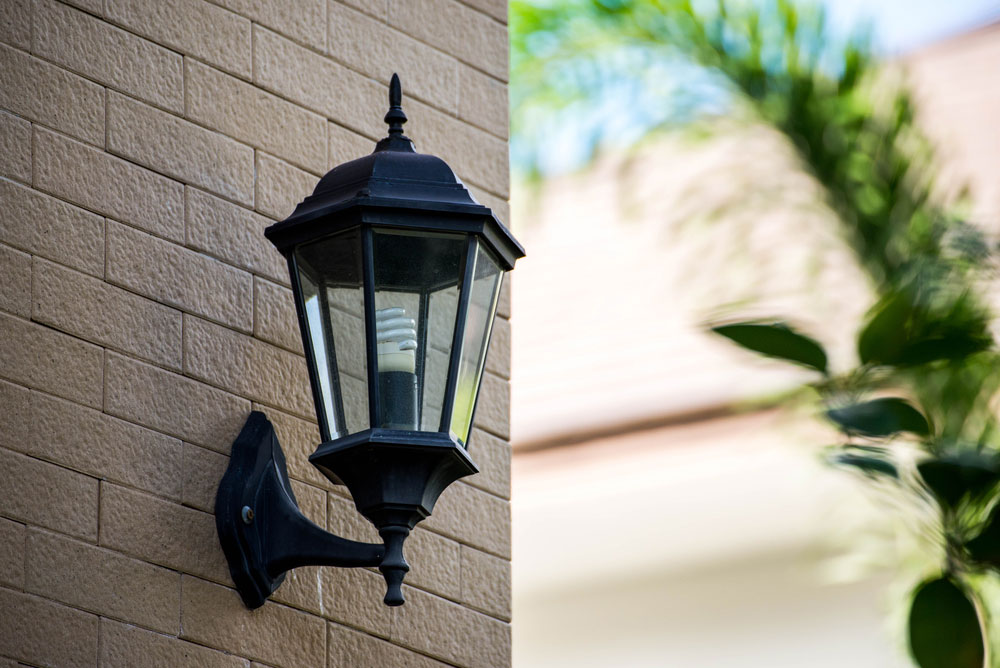
Again, Altair specializes in two main options: flush mount light fixtures and lanterns. One of their more popular options is the AL-2161. You can consider it to be the pinnacle of Altair LED lighting. However, For the rest of this guide, we will focus on their outdoor lanterns.
Furthermore, it is one of their most miniature lanterns. It has an excellent modern glassy finish that mixes vintage with modernity. Additionally, it is easy to install, has Energy Star certification, and features a replaceable LED driver. Despite its discontinuation, you may be able to find it from a few dispatchers and shops.
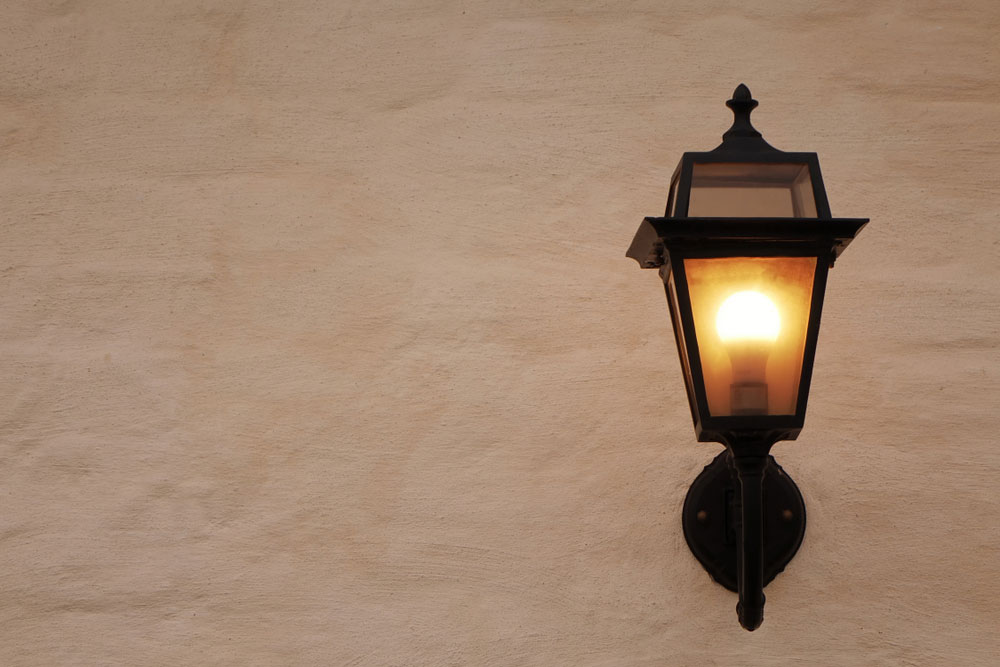
Alternatively, you can try their AL-2167 lantern. It is also quite effortless to install, has Energy Star certification, and features some of America’s best quality LED lighting. However, these are not the only outdoor options available to you. Regardless of which lantern you choose, they all have the exact basic installation instructions.
In the next section of the guide, we show you how to install an Altair lantern.
How to Install Altair Lighting Outdoor Energy Saving LED Lantern
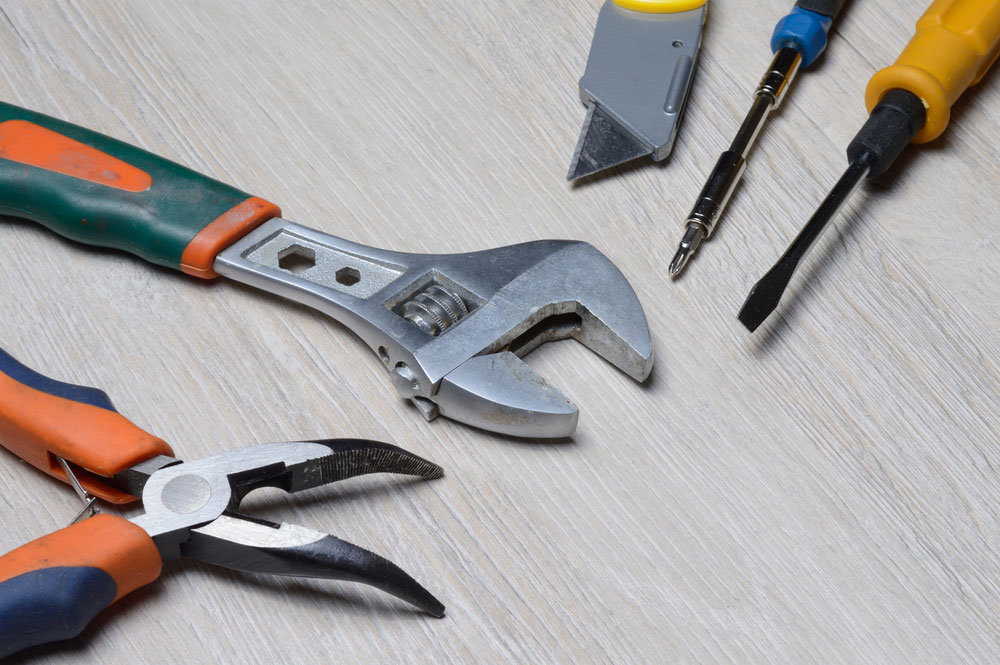
Required Tools and Equipment
- Safety Goggles
- Number 2 Phillips screwdriver
- Pliers
- Electrical tape
- Wire cutters
- Wire strippers
Ensure that the lantern is compatible with the junction box.
Step 1
Make sure that the power on the wall switch is off. Furthermore, It’s good practice to switch the power off at the circuit breaker.
Remove all the contents from the box and ensure all the necessary parts are there. The features accompanying the fixture and mounting package should be illustrated. Use it as a reference for comparison.
Step 2
Remove the lock nuts from the fixture screws. But leave the hex nuts and fixture screw untouched on the mounting brackets.
Step 3
Carefully drag all the wires out from the outlet box. Next, use the mounting screws to connect the mounting bracket to the outlet box.
Step 4
Place the fixture onto the mounting bracket securely, along with the lanyard hook.
Step 5
Pull each wire from the outlet box and start peeling the insulation. Try to strip as much as 10 mm/0.39 inches from each wire.
Next, elevate the fixture to the wall and align the outlet box to the wall plate. Finally, connect the corresponding fixture wires to the supply wires (white to white, black to black, and ground to ground)
Step 6
Detach the lanyard hook from the fixture. Once that’s done, gather all the wires, connections, and the lanyard hook and tuck them into the outlet box.
Step 7
Fit the wall plate on the outlet box. You must ensure that the fixture screws go through the holes on the wall plate. Next, ensure that the screws protrude at least 8mm from the wall. Take the wall plate out and connect the fixture screws. Tighten the hex nuts on the mounting bracket.
Step 8
Carefully tuck all the wires and wire connectors into the outlet box. Next, place the wall plate back onto the fixture screws. Finally, set a washer over each fixture screw and secure the fixture using the locknuts.
Step 9
When installing the fixture, caulk the upper two-thirds of the mounting surface to the wall plate. Leave the rest uncaulked. This will allow any water to drain out in the case of a leak. We recommend a waterproof exterior caulk such as silicone or rubber.
Step 10
Restore power at the fuse box and switch the power on at the wall switch to test the fixture.
LED Lantern Repair
Altair Lighting LED Costco
Costco stocks Altair lighting lamps and fixtures. However, more importantly, Costco stocks spare parts to repair your light. You can order drivers, LEDs, and details online.
Altair Lighting Home Depot
If you find that Costco does not stock a part you require, Home Depot is a great alternative. Not only do they stock a wide range of outdoor lamps, but they also have features to help you repair your Altair LED lantern. Additionally, they also stock LED light bulbs.
Conclusion
Lanterns can add a natural touch of class to your outdoor lighting. Altair has some of the best options on the market. In this guide, we briefly explored some of these options. However, more importantly, we showed you how to mount your outdoor lantern. Nevertheless, we hope that you have found this guide to be helpful. As always, thank you for reading.