
Do you want to create a farady flashlight for your engineering project, but you have no clue about it?
Well, your search has come to an end—as this article is for you.
However, you should know that the Farady flashlight is mechanically powered. And it comes with a complex design—considering it’s different from regular electronic circuits.
But you don’t have to be worried. We are here to make things super easy for you.
That’s why we created this article—to show you everything you should know about the Farady flashlight and how to make one by biting the bullet.
So, let’s begin.
What is a Faraday Flashlight?
The Faraday flashlight is a product that works with Michael Faraday’s law of induction. So, the flashlight gets its power from storing the kinetic force you generate when you shake it.
Plus, shaking the flashlight forces the up and down movement of the in-built magnet through a coil. This process generates electricity, especially in emergencies.
Also, you can find this product in different emergency kits because it doesn’t require batteries to function. So, you don’t have to worry about battery shelf life—with this flashlight.
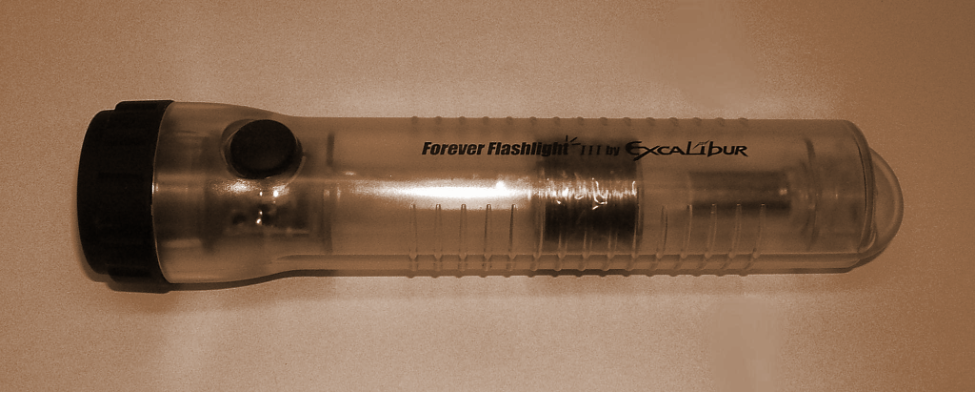
Faraday Flashlight
The Faraday flashlight is mechanical and has fewer moving parts than hand-cranked flashlights. Unfortunately, as incredible as this sounds, you can’t use it for everything.
For example, you can only get about five minutes of light when you shake the flashlight continuously for 30 seconds. However, you can get an unlimited supply of light by shaking it for 10-15 seconds after every 2-3 minutes of use.
The Faraday flashlight isn’t highly illuminating. But it’s bright enough to help you in emergencies.
For this reason, the faraday flashlight is depicted as an emergency light, making it handy to keep around for the long term.
Also, these flashlights serve as educational toys for formal education. For example, the Faraday flashlight is a great way to teach students the principles of electromagnetic induction.
So, most times, Faraday flashlights usually come with transparent bodies. And it allows you or the students to watch the magnet move through the coil to generate electricity.
How Does a Faraday Flashlight Work?
On the surface, the faraday flashlight generates power when you shake it. While this is correct, it’s more profound than what you think.
So, in essence, a Faraday flashlight needs the following essential components to work correctly:
- Coiled Wire: a coil of copper wire with 300 loops is critical to the design of the Faraday flashlight
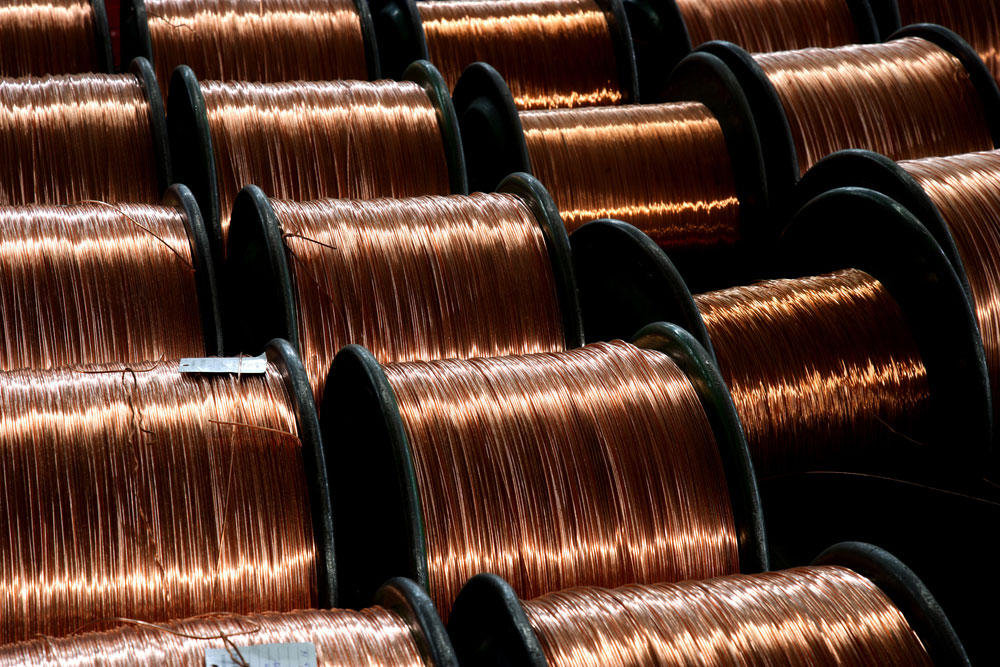
Rolls of coiled copper wire
- Neodymium magnet: the flashlight needs a powerful magnet to generate electricity, and you can use a giant magnet or stacks of small magnets joined together
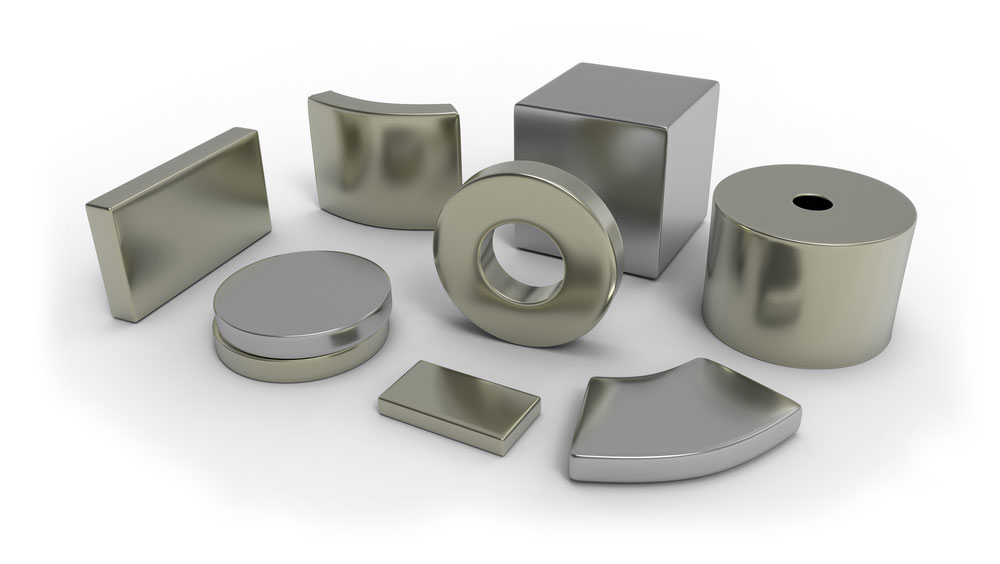
Neodymium magnets
- Rectifier: it’s also crucial for converting the alternating current to a direct current
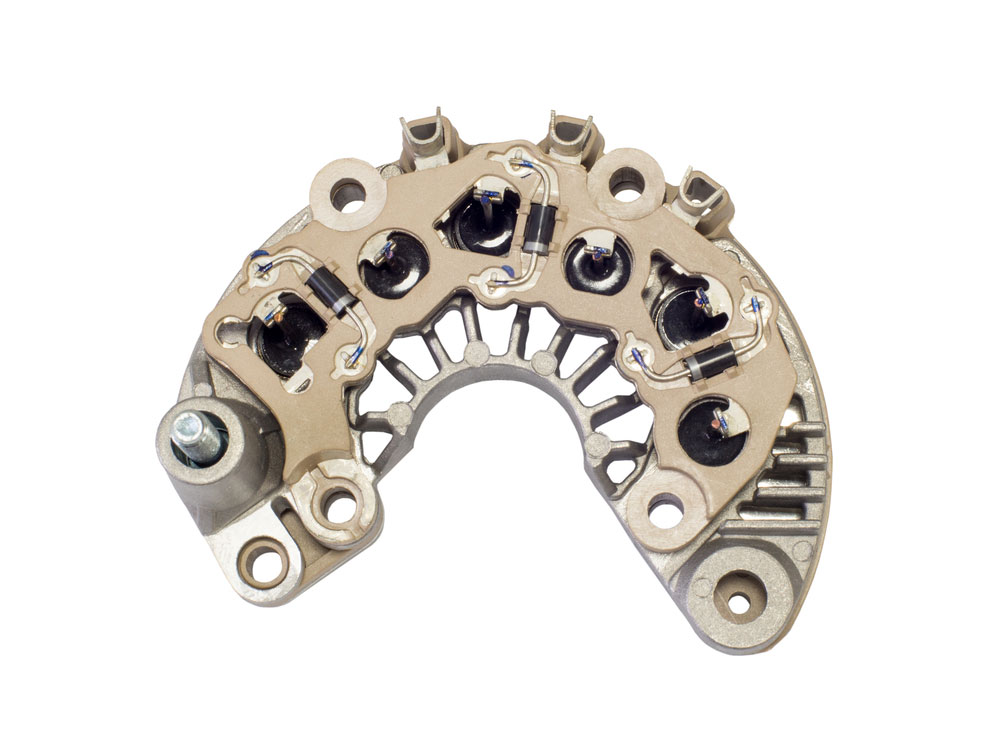
Rectifier
- LED: the light-emitting diode is the component that shines when electric current flows through it

- Capacitor: This electric circuit component is responsible for temporarily storing mechanical energy
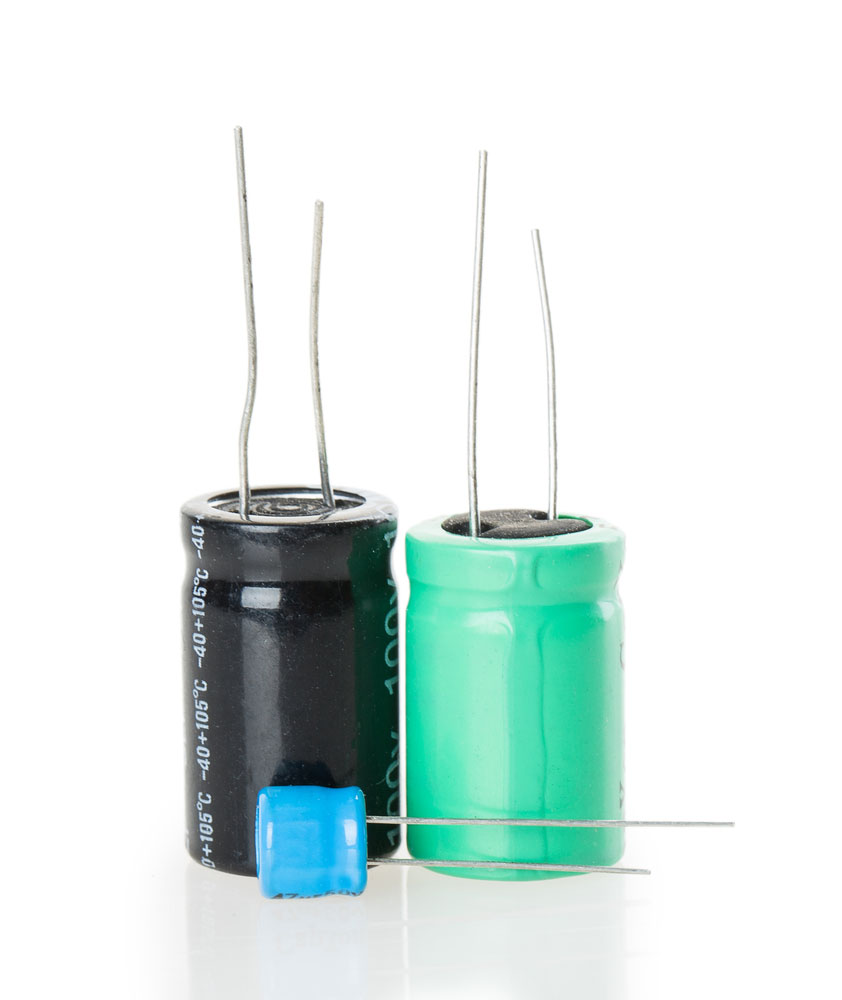
Capacitors
- Switch: the switch is what lets you change between the capacitor’s charging mode and supplying mode
How it Works
The design of the faraday flashlight features a linear electrical generator. This generator supplies electricity to the capacitor, which acts as a battery when you shake the flashlight vertically.
So, to generate electricity, you have to shake the neodymium magnet back and forth inside the copper coil of Wire. This process generates an induced AC (alternating current)—because the interest moves from right to left. So, the induced current passes through the right side of the coil. Also, the current passes through the left side of the ring when it shakes from left to right.
The rectifier comes in handy when it comes to powering the Faraday flashlight.
By the way, DC (direct current) has more uses in an electrical circuit when compared to AC. So, we need a rectifier to convert the electrical currents. Also, the diode bridge can help force two input alternating currents into one direct current.
Once the rectifier does its job, the capacitor begins to charge up by storing electrical charges generated from the electromagnetic induction until you turn off the switch. When the capacitor charges fully (most likely after 30 seconds), the capacitor will transfer its stored electricity to the LED.
When the electricity flows through the LED, it begins to emit light. So, the emitted light won’t die out until the stored energy in the capacitor runs out.
In short, it’s worth mentioning that not all Faraday flashlights on the market are original.
Some counterfeit versions use non-rechargeable lithium cells that replace the supercapacitor. In addition, these fake designs feature fake magnets and coils that won’t generate electricity when shaken.
So, it’s a great idea to create one yourself.
But you must know:
Designing a DIY Faraday flashlight can be tricky. Plus, you don’t have to recharge or replace the batteries. So, if you’re making one, use the proper tools. And if you buy one, check for the signs of a fake faraday flashlight.
You can buy the regular faraday flashlight or the mini Faraday flashlight.
How to Make a Farady Flashlight?
Here, this section will show you how to make a simple shake flashlight from magnets and other electrical components.
But before we start, here are the materials you need for this project.
Components You Need to Create Your DIY Faraday Flashlight
- Magnetic Wire (preferably copper)
- Capacitor
- PVC pipe (small cut)

A set of PVC pipes
- Neodymium magnet
- Electrical tape

Electrical tape
- Resistor
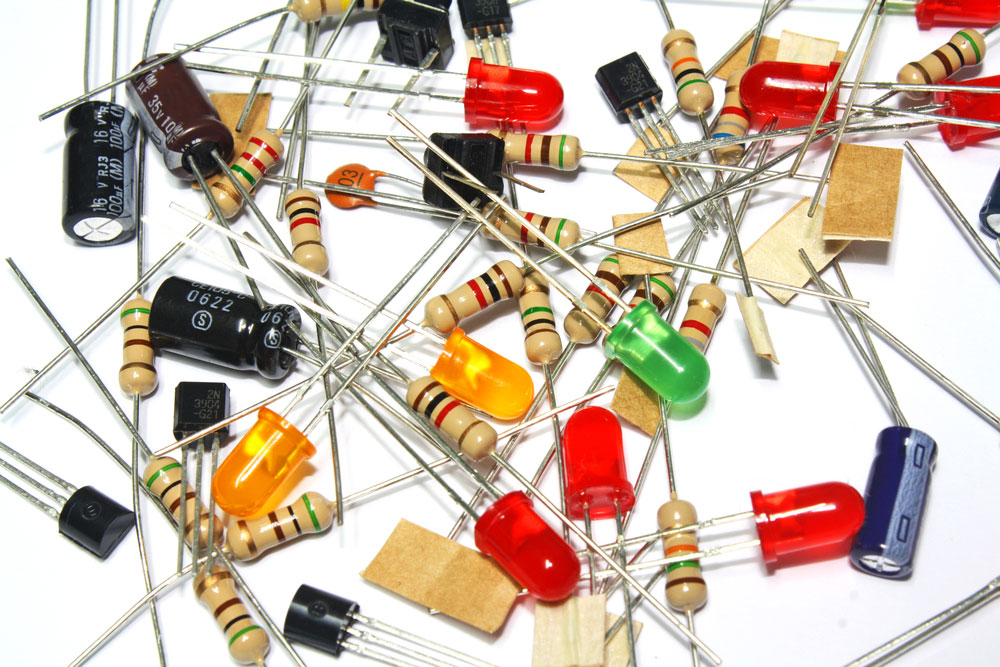
A set of resistors
- Breadboard
- Wires
Circuit Diagram
Here’s a picture of the circuit we will be working with:

A circuit diagram for a shake flashlight
Steps to Follow
As we mentioned earlier, making a Faraday flashlight can be tricky. But, if you follow these steps, it should make the process less complex.
Step 1: Make Your Induction Coil
First, cut a small piece of PVC pipe—we’ll return it later.
But before then, it would be ideal to know that the size of the magnet you need for this flashlight depends on the inner diameter of the pipe. So, ensure to choose the right size.
The size is unimportant, but note that the interest needs to travel short distances when you shake it. For example, you can use a PVC pipe with a 3/4-inch inner diameter and a 6.5-inch length. For this reason, a 3/4-inch magnet would fit perfectly.
Once you cut your PVC, the next step is to wrap your copper wire around the tube. Then, ensure you leave two ends out—one at the start and one at the end. Finally, attach these ends to other wires.
Additionally, if you’re not up for stress, use a drill to spin the tube while holding the wire. It will wrap it around faster than doing it with your hands.
However, note that the number of turns determines the generated voltage. So, we recommend about 300 loops of Wire for the job. Finally, you can use some tape to secure your coil.
Step 2: Test the Wires
Before you create your circuit, test the wiring to ensure it works. Thus, try your coil assembly with two LEDs to check if it generates any electricity.
To do this, connect the coil and LEDs (in parallel) to your breadboard. Then, click the ends of the ring to insulated wires before attaching it to the breadboard.
Step 3: Build Your Circuit
After testing your coil, it’s time to build the circuit. The first thing to add is the bridge rectifier.
Then, get four individual diodes (preferably 1N4007 diodes) and combine them to make one unit. It will help you light up one LED since the current will move in one direction.
Next, connect your resistor to the circuit and ensure you click the LEDs in series with the resistor. Then, you can use a 300-ohm resistor to achieve this.
Finally, add your capacitor to complete the circuit. The capacitor smoothes out the current and quickly gives a steady flow of current—with short bursts. Without the capacitor, your Led would blink rather than provide continuous lights.
Step 4: Test the Circuit
Lastly, it’s time to test your completed circuit and give your capacitor an electric charge. So, you can add some technical touches to your flashlight by using mechanical packaging to enhance it.
Also, you can add magnets on both ends of the tube to keep the neodymium magnet inside the box and prevent wasting energy.
What are the Advantages and Disadvantages of Faraday Flashlight?
Having a faraday flashlight can be pretty handy, but the product does have its downsides. With that said, here are some advantages and disadvantages of using a shake flashlight:
Advantages
Doesn’t require electricity or batteries to operate. Instead, the process is purely mechanical.
Perfect for emergencies
Shake flashlights are environmentally friendly
Disadvantages
You have to shake the product vigorously for a few seconds.
The light may become dim after 2 or 3 minutes of use
Final Words
A Faraday flashlight is an excellent example of piezoelectric energy. Overall, the flashlight has its uses—despite its limitations.
For example, if you have battery anxiety, the Faraday flashlight would be a perfect alternative since it doesn’t run off a rechargeable battery. Instead, it runs off a renewable electrical current.
Furthermore, watch out for counterfeit flashlights if you want to purchase one.
That wraps up everything you need to know about the faraday flashlight circuit.
So, if you want to make one for your projects, we’ve provided a complete guide to make things simpler.
Still, don’t hesitate to contact us if you need more information.
