
Do you need to gauge a relative distance from your light source? Or do you need an efficient device to measure the brightness of your light source? Then, it would help if you had a light intensity sensor.
What is it? How does it work? Not to worry, this article will give you a device breakdown by highlighting the features, applications, and more.
Let’s proceed!
What Is a Light Intensity Sensor?
The light intensity sensor is a device that works like a speedometer. That is, it works by sensing light. But light isn’t straightforward. So, the light intensity sensor measures light based on a collector’s size. A few examples of collectors are solar phone chargers, landfill solar arrays, etc.
With that in mind, it’s crucial to know the units that the intensity of the light sensor measures to understand the device.
The Light Intensity Sensor Units
Lumen
This unit measures a light bulb’s complete luminous flux. So, a lumen is the product of luminous intensity (measured in candelas) and the angle that the beam fills (measured in steradians).
So, for instance, if you have a bulb that produces visible light in different directions with a luminous intensity of 20 candelas, your luminous flux will be 251 lumens.
And this applies if you multiply the luminous intensity by the full 4π steradians. Hence, regardless of the concentration or reflection of light, this bulb will generate 251 lumens of luminous flux.
Candela
This unit shows the strength of light to the human eye. But, it largely relies on its sensitivity to the human eye. Indeed, the team uses the SI-official formula that measures the wavelength of light in a beam.
Interestingly, the candela is not ideal for comparing flashlights and lightbulbs.
In addition, the beam’s intensity depends on output concentration in a specific direction and bulb output. Therefore, you need a lumen to do the measurement range of a bulb’s production accurately.
Lux
This unit measures the luminous flux for every unit area. Hence, lux represents a lumen for every square meter. Also, the team helps measure the light intensity that passes through a surface. In other words, lux is the total amount of light that hits a specific character.
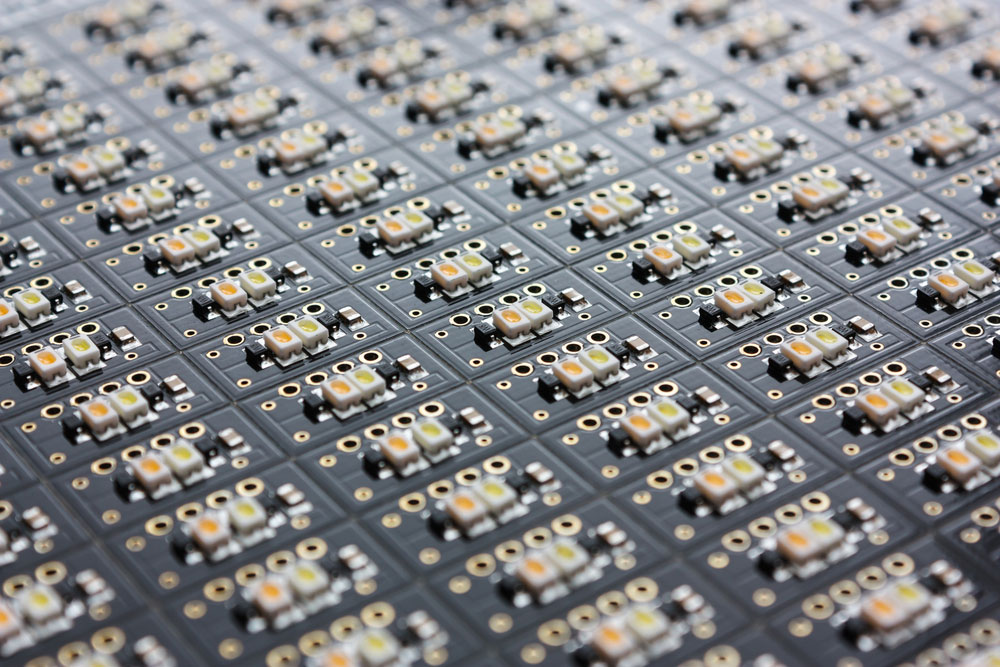
How do Light Intensity Sensors Work?
Light intensity sensors work by measuring illuminance using different devices like:
Photoresistor
The photoresistor is a device that changes resistance when you change the light brightness. Hence, you can use it to determine when the light is off or on. Alternatively, you can use the device to compare light levels. Plus, they play an essential role in the light intensity sensor.
Photodiode
Occasionally, light intensity sensors use the photodiode to measure illuminance. Typically, photodiodes use the inner photoelectric device effect. That is, electrons loosen when a beam of light hits. As a result, electrical energy will flow. Hence, you can measure the current for the light illuminance to return. So, solar panels are an excellent example of devices that work as photodiode light intensity sensors.
Phototransistors
In truth, this light intensity sensor works like a photodiode and amplification. As a result of the amplification, phototransistors have higher light sensitivity. But they are not ideal for low light level detection like photodiodes.
Features of a Light Intensity Sensor
- Excellent stability
- The output interfaces with voltage and RS485
- It has a wide range of measurement
- The sensor has an IP66 rating
- Comes with built-in TVS/ESD
Applications of the Light Intensity Sensor
Here are the different applications where you can use light intensity sensors.
1. Security
For security, the sensors combine with lasers to create specific invisible beams as security barriers.
2. Automobiles
In new cars, some sensors help the headlights automatically come on.
3. Consumer electronics
Light sensors help increase the screen brightness of mobile phones in dark areas.
4. Streetlights
At night, the light sensors in streetlights come on when it senses pedestrians or motorists passing by.
5. Medical
You can find light intensity sensors in pulse oximetry and heart monitors.
6. Horticulture
Light intensity sensors work with sprinkler systems used in horticulture. They detect sunlight and activate the sprinklers to work—keeping the trees and plants well hydrated.
7. Solar
Light sensors help detect sun rays and align the solar panels to get the best solar energy.
How to build the Light intensity sensor using Arduino
To properly run this project, you’ll need to combine the Arduino analog input with a photoresistor. Then, you can use the analogRead() function to measure and read the Arduino values. Afterward, program the pin 3 LOW or HIGH to turn off or turn on the LED lights.
Interestingly, the threshold value for the Arduino is usually 150. Hence, the Arduino controls the LED lights to go off when the analog value reads below 150. But, if the analog value of the Arduino reads above 150, the LED lights automatically come on.
What are the Required Tools to set up the Arduino LED lights?
Here are the necessary materials required to run this project.
- LED (2)
- 1K Ohms resistor (1)
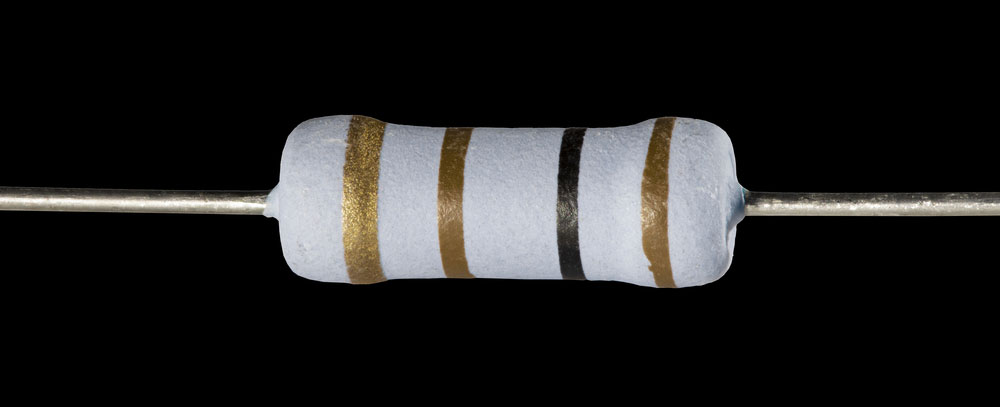
- 470 Ohms resistors (2)
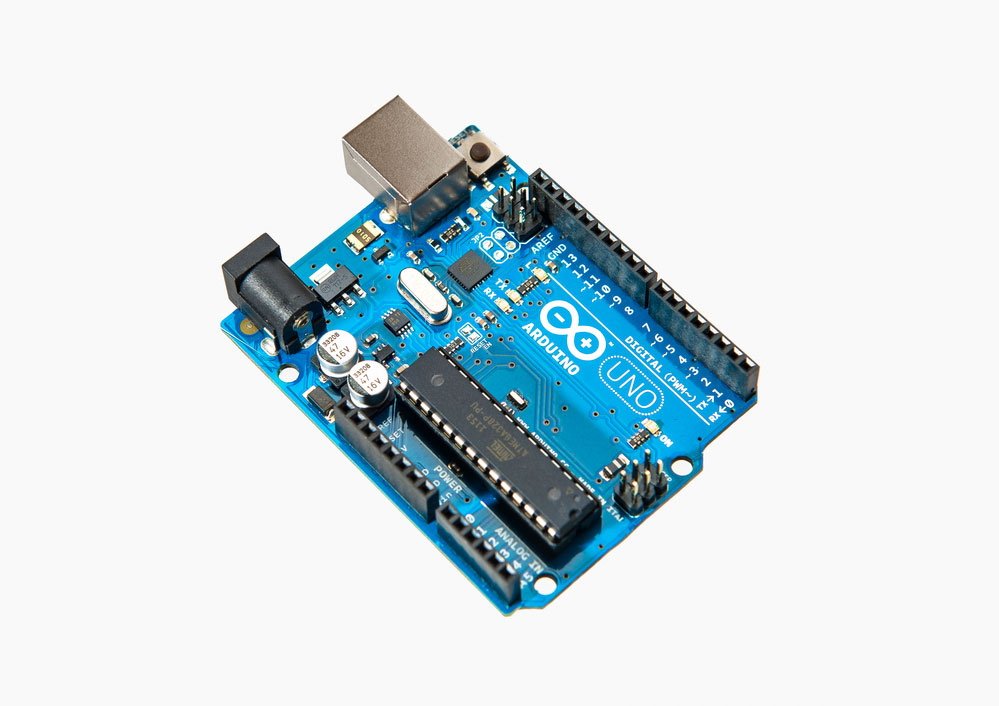
- Arduino board (1)
- Jumper wires
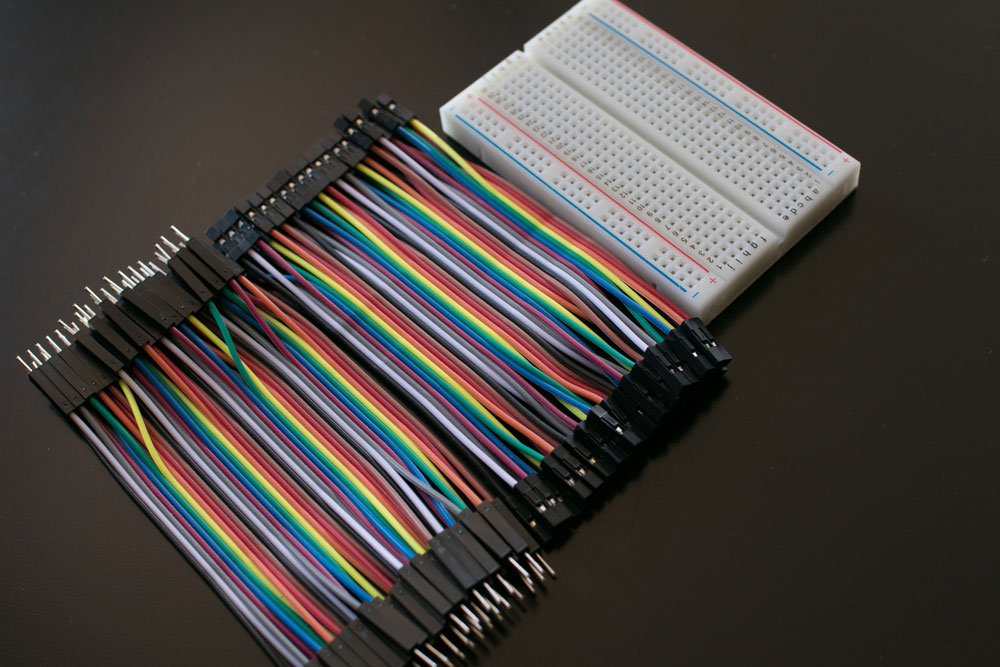
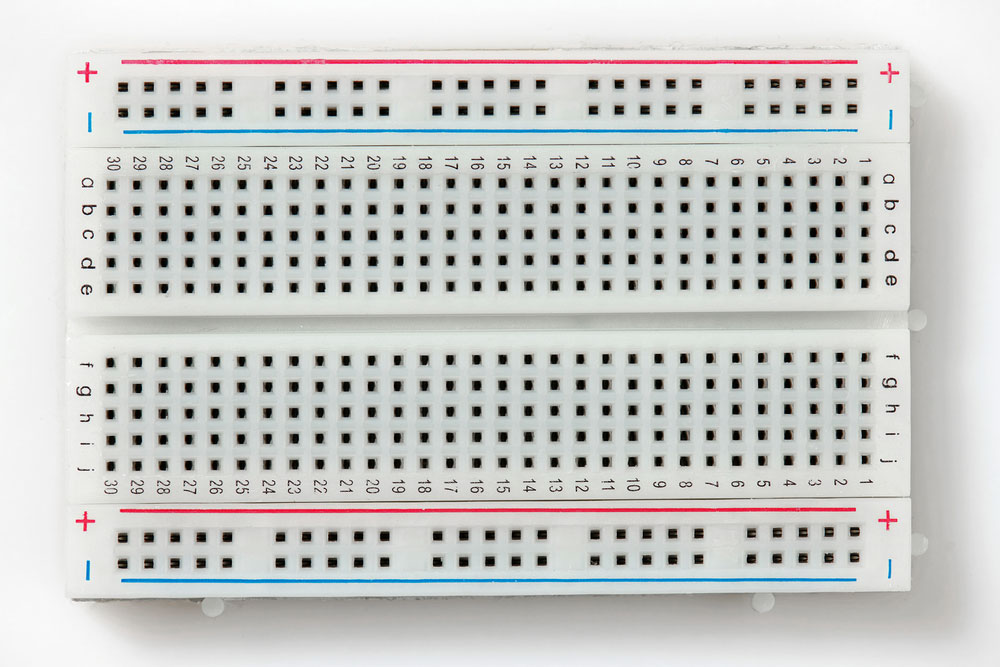
- Breadboard (1)
- Photoresistor (1)
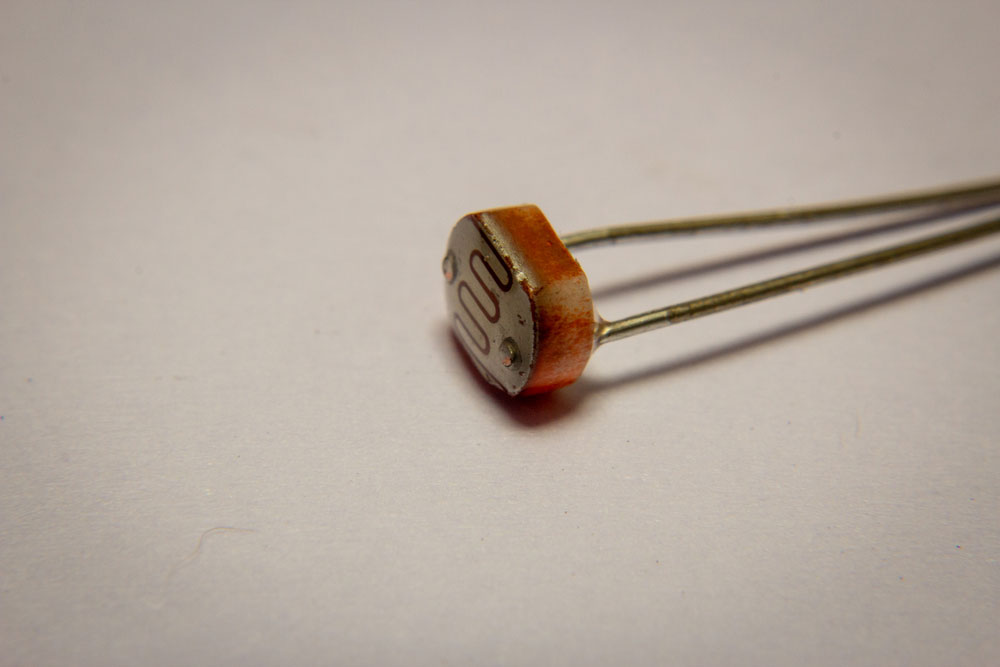
Photoresistor for detecting light intensity
How to Wire the Setup in 8 Steps
1. Join the first of the two LDR terminals to 5 volts. Then, combine the second LDR terminal to the GND on the board via the 1K Ohm resistor.
2. Join the analog A1 pin to the end of one jumper cable. Then, connect the other end of the jumper cable to the non-ground terminal of the 1K resistor.
3. Next, link the LEDs in a corresponding path via the 470 ohms resistor—while grounding the negative terminals—as seen in the above diagram.
4. Combine the LED positive terminals with pin three via the second 47 ohms resistor.
5. Next, join the Arduino’s GND pin to the grounded terminals.
6. Get the Arduino working by connecting it via the Arduino USB cable.
7. Next, use the Arduino IDE software to upload the Arduino’s program to a system.
8. Finally, supply power to your Arduino board via a USB cable or battery source.
How to test if your Arduino light intensity sensor is working
First, ensure your room is dark because the LEDs will not work if the room is bright or lighted. Then, use your hand to cover the photoresistor and confirm if the LED comes on. Afterward, uncover the photoresistor and ensure that the LED goes off.
Here’s a picture of the Arduino code required to run the project.
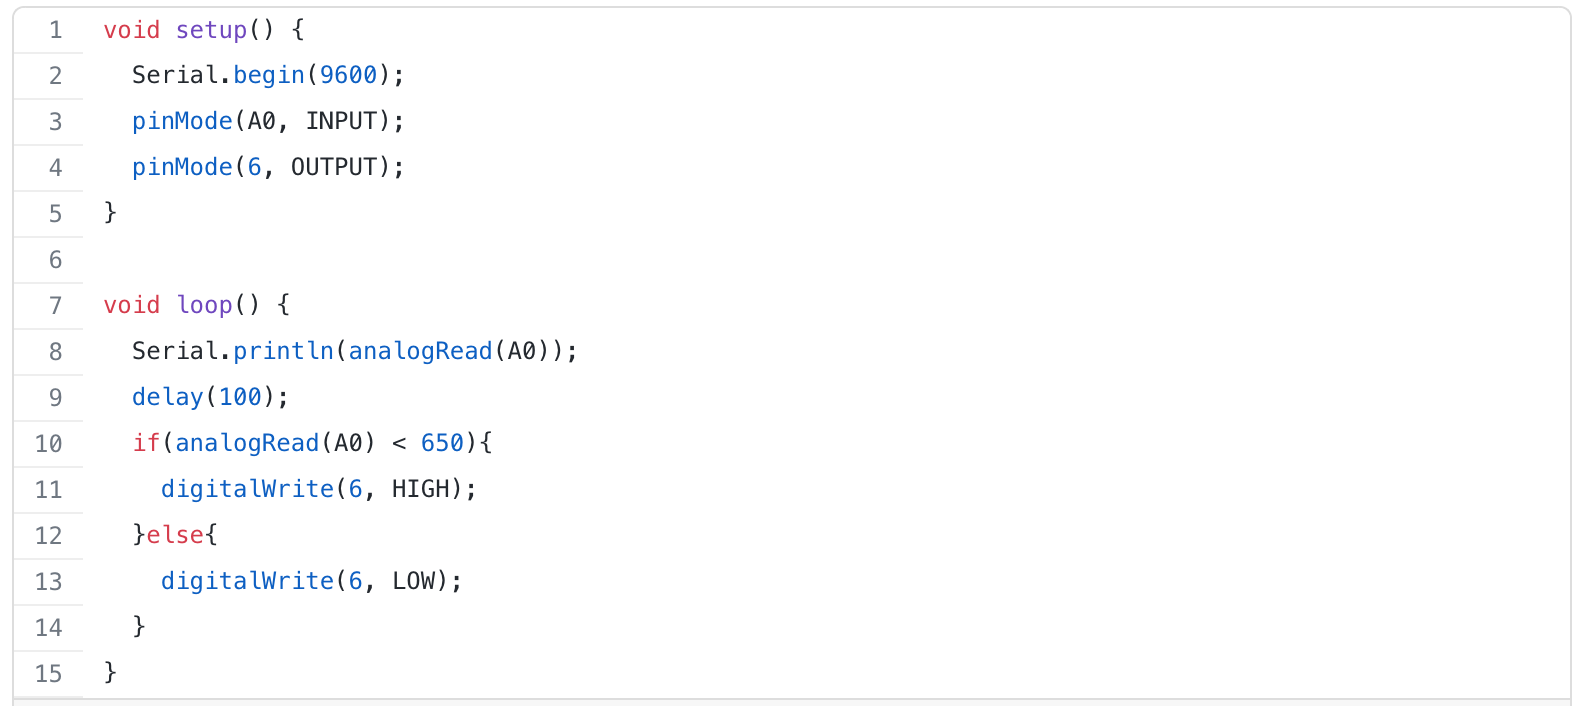
Arduino code
Image source: Arduino. cc
In Summary
With the detailed information in this article about light intensity sensors, you should have comprehensive information about the topic. Also, you can implore the steps and use the required tools to build your Arduino light sensor.
Are you still finding it hard to build your Arduino light sensors? We’re willing to assist you. Feel free to contact us today.