DCACLab online circuit simulator is a beneficial tool for determining the behavior of real-time circuits. A multimeter is one such device that we need most often to find the values of current and voltages at different points. We provide one such analog multimeter where students can choose the required meter from several ranges of values using a selection knob. Different meters provided are –
1. AC voltmeter
2. DC voltmeter
3. Amperemeter
4. Ohmmeter
Contents
Steps to use Multimeter in DCACLab
See the link https://dcaclab.com/en/experiments/17115-simple-circuit-to-play-with-multimeter-1 to play with the multimeter and learn.
1. Click on the icon of the multimeter from the toolbar as shown. Also, instead of clicking it, you can drag it directly to the screen.

2. Use the selection knob to choose the required meter and place the wires from the multimeter at the points where the measurement has to be done.
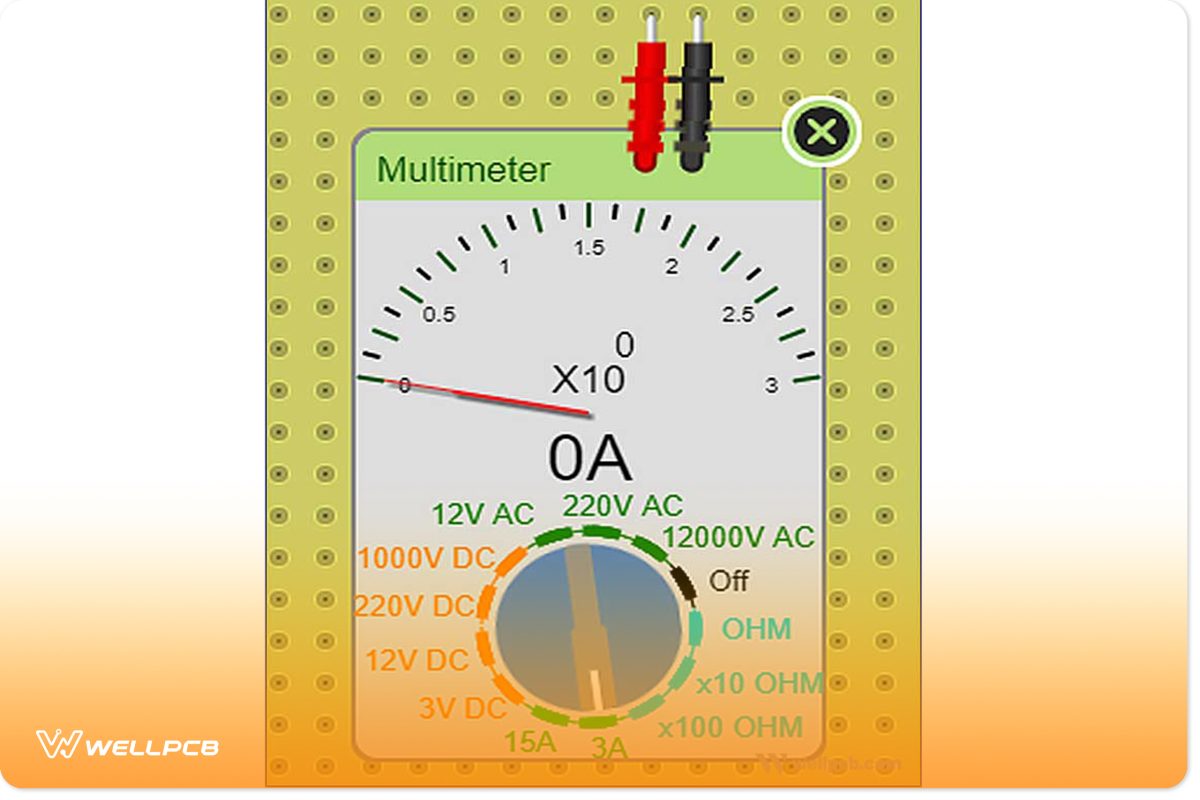
Measurement of DC/AC Current/Voltage with DCACLab Multimeter
For example, if we need to calculate dc current, we can set a knob and place the multimeter as shown to find the value.
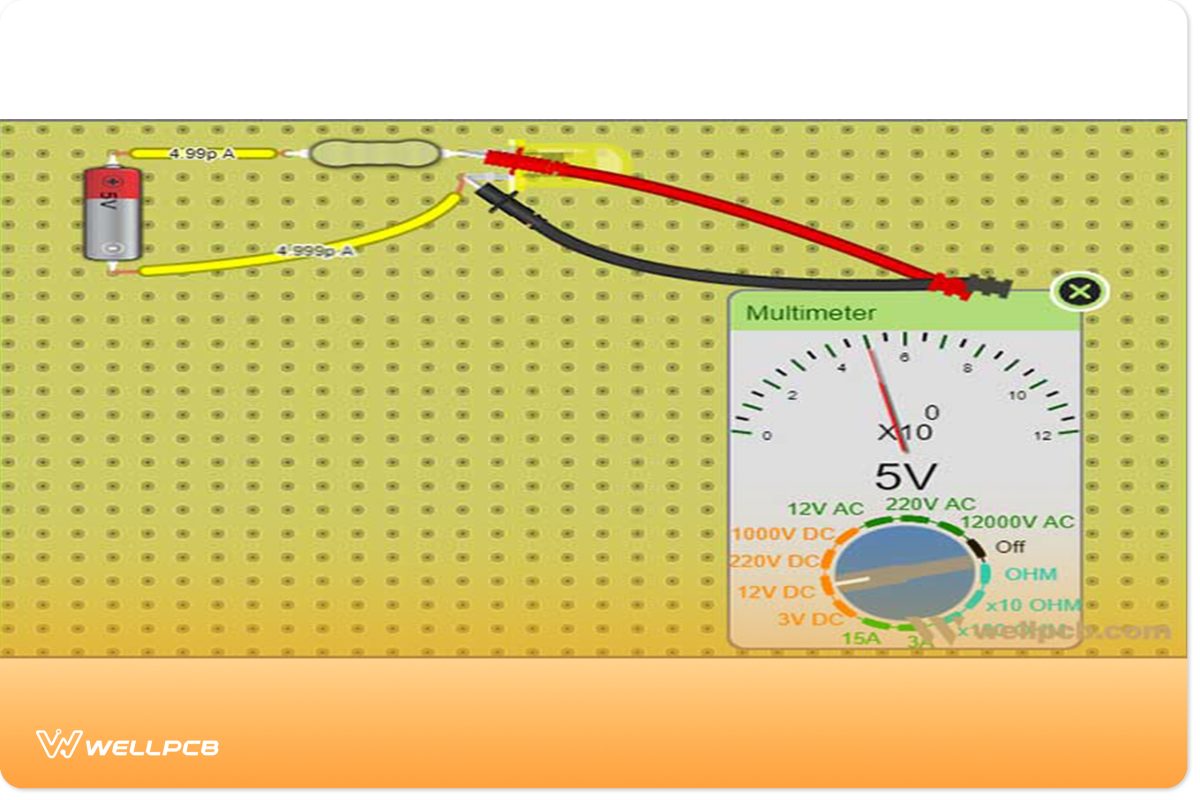
Similarly, for measuring the dc voltage, the knob should be set again, and by placing the wires at the required points, we can find the potential difference directly, as shown
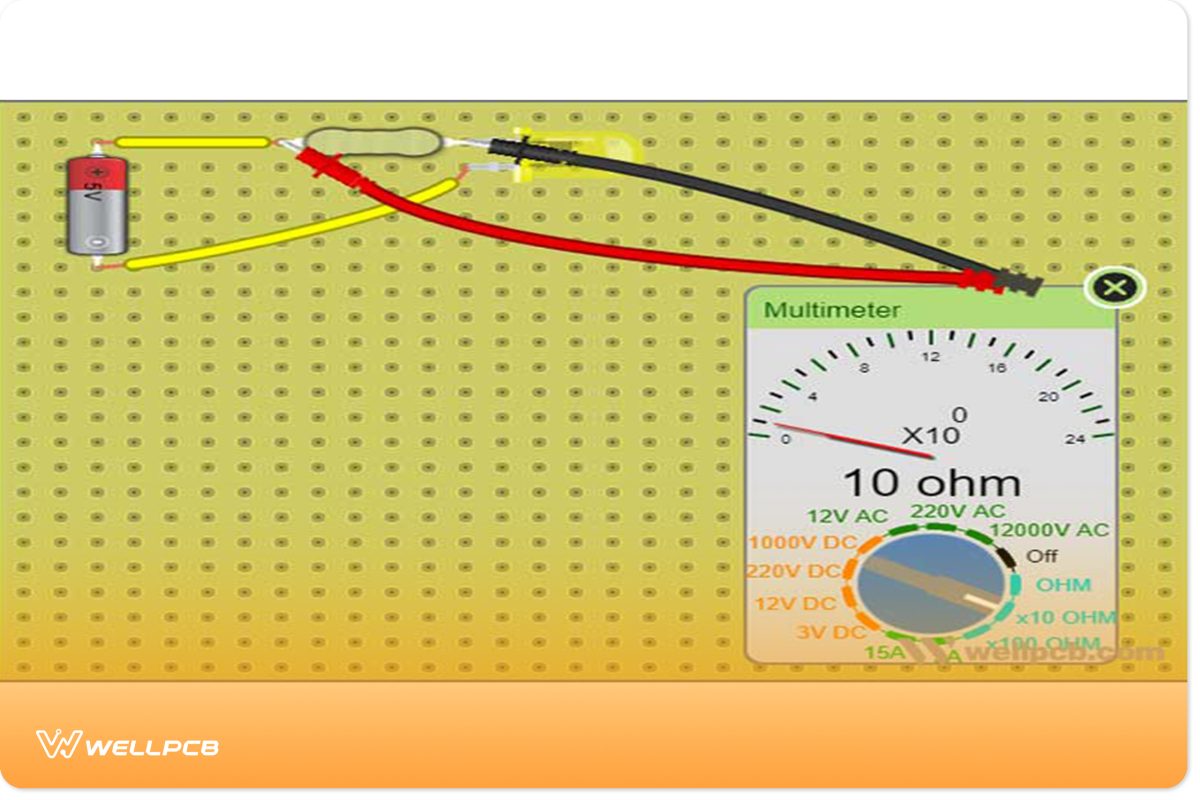
Measurement of Resistance with Multimeter
The multimeter can be set as follows to measure the resistance of any electrical load in ohms.
DCACLab Oscilloscope
Steps to use the oscilloscope in DCACLab
1. Navigate through the list of components and click/drag it.
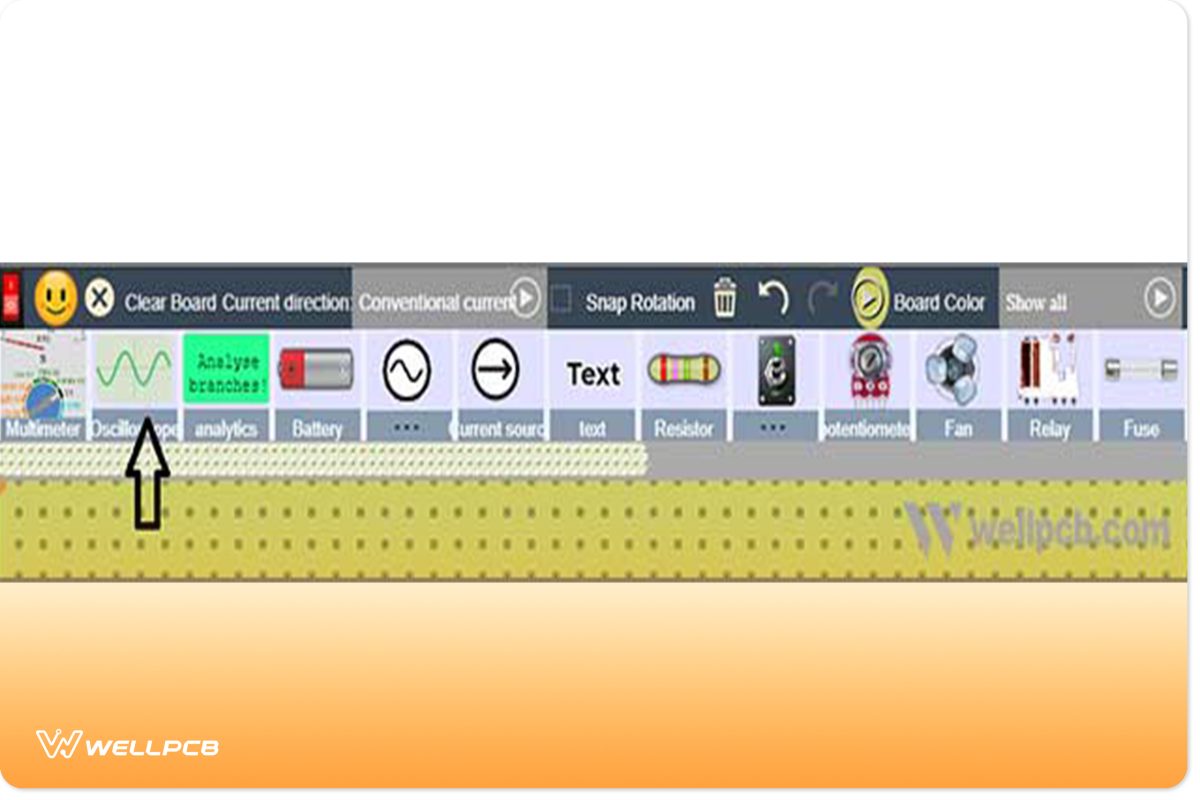
2. To measure the voltage between the two desired points, grab and place the probes there. Also, the signal waveform can be viewed along with its magnitude.
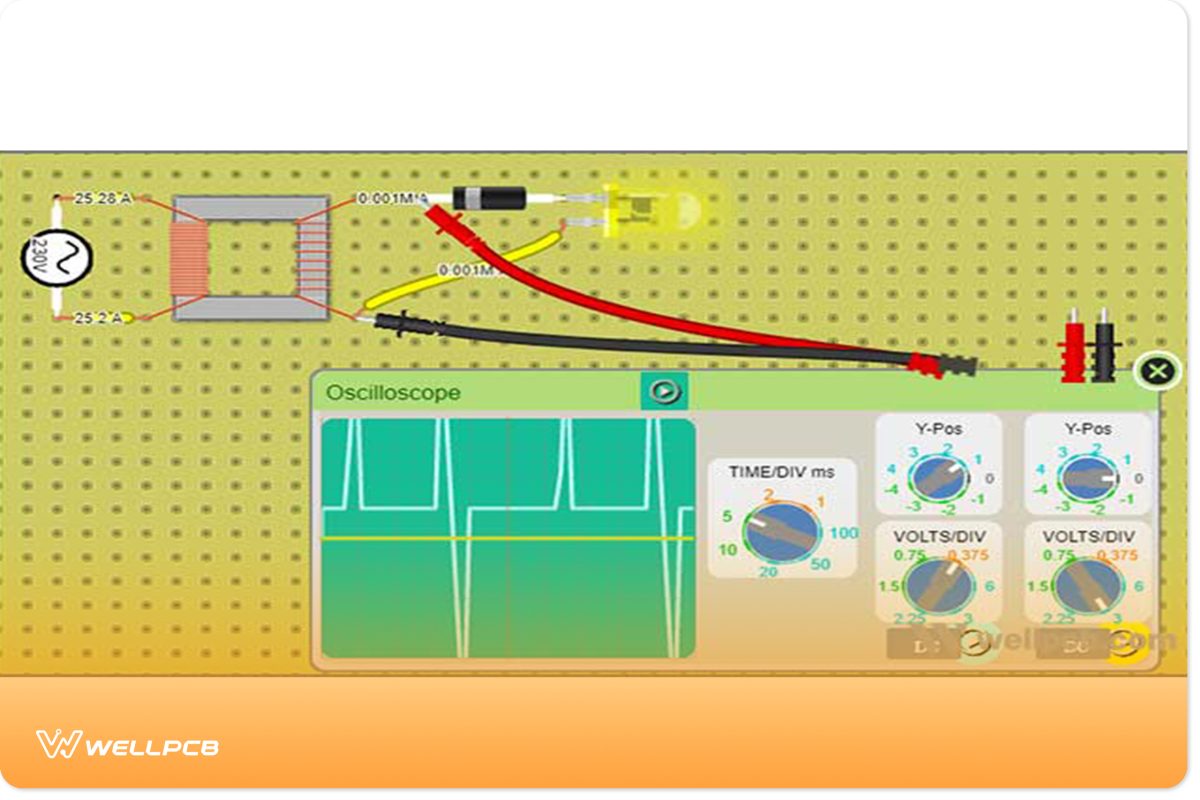
3. Also, we can increase the time division and voltage division by varying the respective pivots as shown:
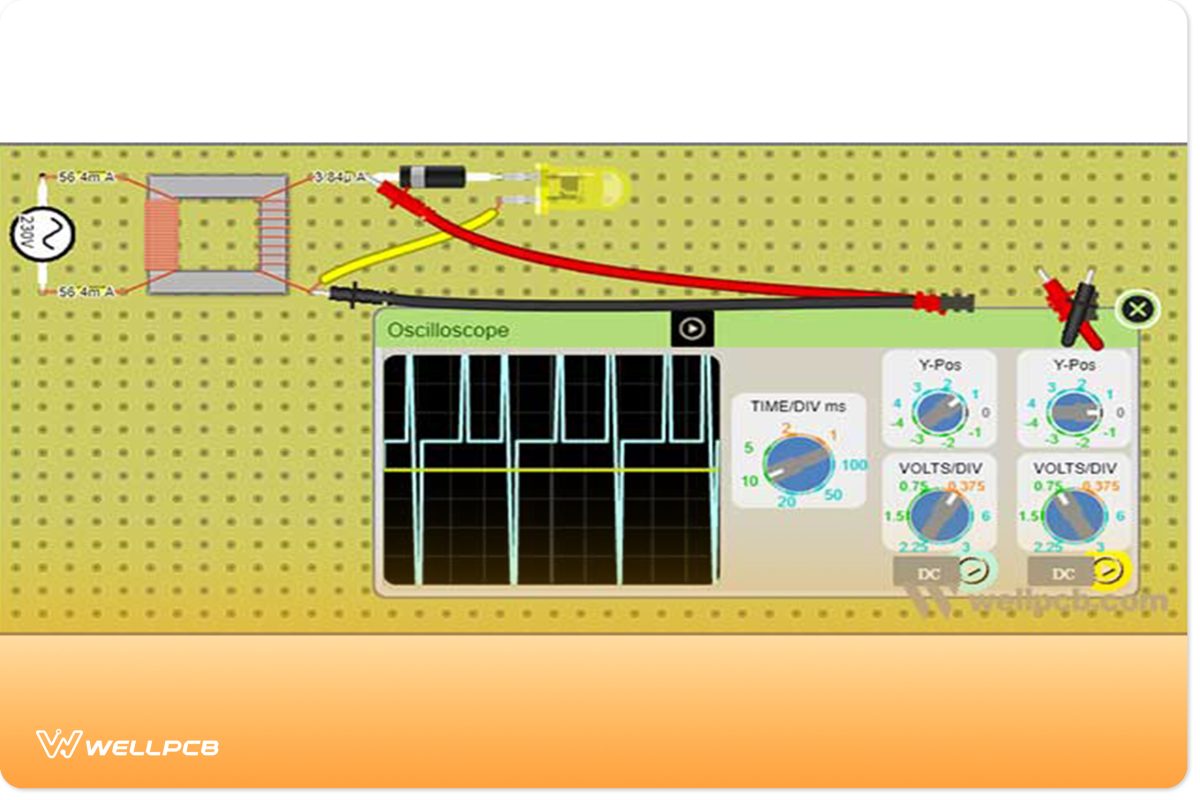
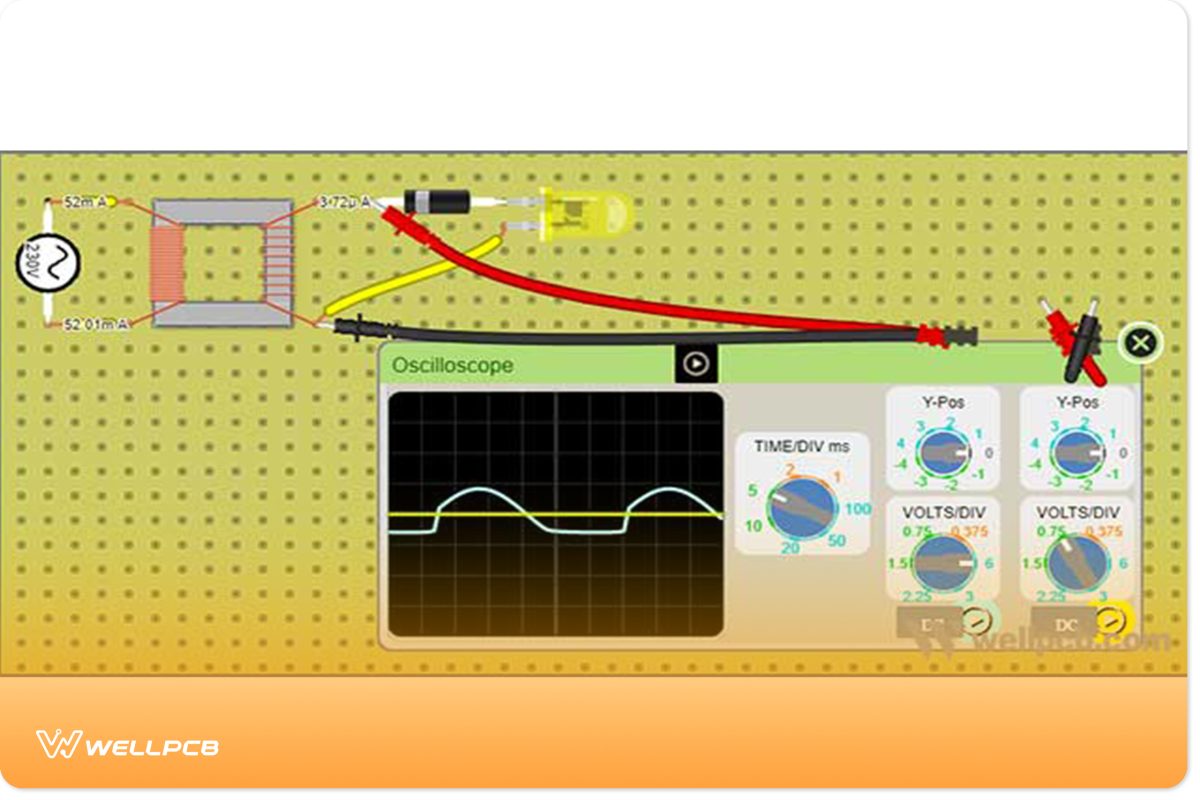
See the link https://dcaclab.com/en/experiments/16144-half-wave-rectifier-1 and play with the circuit to get a better understanding of the same.
Quantities that Oscilloscope can Measure
Quantities like frequency, amplitude and other waveform characteristics in a signal can be measured using the DCACLab Oscilloscope.
Frequency & Time Period
The number of cycles a waveform completes per second is known as its frequency. Here, we can change the frequency as per our desire and can experiment with the available signal. The time period is the inverse of frequency, and changing frequency will adversely affect the period of the wave.
Duty Cycle
The duty cycle is generally defined as the ratio of the on-time period to the total time period of the waveform. However, the change in one will affect the rest of the quantities in some other ways.
Other quantities that could be changed here are rise and fall time, maximum & minimum amplitudes, mean & average values, etc..


