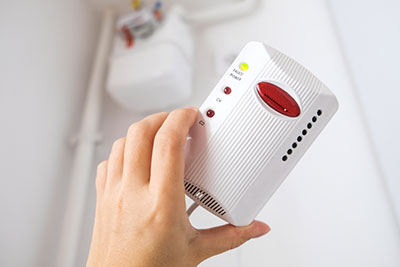
Generally, various elements require sensing and evaluation, such as humidity, light, temperature, gas, water level, etc. Thus, the most common measurement method is via sensing devices like thermometers, gas sensor chips, etc. Despite being efficient, they only sense one element. And so, we’re bringing to your attention a multipurpose sensor, BME680.
BME680 sensor is a 4-in-1 environmental parameter with a barometer sensor, temperature sensor, etc. What’s more, you’ll know how to interface BME680 with an Arduino circuit board after installing the needed libraries in this article.
Contents
What is the BME680?
BME680 is an environmental sensor incorporating high-accuracy, high-linearity temperature, humidity, atmospheric/barometric pressure, and VOC gas sensors. Before measuring indoor air quality, BME680 gas sensors sense a wide gas range, e.g., VOC (Volatile Organic Compounds).
Often, sensors guarantee high EMC robustness, long-term stability, and optimized consumption depending on a particular operation.
Further on, it’s majorly applicable in low power consumption and compact products like wearable and mobile devices.
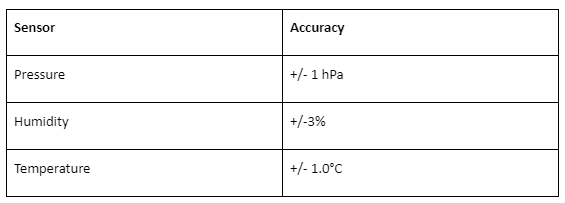
BME680 Accuracy
The table below shows the absolute accuracy of BME68 in pressure, humidity, and temperature sensor.
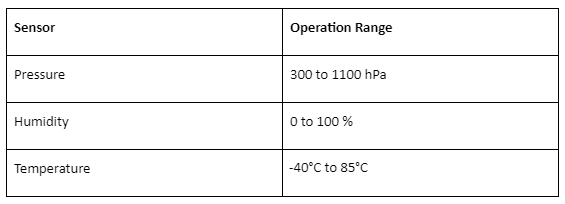
BME680 Operating Range
The second table shows the range of operation for BME680’s pressure, humidity, and temperature sensors.
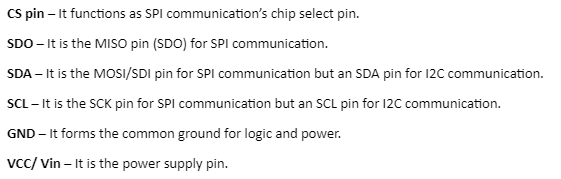
BME680 Pinout
BME 680 sensor has six pins shown below;

Schematic – Arduino with BME 680
BME60 sensor communicates and supports both an SPI interface and I2C communication protocol. Furthermore, the components required include Jumper wires, breadboard, Arduino UNO, and BME680 sensor module.
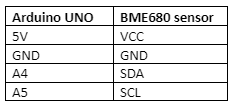
Arduino UNO with BME680 using I2C
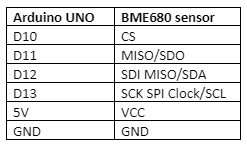
Arduino UNO with BME680 using SPI
Note;
- Look up the Adafruit BME680 library, then install the BME680 library/sensor module in your Arduino IDE for the required sensor readings.
- Then, start over your Arduino IDE after the library installation.
- Next, using the BME680 requires installing the Adafruit_sensor library. Therefore, our next step is adding the Adafruit_sensor library to the Arduino IDE.
How do you Get Readings From the BME680 Sensor Module?
We’ll use a sketch example from the AdafruitBME680 library to get the sensor reading of humidity, temperature, pressure, and gas.
First, open your Arduino IDE with the installed Adafruit_sensor and BME680 library. Then, proceed to bme680async from files, examples, and the Adafruit BM680 library.
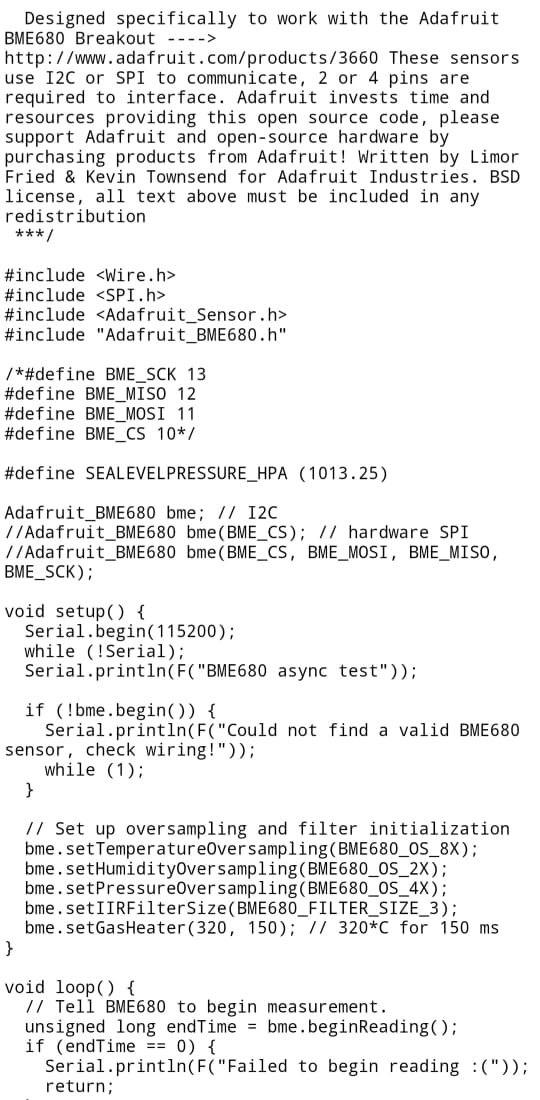
So, here’s a layout of the raw code;
How the Code Operates
Needed Libraries
The first raw code begins by inserting the required libraries as follows;
- Adafruit_BME680 and Adafruit_Sensor libraries for BME 680 sensor interfacing,
- SPI library, and
- I2C library.

SPI or I2C communication
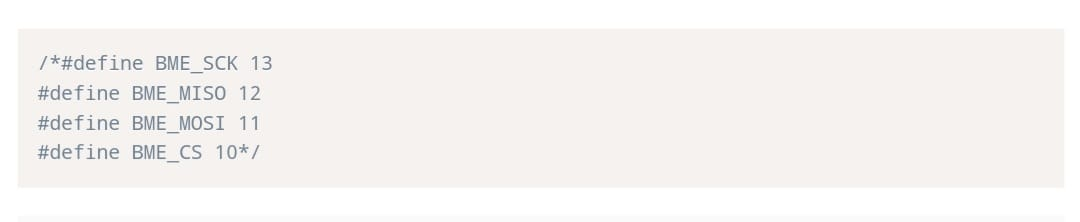
Next, you can use an SPI or I2C communication protocol with BME680 since both have the required codes.
Our code is for the I2C protocol; therefore, ensure you uncomment the code lines below defining SPI pins.
The pressure of the sea level
In the third part, there’s a variable known as SEALEVELPRESSURE_HPA saving sea level pressure in hectopascal.

Often, the variable compares sea level pressure to a given pressure to get an estimated altitude. And since it has a default value, use the exact current sea level pressure value for better accuracy.
I2C
As we said earlier, I2C is the default communication protocol. Hence, the line below will show me (Adafruit_BME680 object) on your Arduino I2C pins, i.e., D4/SDA and D5/SCL.
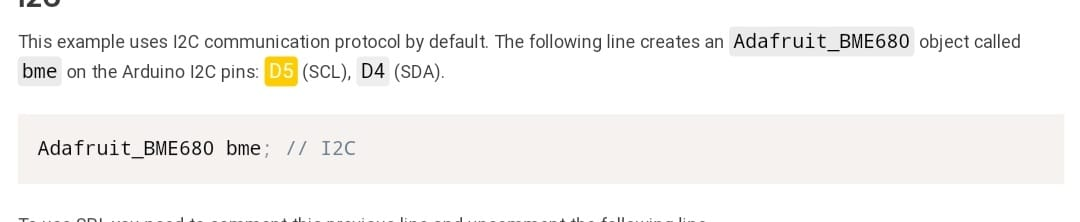
Also, you can uncomment the code line below when using SPI and comment on the above line.

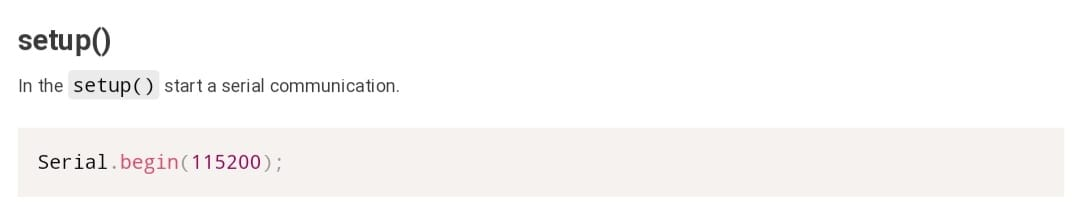
Setup()
Fifthly, the setup () helps in starting a serial communication.
Initializing BME 680 sensor
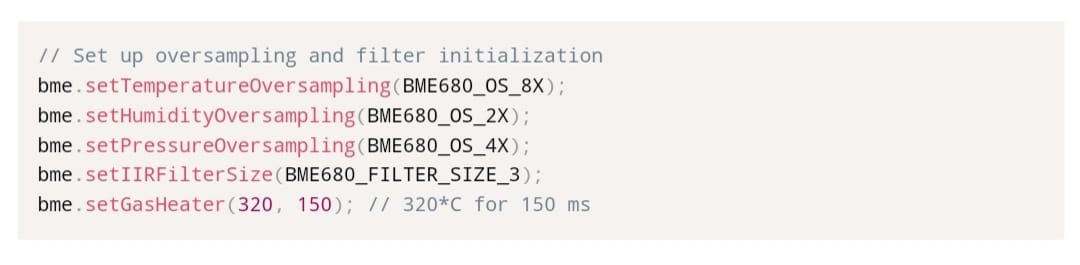
The sixth code step requires initializing the BME 680 sensor.

Afterward, set the gas heater, filter, and oversampling parameters for BME 680.
Loop()
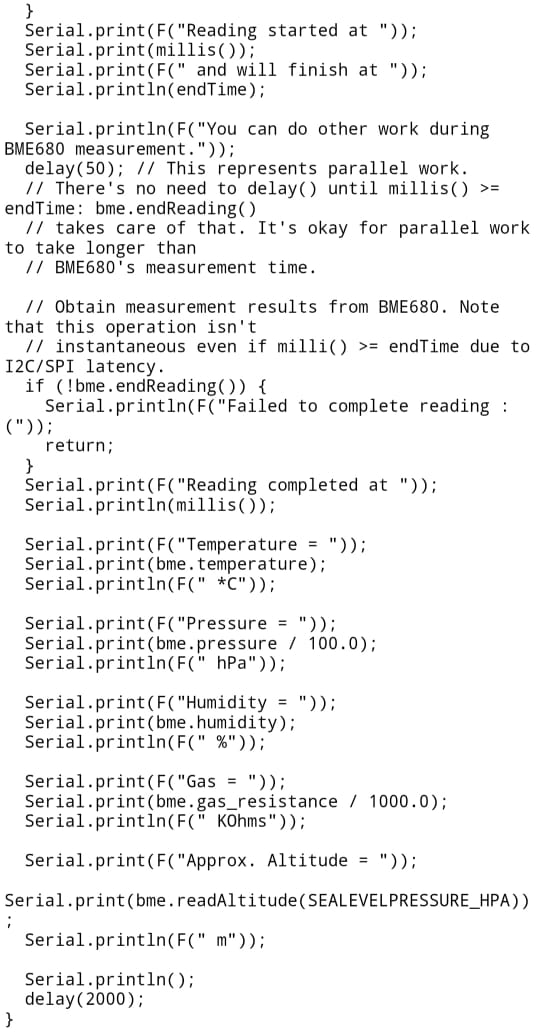
Our final loop() step process gives us BME 680 sensor measurements, which commands the sensor to begin an asynchronous reading using bme. start reading(). Subsequently, it’ll help in knowing the time to receive the reading.

Later, end or block the asynchronous reading using the end reading() method.
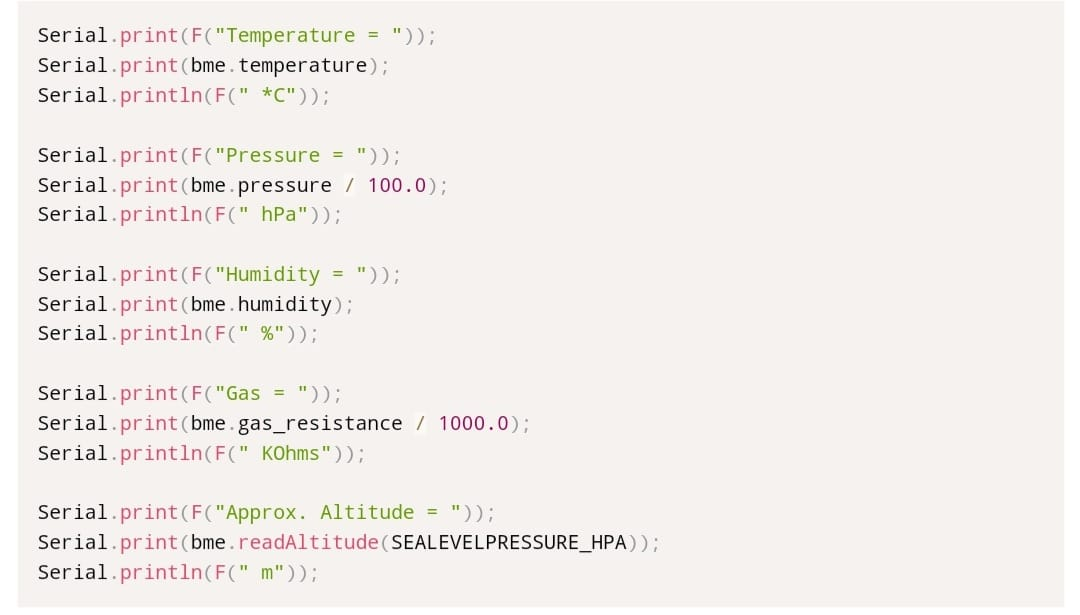
Finally, we’ll now get the sensor readings that comprise;

Practical Demonstration
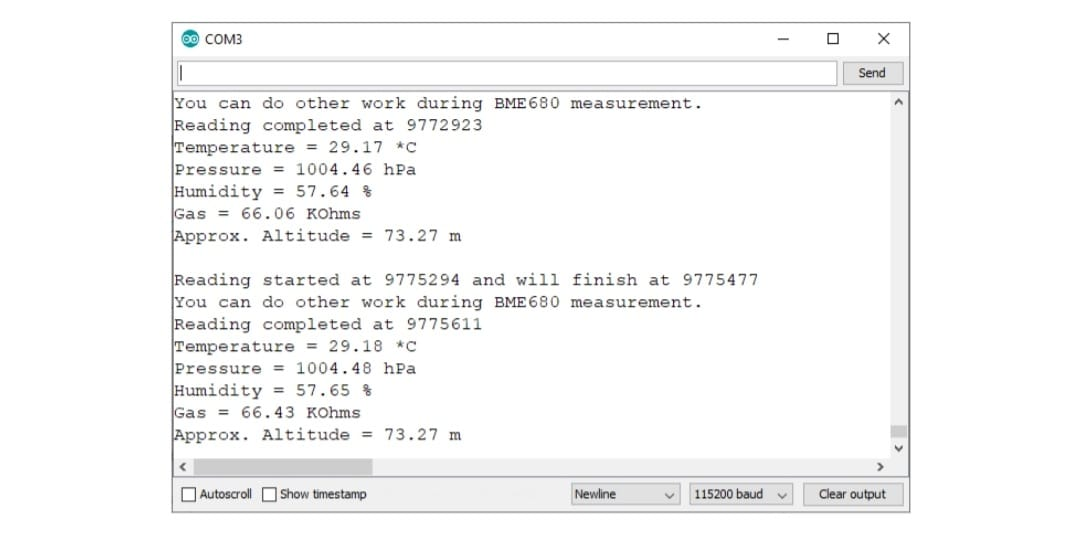
Now that we know how the code works, we’ll upload it to the Arduino UNO board. Next, to display the sensor measurements, open up the serial monitor (115200 baud rate). Then, push down the button written on board RST, and it should look like the diagram below;
BME 680 Applications
Applications of the BME 680 sensor include;
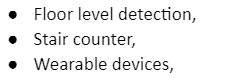

(Smartwatches – types of wearable devices)
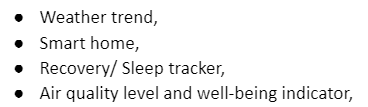
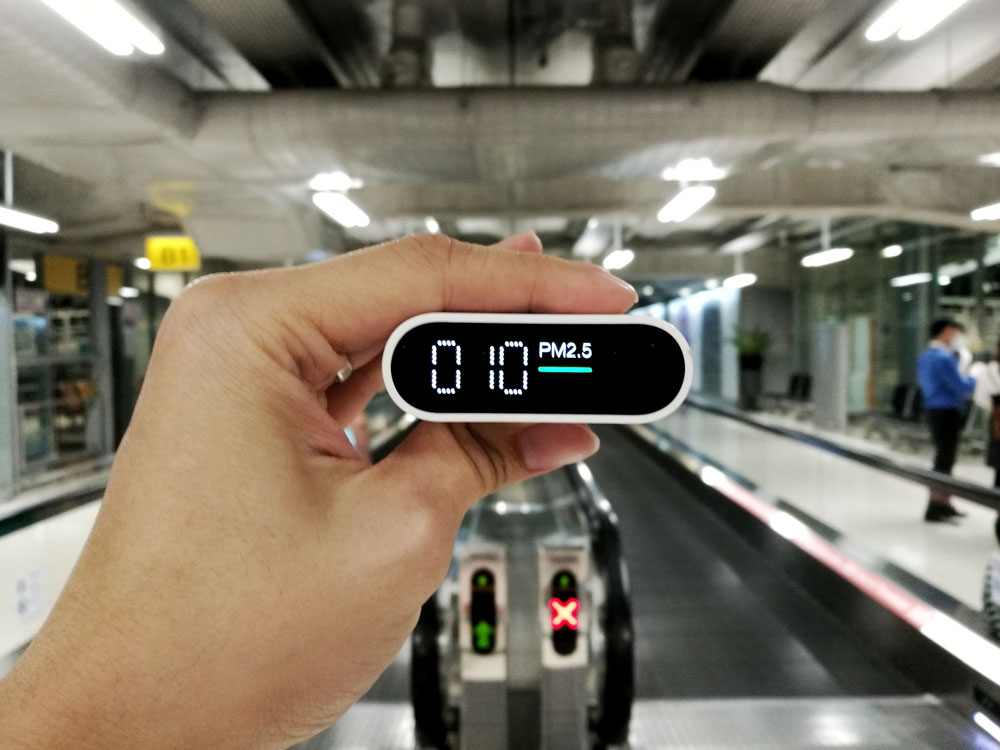
(A sensor showing amount of particulate matter in the air)
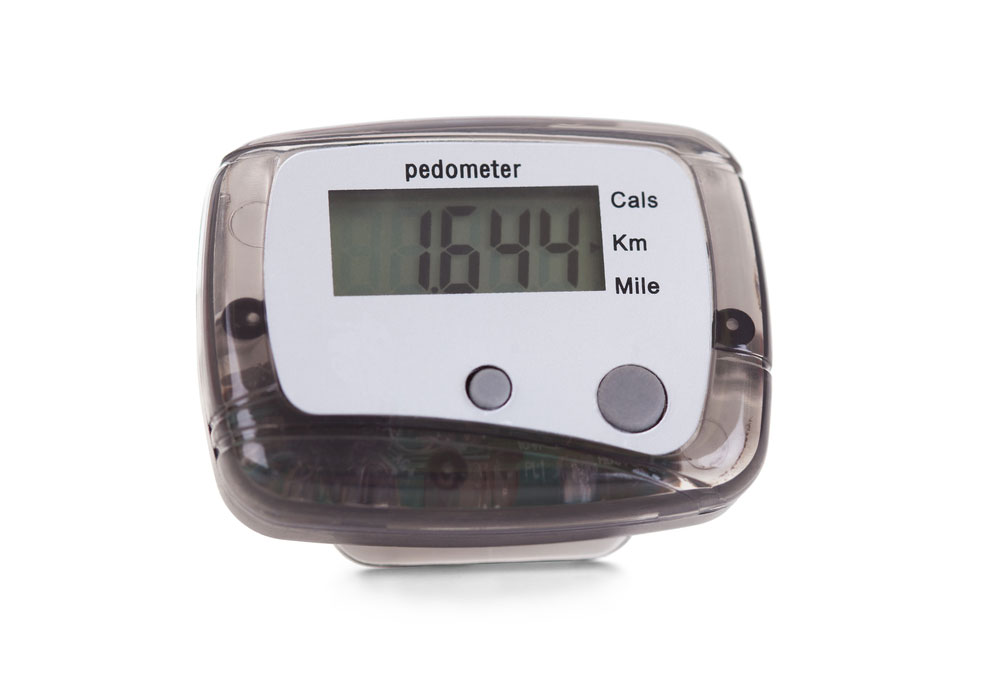
(pedometer)

Conclusion
Briefly, BME 680 is a digital environmental sensor that measures gas like carbon monoxide, barometric pressure, humidity, and temperature.
If you’d like to know more about BME 680 or have any queries, kindly contact us.


