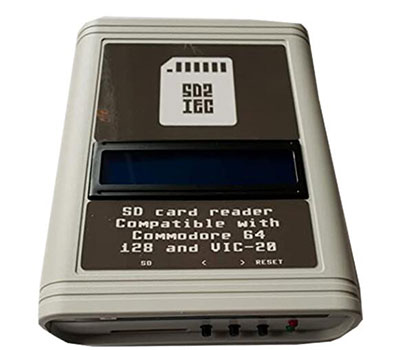
Retrocomputing was a pain when people dealt with physical disks (floppy disks). But today, Commodore retro computing has added extra functionality as the SD MMC cards have come into play thanks to the SD2IEC.
When you get a new SD2IEC, it’s normal to anticipate a comprehensive user manual that takes you through all the operations. But, the device possesses a one-page user manual that has Basic commands.
This blog post will give you more detailed information on using this device accurately, a sneak peek into some advanced functions, and using the suitable File.
Let’s begin!
Contents
How Do You Use a C64 SD2IEC Hardware?
Step 1 – Put Your SD Card in Place
For SD cards, avoid using 32, 64, or 128 GB in the card slot because they are incompatible. Instead, use 2 GB cards to set up the primary directory that boots your C64.
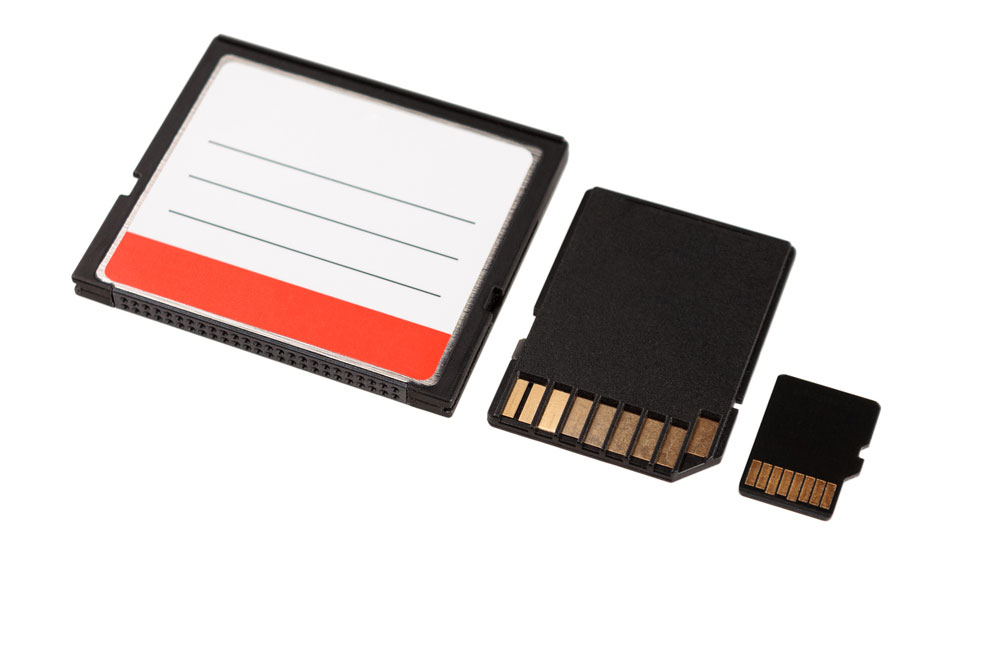
Micro card
Do you use a Mac? If yes, it’s best to avoid using the Mac OS Utility. Why? Simple! It only supports exFAT or the Mac OS file structure—which isn’t compatible with SD2IEC hardware. Hence, you have to format your card with FAT32, the most useful format.
But for Windows OS, go to the drop-down of the “File System” and choose FAT32. Another tip is to avoid using SD cards that you’ve used before for a different operating system like Raspberry Pi. And that’s because it is quite difficult to reformat adequately for SD2IEC.
Step 2 – Arrange Your Freshly Formatted SD2IEC Card
Your card should be ready for use after the format. So, you can get the CBM file system—a bundle of Commodore structures that give you access to browse Commodore computer D64 files present in the SD card of the SD2IEC. It’s vital to know the programs aren’t necessary, but they help simplify this hardware project.
That said, you can choose the browser of the CBM for A Commodore computer. Then, copy the file into the SD card’s root folder. For instance, you’ll copy an FB20 file for a Commodore VIC20 disk. Alternatively, you can duplicate the file of the FB64 to a Commodore 64, etc. But, if you’re using a version of Windows Explorer that adds a file extension, modify the file’s name. After that, remove everything after the dot. So, if your file is FB64.TXT, rename it to FB64.
Step 3 – SD Card Receives files from D64.
In this step, the SD card will receive files from the D64. Afterward, create directories to drop your files. This step is essential, especially if a multi-disk game is present.

Then, copy all the D64 disk images on your card as the SD2IEC hardware is in your PC or Mac. Next, download public domain files to have your copy.
Step 4 – Connect Your SD2IEC
In this step, you can connect your SD2IEC and SD card. While you’re at it, ensure that the C64 is set up to project on the basic screen. Then, switch off the PC. If you’re using the port’s tape variant of the SD2IEC firmware, it will give you a user serial port for peripherals.
While you’re connecting, ensure that the top faces up. Then, plug it into the right port of the Commodore PC. In addition, at the back of your Commodore, the IEC plug with 6-pins should go inside the IEC port.
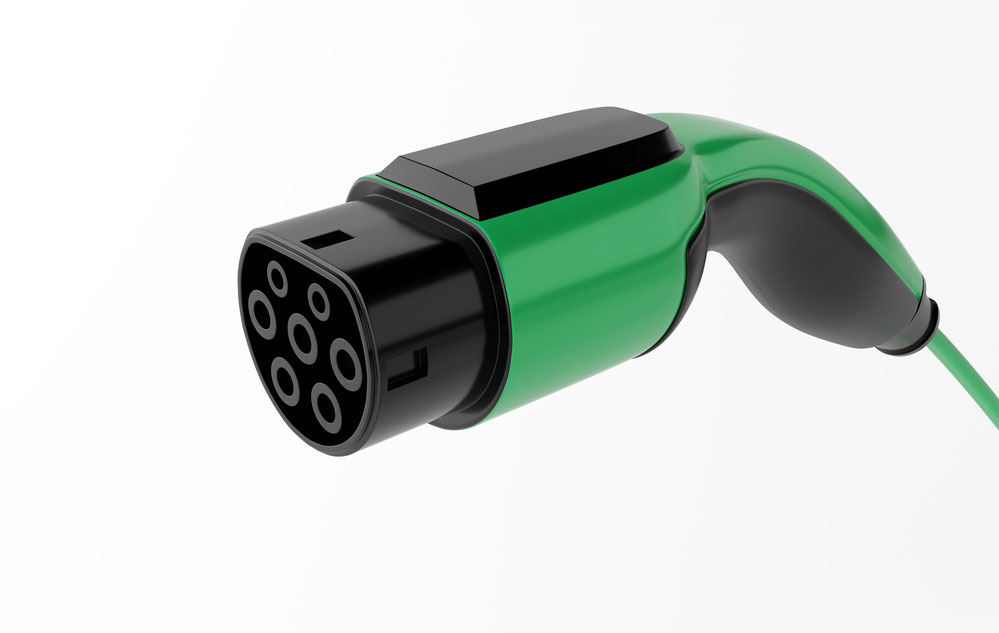
3d IEC connector
Step 5 – Add Your Cartridge for Fastload
This step is optional. But if you have a repacked cartridge from Fastload, install the device. Then, plug the electronic switches into the Commodore 64’s cartridge port. As a result, you’ll increase the loading app via the SD2IEC hardware. But it’s crucial to know this; SD2IEC isn’t compatible with the 1980s original Epyx Fastload.
Step 6 – Put on Your Computer
At this point, you can turn on your Commodore. While at it, ensure that you disconnect other peripherals until everything looks good. So, your C64 should display a basic message, ready prompt, and Fastload logo underneath if you added the device.
How Do You Read and Write SD Card Disks?
First, you have to list your SD2IEC’s root directory. Then, type the command below to set up the index if you don’t have the Fastload file.

But if your setup has a Fastload Reloaded system, you can insert the dollar sign and click return. Then, utilize the Browser that supports CBM File for loading files (games) and put an image with the command below.

Afterward, comb the menu to pick the required disk image suitable for the cursor keys. Then, pick your preferred disk image to cram and click on return.
Your screen will display the disk image contents you mounted. At that point, you can choose your preferred file. Then, could you open it and click return? Next, the File Browser will launch your file and insert the disk. Then you’ll find your game displayed on the monitor.

Additional Advanced Features of SD2IEC
You may come across applications or games that have more than one disk. And this could pose a problem considering that exiting the browser of CBM means you won’t see your SD card content. Indeed, Commodores can’t unlock different windows or multitask to date.
But with the SD2IEC, you can produce a file. You can call the file AUTO SWAP.LST and put it in the D64 directory of your game. Also, it’s vital to know you can easily create the file with TextEdit or Notepad on Mac and Windows. In addition, the file should have the right order of the D64 images.
Then, open your directory with the disk image again after opening the FB64 program. Next, click “Q” to leave the FB64 system.
Then, press the Disk Swap button close to the cable of the IEC—to choose the 1st disk. Afterward, input the commands of C64 below.

Consequently, your game will load. You may also see a prompt from the game to install the second disk.

How to Modify the Device Address for SD2IEC
Your SD2IEC resides inside Disk eight by default, the default of C64 Disk ID. So, if you intend to overlay your SD2IEC behind the Disk eight, tweak the program to perform like Drive nine. You can do this with the command below.

To save the Drive ID on the memory (SD2IEC), input the command below.

Also, if you need to switch between Drive nine and eight, change eight and nine in the commands.
Closing Words
Playing your favorite game on Commodore shouldn’t be a hassle anymore. And it’s thanks to the cost-effective SD2IEC and which interfaces with the IEC bus.
But you need to follow the instructions in this article to have a finished project.
So, do you have questions or suggestions on the topic? Please feel free to reach us.