Arduino Nano is among the oldest versions of the Arduino software boards. While it lacks a power jack, it’s best suited for mini breadboard applications primarily due to its small form factor. It’s also frugal on power consumption. Our Arduino Nano tutorial will give a detailed explanation of how to use this Arduino board.
Contents
Step 1: Downloading the Arduino IDE
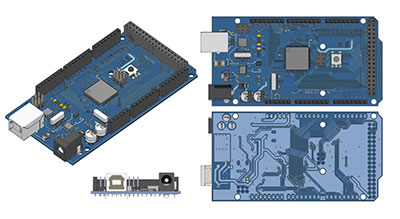
Fig 1: A Simple Arduino Project using Arduino UNO
First, commence your Arduino project by downloading and installing the Arduino IDE. Our tutorial will cover downloading Arduino IDE 2.0 on board-friendly Linux, Windows, and Mac Computer OSs.
Remember, you can access and download the editor from the Arduino Software page.
Requirements
You’ll need;
- Mac OS X
- 64 bits Linux OS
- Windows 10 and newer versions
Arduino IDE 2.0
The Arduino IDE Software (2.0) is primarily an open-source hardware project. Also, has a huge advantage over the previous 1.8.13 version as it comes with more vision tools, language references and software tools, and other additional features.
Downloading the Editor
Visit the Arduino Software Page official library to access the download the editor. Also, here you’ll find other editors’ examples from libraries that may prove important to your project demands.

Installation
Windows
For Windows OS, you’ll run the installation file you downloaded earlier. Also, remember to follow the installation guide for the sake of completion.
macOS
First, run the file you’ve just downloaded from the software page. The Arduino IDE Software is now ready for use.
Step 2: Connect Arduino Nano for the First Time
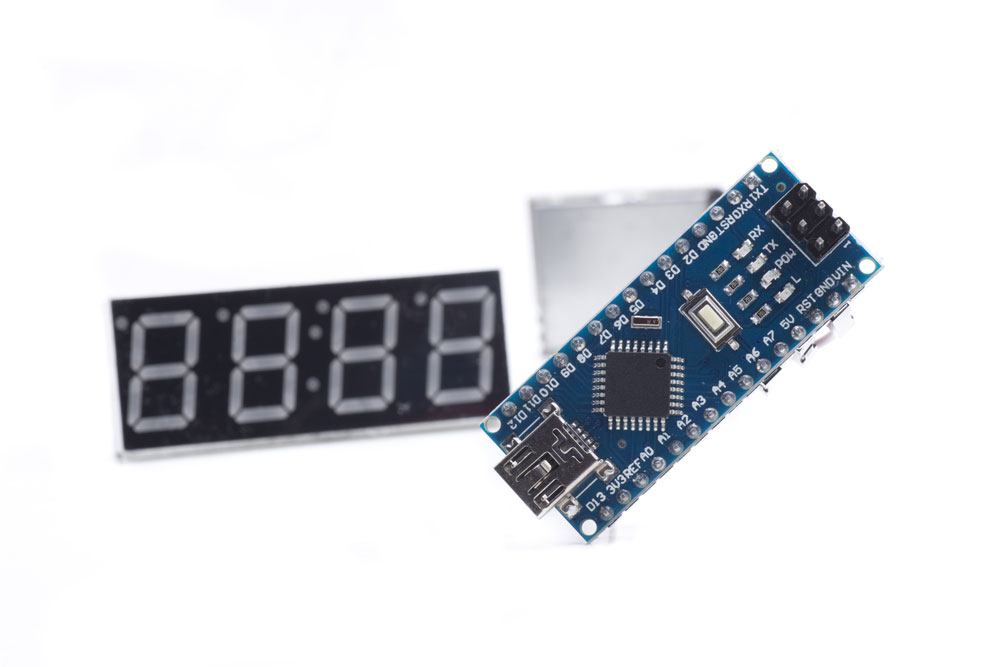
Fig 2: Several Arduino Nano Microcontrollers
Primarily, you need to understand the Arduino Nano Pinout to make correct connections. They are as follows:
- First, we have the Mini USB port, a point from which you power the Arduino boards. Also, besides being a power supply point, you can use the Mini USB port to load new code versions.
- Essentially, the Arduino board doesn’t have built-in examples of the programs you may want to run. Hence the need to manually upload them.
- Next, the Arduino boards have pins sticking underneath for connection to a breadboard. Therefore, ensure you stick the pins to the breadboard with the USB port facing outside. This will make room for an effective USB connection to a computer or another peripheral device.
- Also, there are output pins such as the Ground pins, Digital IO, Serial Port, and RESET Pins. The digital pins are handy in connecting external peripheral devices and inputs.
- On the other end, you’ll find analog input pins starting with the letter ‘A.’
Making the Connections
- First, make a mini-B USB connection from an external power supply. The built-in LED will switch on.
- Next, load the code using the Arduino IDE software. Besides, load a driver for the USB port to facilitate communication over USB.
- Then, select the Blink program, verify that it is accurate and upload it.
Step 3: Tips When Connecting Arduino Nano Compatible Board
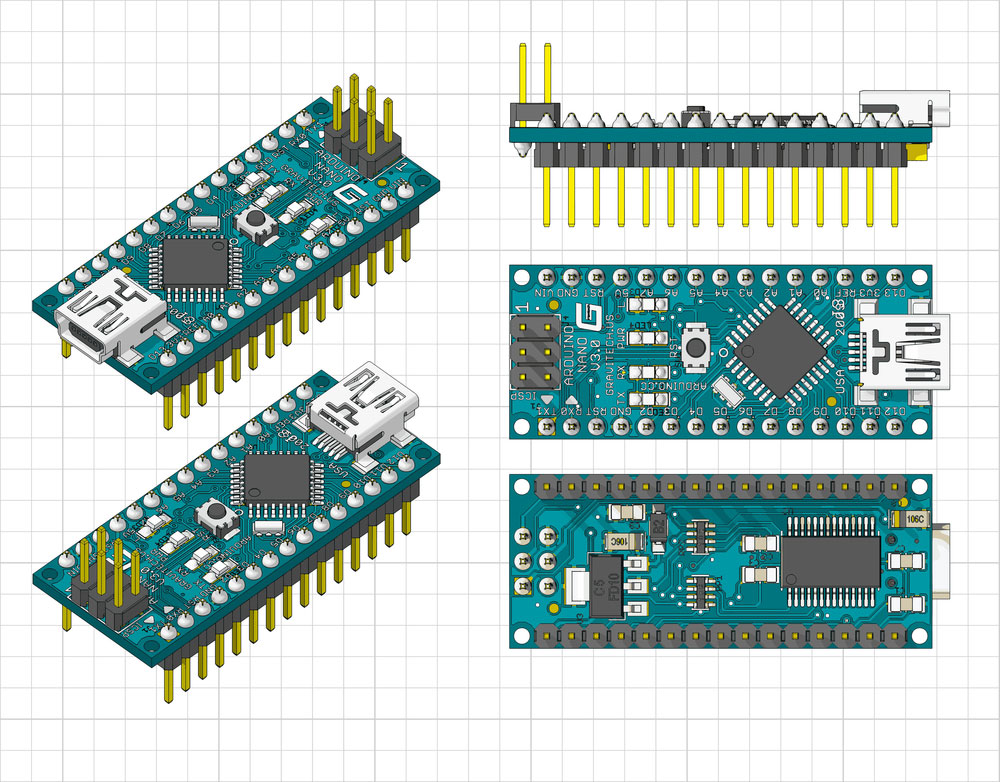
Fig 3: Display on a Blue Arduino Nano
- Ensure that you are gentle when connecting the Arduino Nano to the breadboard.
- Also, ensure the USB faces out to limit cable crossing and facilitate easy connections.
Step 4: Open your first sketch
In this step, you need to open the built-in sketches in the Arduino IDE software.
Step 5: Select your board type and port
The Arduino Nano uses the ATmega328p microcontroller. Therefore, click on ‘Tools’ from the menu tools and select ‘Processor: ATmega328P’, as illustrated below.

Step 6: Upload and Run your first Sketch
Finally, click the button shown below.

After compiling and running the sketch is complete, the Arduino Board’s TX and RX light will switch on. Also, you’ll get the message ‘Done Uploading’ to confirm the completion of the code upload.
Conclusion
Our Arduino nano tutorial provides a stepwise explanation of the Arduino Nano Pinout and how to upload a code to the microcontroller. For further inquiries, speak to us, and we’ll respond immediately.


