Creating circuits on the Arduino open-source hardware platform requires using Arduino shields. They help reduce the complexity of the hardware and circuit wiring on projects. In this article, we’ll learn what an Arduino Sheild is, the different types, and the installation process.
Contents
What is Arduino Shield?
Arduino shields are hardware add-on boards that attach to the Arduino board to give it additional functionalities. They aid in creating different IoT projects with functions like Bluetooth, motor drivers, and WiFi, among others.
Types of Shields
Arduino Shield: Ethernet Shield
Arduino Ethernet Shield allows the Arduino breakout board to connect to the Internet using an ethernet connection. For instance, you can control a robot remotely from a website using the shield.
The Arduino Ethernet Shield R3 has a micro SD card slot for storing network data. You can use the SD card library to interface with the micro SD card port.
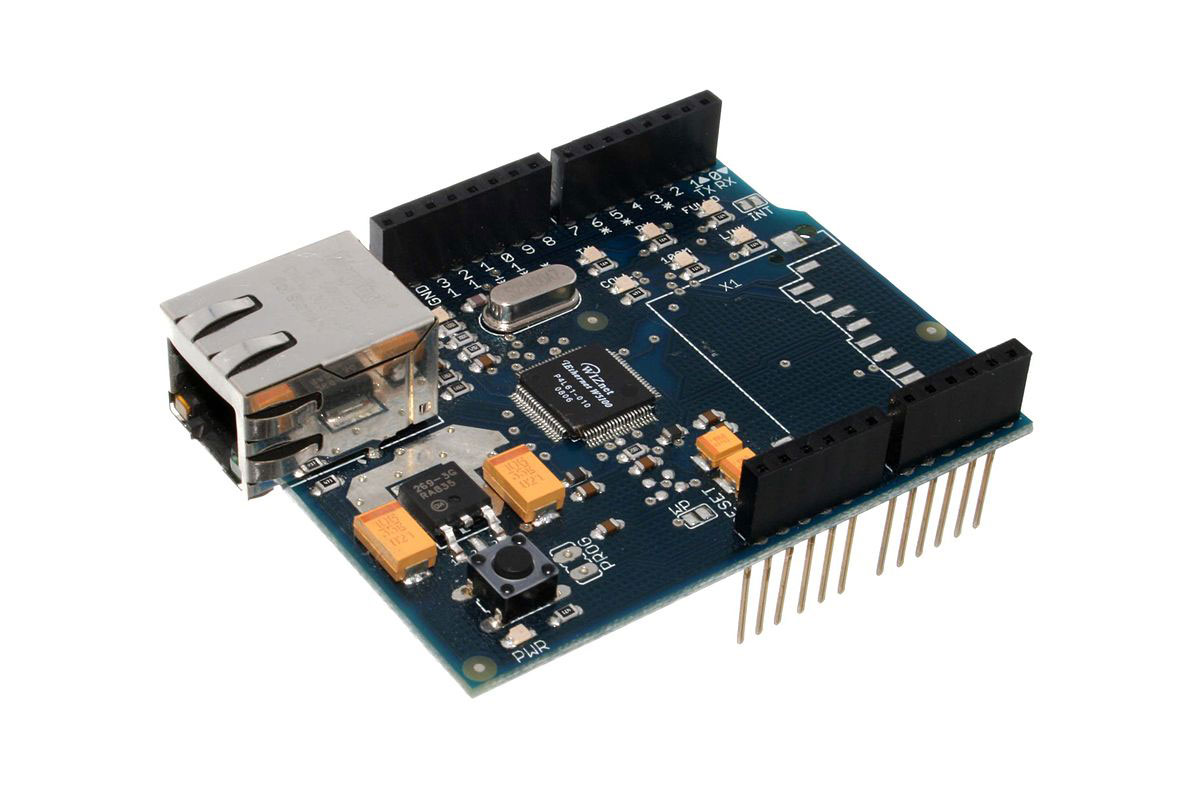
Arduino Ethernet shield.
Source: Wikimedia
Arduino Shield: Xbee Shield
By integrating the Xbee Shield with Zigbee, we can communicate wirelessly with the Arduino board. The Xbee wireless module allows an Arduino board to activate appliances without the hassle of a cable.
It is usually within a range of 100 feet indoors or 300 feet outdoors.
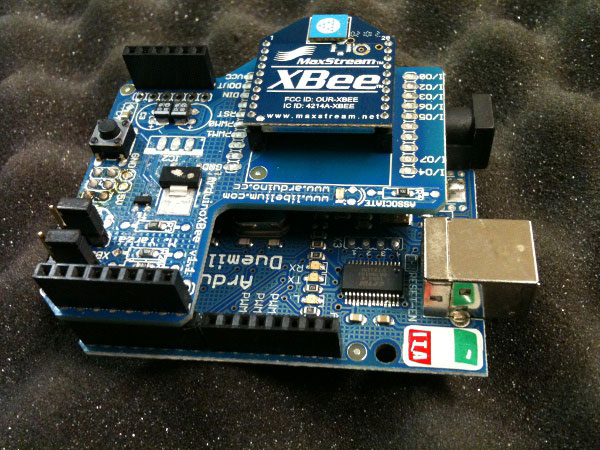
Arduino XBee
Source: Wikimedia
Arduino Shield: Relay shield
The Relay Shield enables the Arduino boards to control high current loads devices. It is because the Arduino digital I/O pins have voltage and current limits.
The shield is a module with four mechanical relays and four LED indicators.
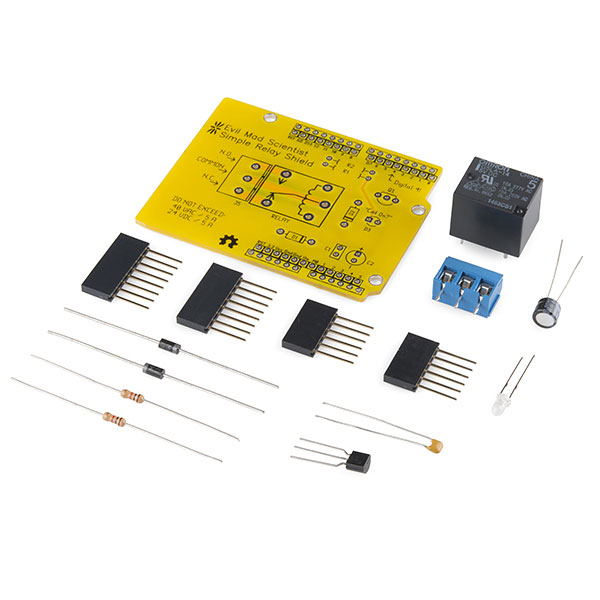
Relay Shield
Source: Wikimedia
Arduino Shield: Motor shield
The Arduino Motor Shield is a shield that drives inductive loads such as solenoids and stepping motors. It enables you to independently control the speed and direction of two DC motors using your Arduino board.
You can also measure the current absorption of each motor through the shield. The operating voltage of the Arduino Motor Shield is from 5V to 12V. The shield can draw power from an external source or the board.
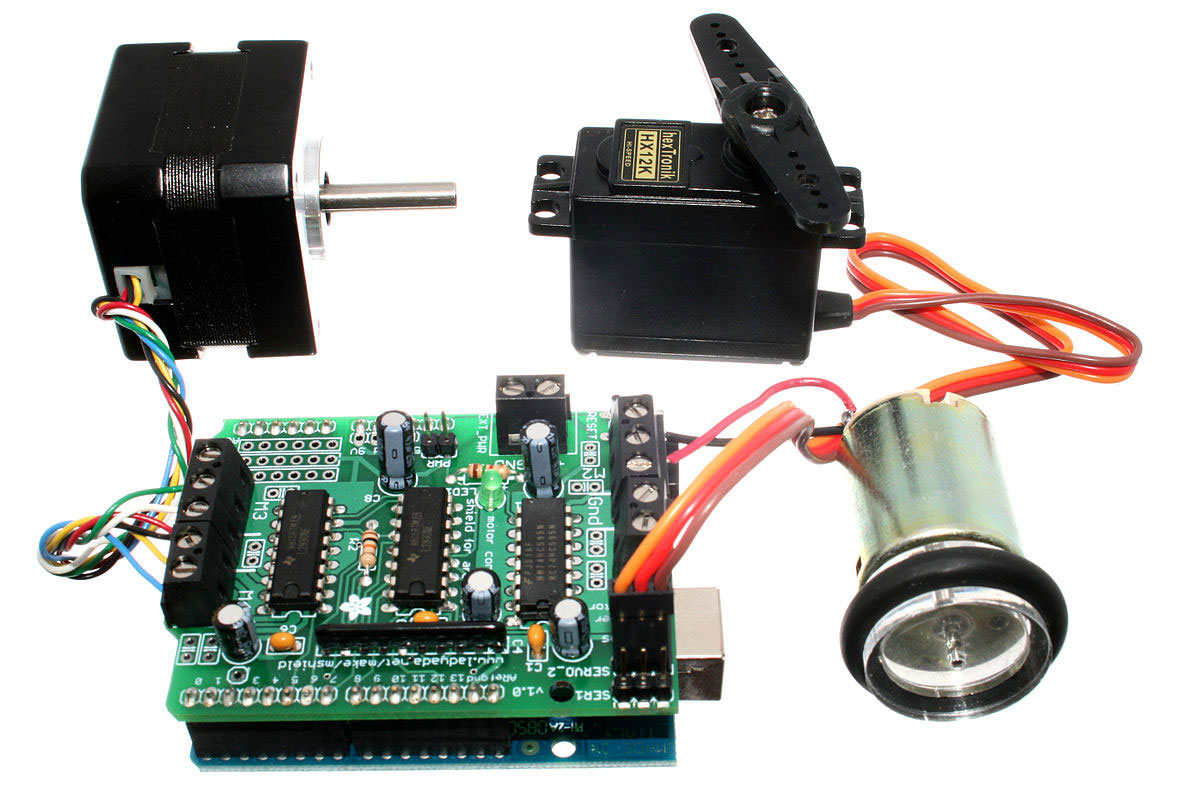
Adafruit Motor
Source: Wikimedia
Arduino Shield: LCD shield
The LCD shield has a five-button keypad. The five keys assist us in choosing items from menus and navigating from the board to our project.
In addition, it consists of the 1602 white characters on the blue backlight. The LED on the board shows that the power is ON.
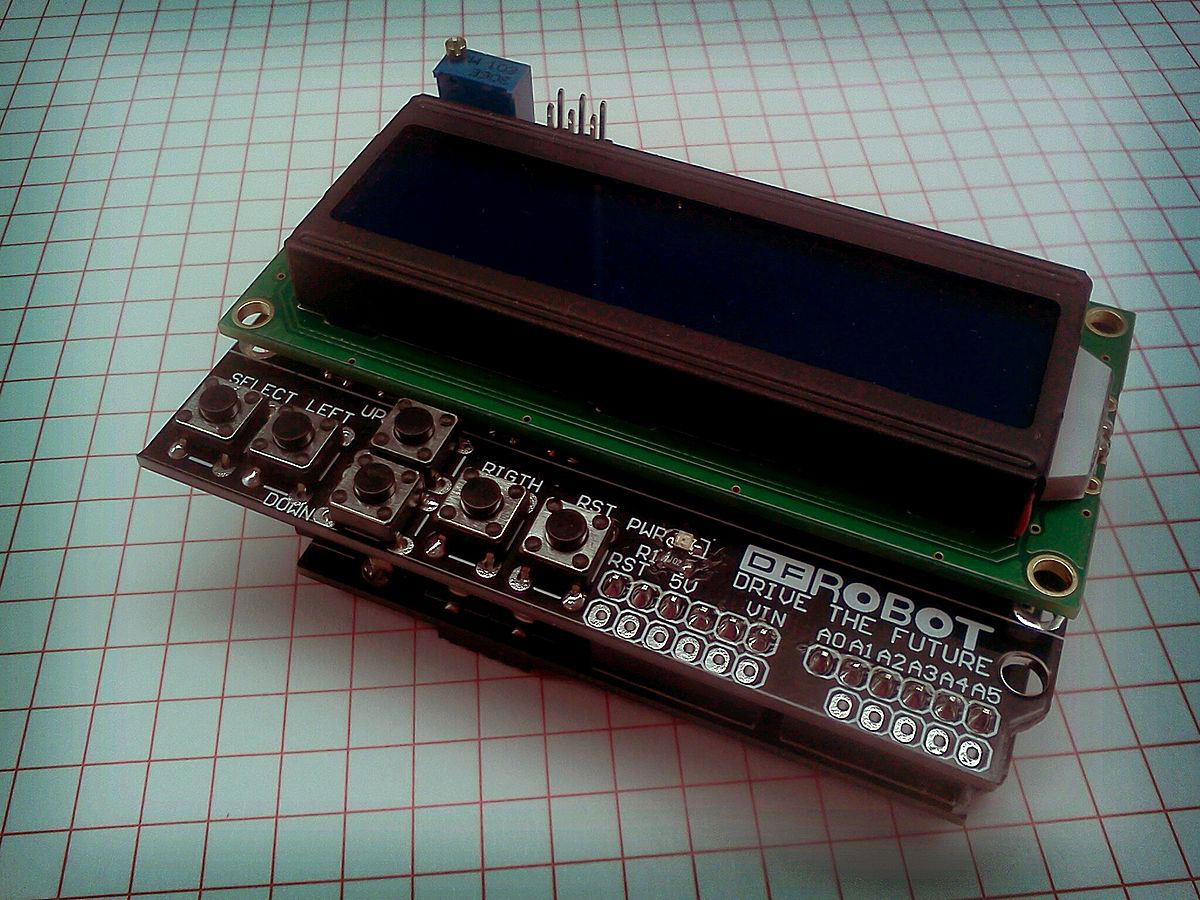
Arduino + LCD shield.
Source: Wikimedia
Arduino Shield: Bluetooth shield
The Bluetooth shield establishes a wireless serial connection with the Arduino board’s two serial ports (from D0 to D7). The Bluetooth shield’s communication range is up to 10 meters.
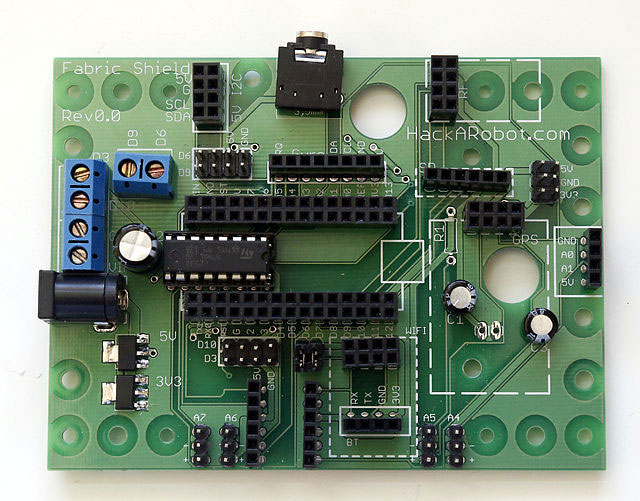
Fabric Shield for Arduino Nano compatible with Bluetooth board.
Source: Wikimedia
Capacitive Touchpad Shield
The Capacitive Touchpad is a touchscreen display shield with a built-in microSD card connection and a capacitive touchscreen. It creates a simple capacitive touch interface that enables the integration of the Arduino board with the touch shield.

How Do You Turn a Drab, Header-Less Shield Into a Fully Functional, Plug-and-Play Module?
- First, plug all headers into the board in the correct direction. The extra-long pins of the female headers should stick out at the bottom. Note that the titles should be perpendicular to the shield PBC to slide straight onto your Arduino.
- Solder the headers to make reliable electrical contact. Here, it would help if you started by soldering a single pin to check for the alignment of the titles. If well aligned, proceed to solder the remaining ones.
Before plugging the shield into the Arduino, check for bad solder joints and shorts. You have to eliminate them to make a good electrical connection.
- Lastly, slide the shield into the Arduino while observing not to damage any pins.
Conclusion
Shields provide the Arduino with further functionalities that would be challenging to implement. They can greatly enhance the speed, connectivity options, power, and range of your Arduino platforms.
Please get in touch with us if you have any questions.


