
Boosting the bass in any sound system improves audio quality. You can usually achieve this by integrating a unique component onto an electronic circuit. Of course, it must feature an audio input so you can connect it to your speakers, subwoofer, etc. With such an implementation, you can also expect to feel more immersed in the overall listening experience. Not only that, but the bass boost circuit also serves as a way to provide volume, gain, and bass control. Also, by reading through this article, you will understand how to create your bass boost circuit. So let’s get started!
Contents
1. What is a Bass Boost?
(A bass boost circuit amplifies the sound.)
A bass boost serves as an electronic circuit that improves low-frequency sounds through an amplification circuit. These generally integrate into consumer electronics to enhance sound quality.
2. How to Make Bass Boost Circuits
We introduce three different bass boost projects:
Using 2n2222 transistor
Circuit diagram:

(Bass boost with 2n2222 transistor circuit diagram.)
Electronic components:
- 45W – 65W soldering iron – 1x
- Soldering wire with flux – 1x
- 8 Ohm speaker – 1x
- 9v DC battery – 1x
- 100k potentiometer – 1x
- 470k resistor – 1x
- 10k resistor – 1x
- 47k resistor – 1x
- 470 Ohms resistor – 1x
- 2n2222 NPN transistor – 1x
- 47uF capacitor – 1x
- 100nF capacitor – 2x
- 100uF capacitor – 1x
- Battery clip – 1x
- Veroboard – 1x
Steps:
Step one:
First, you will need to solder the transistor. Next, solder a 47k resistor to the transistor’s base and circuit’s ground. Afterward, connect a 470k resistor to the transistor’s headquarters and the circuit’s VCC. Next, click the 47uF capacitor’s positive terminal to the transistor’s base.
Step two:
Attach a 100nF capacitor to the transistor’s base and emitter pin. Next, connect a 10k resistor to the circuit’s VCC and the transistor’s collector pin. You will need to attach a 570 Ohms resistor to the transistor’s collector pin and circuit’s VCC. Next, connect the other 100pF capacitor to the transistor’s collector pin and the circuit’s VCC.
Step three:
Afterward, attach a 470uF capacitor to the transistor’s collector terminal and the circuit’s audio out. You will also need to solder the 100k potentiometer onto audio out. Next, attach a 9v battery clip and solder the speaker input to the 10k potentiometer’s central terminal and ground circuit.
Step four:
Lastly, attach the Audio IN to the 57uF capacitor and the circuit’s ground. Then, solder the Audio OUT to the speaker.
Working principle:
A smartphone’s microphone provides the circuit with audio input, which connects to the transistor’s base. In this case, it operates as a control signal. Connecting a 100uF capacitor to the transistor’s base prevents the DC signal from passing through, and meanwhile, the AC signal can flow through.
Then, the amplified output signal flows through the 47uF capacitor, which filters out any remaining output noise. The 100K potentiometer boosts the audio signal before it passes on to the 8 Ohms speaker.
Using IC-741
Circuit diagram:

(Circuit diagram of a bass boost with the IC 741.)
Electronic components:
- BC348 transistor – 1x
- LM741 IC – 1x
- 100k potentiometer – 1x
- 10uF capacitor – 3x
- 0.0033uF capacitor – 3x
- 22uF capacitor – 1x
- 47uF capacitor – 1x
- 10k resistor – 4x
- 50k resistor – 2x
- 47k resistor – 2x
- 56k resistor – 2x
- 1k resistor – 1x
- 2.2k resistor – 1x
Steps:
Step one:
First, connect the IC LM741 and Q1 BC348 components. Next, you will need to click the C1 10uF capacitor to the input. Connect a 56k (R1) resistor to C1. Then, attach a 47k resistor (R2) to C1’s positive end. Afterward, connect a 1k resistor (R3) to the transistor’s base. Meanwhile, the transistor’s collector connects to VSS.
Step two:
Attach the C2 10uF polarized capacitor to the transistor’s emitter. Next, wire a 2.2k resistor (R4) to the capacitor’s opposing end. You will need to connect a C3 0.0033uF capacitor to the 10uF capacitor’s positive future. Connect a 50k resistor (R9) to the 0.0033uF capacitor. Then, attach another 50k resistor (R10) to that 50k resistor.
Step three:
Attach another 0.0033uF capacitor (C5), which connects to the LM714’s pin 6, to that resistor. Next, click the LM714’s pin 2 to a 10k resistor (R7), relating to the 0.0033uF capacitor. After that, connect a 56k resistor (R12) and 22uF capacitor (C7) to the ground. This 56k resistor connects to the 47k resistor (R11), which connects to the VCC. Add a 100k potentiometer (VR1), which connects to the C4 0.0033 uF and R5 10k resistor.
Step four:
Connect LM714’s pin 4 to the ground. Meanwhile, pin 7 connects to VCC and a 47uF capacitor (C6), which connects to the ground. Lastly, attach a 10uF (C8) capacitor to the LM714’s pin 6. This capacitor will also connect to the output.
Working principle:
The circuit runs on a 12V to 18V power supply. First, the input receives an audio signal. Then, the C1 coupling capacitor will supply the AC to R3 before passing it to the transistor’s base. Meanwhile, R1 and R2 serve as voltage dividers for the transistor’s bias current. As you can see, C1, R3, R1, R2, R4, C2, and Q1, operate as a preamplifier circuit, and it generally boosts up the signal. Afterward, a higher-frequency call flows out of the transistor’s emitter, passing to C2.
A signal passes through the low pass frequency filter circuit, C3, C5, R8, R9, and R10. In this case, it removes the high-frequency movement. Another signal passes to R5, R6, R7, and C4. The LM417’s pin 2 mixes these signals, amplifying them in the process before they flow to pin 6.
Some signals may return to the frequency filter circuit. That way, it provides more gain controllability for the frequency ratio.
You can increase or decrease the low-frequency level by adjusting the VR1 potentiometer.
- Build a great sounding audio amplifier (with bass boost) from the LM386
Circuit diagram:

(Bass boost with LM386 circuit diagram.)
Electronic components:
- 9V DC battery – 1x
- 1000uF capacitor – 1x
- 100uF capacitor – 1x
- 10uF capacitor – 1x
- 470pF capacitor – 1x
- 0.033uF capacitor – 1x
- 0.1uF capacitor – 3x
- 10 Ohms resistor – 1x
- 10k resistor – 1x
- 10k potentiometer – 3x
- Breadboard
Steps:
Step one:
First, connect the battery’s negative and positive terminals to the breadboard’s negative rail. Connect two jumper wires from the breadboard’s negative rail to the positive rail. Insert the LM386 IC. Attach pin 1 to another terminal. Add a 10k potentiometer (gain) by connecting the middle pin to the LM386’s pin 1.
Step two:
Afterward, connect LM386’s pin 2 to the ground. Then, attach LM386’s pin 3 to another terminal and a 470pF capacitor, which connects to the ground. Next, connect from that terminal to another airport, connecting to a 10k potentiometer’s (volume) middle pin. Connect outside pin to ground.
Step three:
Insert the 10uF capacitor’s opposing end to the LM386’s pin 8. Then, connect the positive end to a terminal in the breadboard. Attach a jumper wire from that terminal to the gain potentiometer’s pin. Add a 10k ohms resistor and connect it to pin 7 and another terminal. Next, click a 10uF capacitor’s positive end to that resistor. Meanwhile, the capacitor’s end goes into the ground.
Step four:
Connect pin 6 to the positive rail. Add a 0.1uF capacitor between pin 4 and pin 6. Form a connection from pin 5 to another terminal. Then, add a 0.1 uF capacitor to one end of a 10 Ohms resistor, connecting to the ground. Next, insert a 1000uF capacitor into that terminal. Ensure the positive side connects to the resistor, and the negative side connects to another airport.
Step five:
Then, add a 0.1uF and 100 uF capacitor between the positive and negative rails. Connect a jumper wire from pin 4 to the ground. Attach the positive wire speaker to the 1000uF capacitor’s opposing end. Afterward, connect the speaker’s negative end to the ground rail. Next, add the audio input left or right channel into the last volume potentiometer pin. Attach the ground wire to the ground rail.
Working principle:
The audio input ground amplifies noise distortion, which occurs in the amplifier. Additionally, the circuit features a 470pF filter capacitor to block out any detected radio interference. Meanwhile, a 100uF capacitor blocks low-frequency noises. At the same time, a 0.1uF capacitor prevents high-frequency noise from passing through. These two capacitors connect to the battery.
You will also notice that a 10k Ohms resistor and 10uF capacitor connect in series. These enhance the audio input signal. Overall, the bass boost serves as a low pass filter that blocks out noise. It also relies on a 0.0033 uF capacitor and a 10k potentiometer.

3. Applications of bass boost circuits
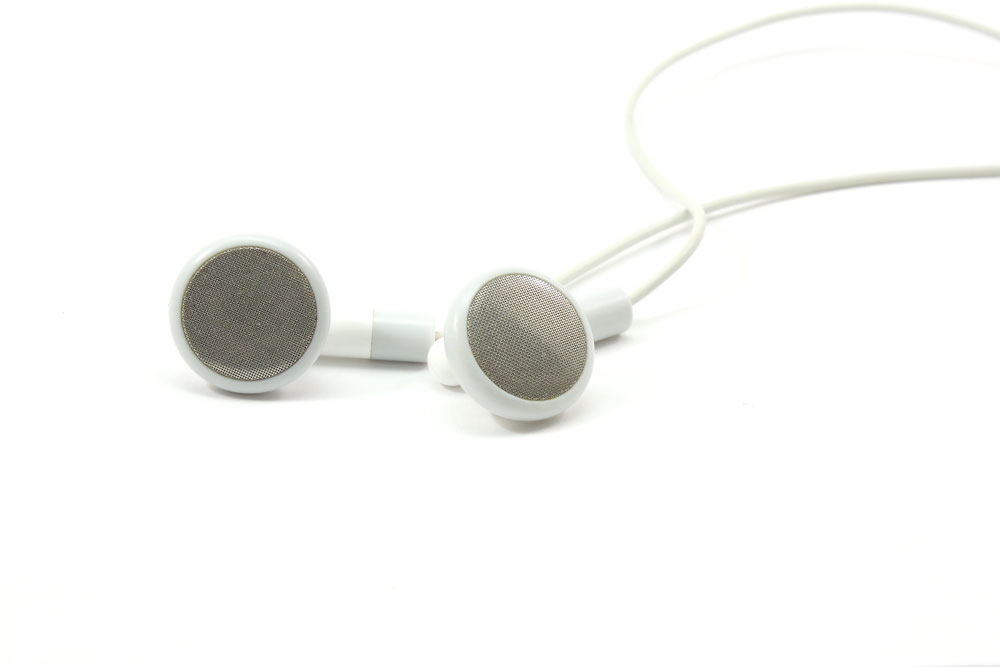
(Earbuds feature a bass boost circuit.)
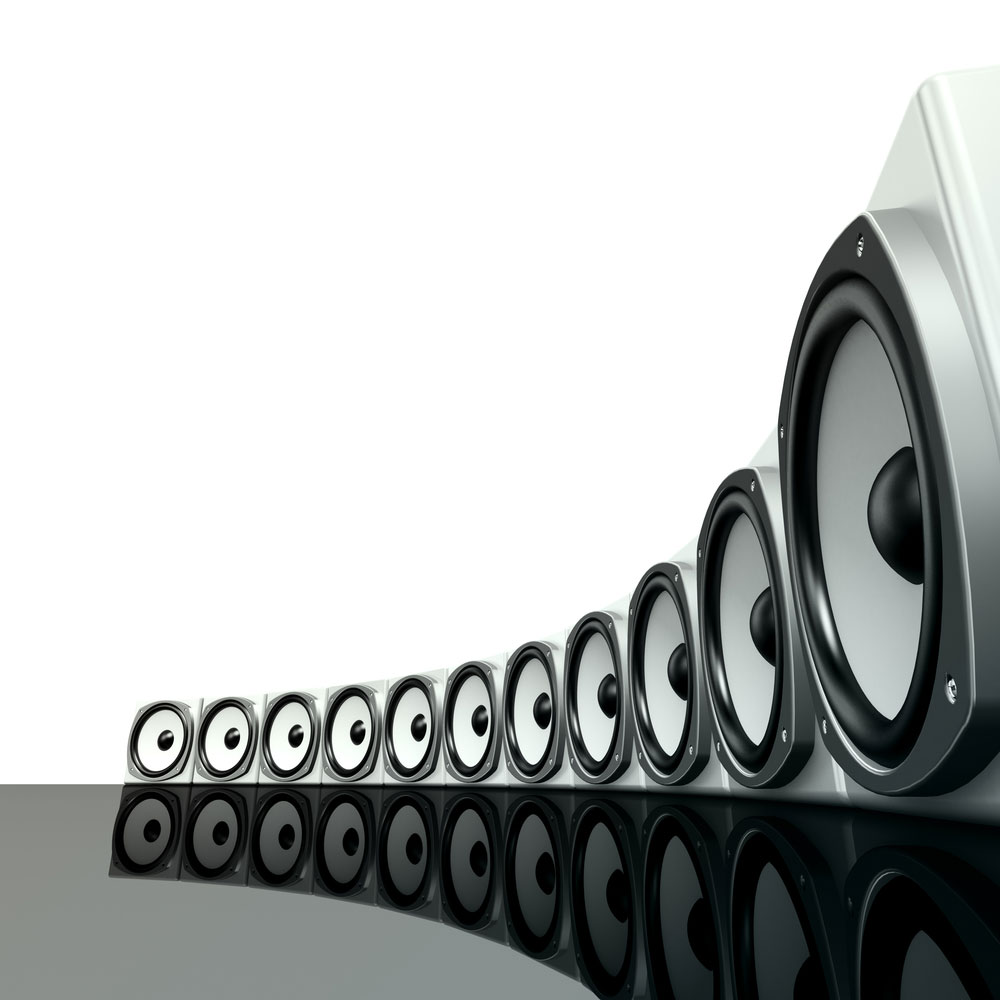
- Speakers
- Home entertainment systems
- Earbuds
- Gaming headsets
4. Can bass boost damage speakers?

(A bass boost circuit can damage your speakers.)
Many speakers are capable of handing bass boost without inflicting damage. And problems may arise if it operates with excess volume or high Sound Pressure levels (SPL). So if you want to boost the bass, then you should reduce the book first.
However, other factors may affect performance or harm the speakers. For example, speakers featuring an overpowered amp can cause problems. If you connect it, then the speakers will receive a higher current than their limit. As a result, this process over-drives the speaker cones, producing signal distortion until finally damaging the speakers. Meanwhile, distributed power will also overheat the voice coil, causing it to burn.
Summary
Overall, the bass boost serves as a low pass filter that blocks out noise distortion. In that case, it will enhance sound quality, providing you with a smoother listening experience. Of course, such a circuit relies on capacitors, resistors, an LM386, etc., to complete this process. So next time you notice faint or distorted noise, you should consider implementing a bass boost circuit. That way, you can enjoy listening to music a lot more than before!
Do you have any questions regarding a bass boost circuit? Feel free to contact us!


