
What do you do when your wireless signal doesn’t reach the house?
Such situations can be annoying, especially when multiple devices need that connection.
No doubt, Wi-Fi range extenders can fix your problem, or you can use daisy chain routing.
Daisy chain routing is a cheaper alternative that enhances your Wi-Fi signal strength–for those who don’t want an extender.
But what is daisy chain routing? And what do you need to use it on your wireless router?
Keep scrolling to explore the secrets of daisy chain routing and how you can use it for your home network.
Contents
What is Daisy Chain Routing?

Low Wi-Fi signal
Daisy chain routing is the next best alternative when you can’t buy routers with better range or Wi-Fi range extenders.
And it involves connecting two routers via a wired connection.
Interestingly, daisy chaining two routers allows you to connect to the same network from two different points.
As a result, your signal strength will increase throughout your home.
In addition, you don’t need to purchase anything for daisy chain routing.
But you’ll need an old router or two lying around for this method to cost zero fees.

How to Enhance Signal Strength with Daisy Chain Routing
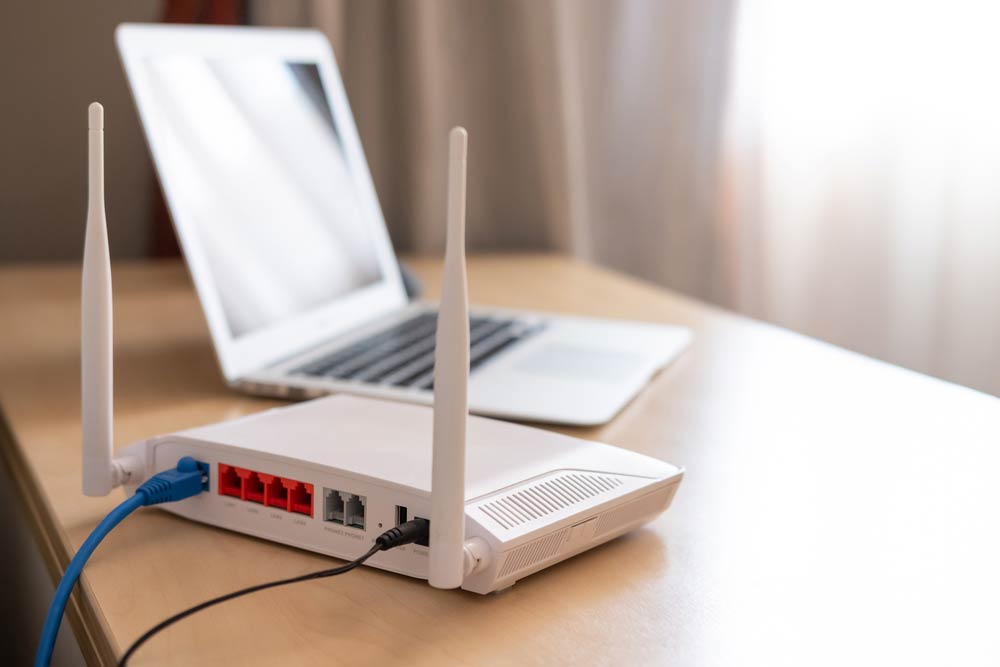
Wifi router with an ethernet cable
As stated earlier, you don’t need a buttload of equipment for this process.
Hence, we recommend keeping your old router when you’re making an upgrade.
It’ll come in handy for projects like this. Here’s what you need for a successful daisy chain routing:
- Router 1
- Router 2
- Ethernet cable
Steps on How to Daisy Chain Your Routers

White router with a yellow ethernet cable
Before we start, we assume your wireless network is up and running (router 1).
But you can connect another router to the same network through ethernet cables.
So, ensure everything is working correctly before attempting.
Step 1: Connect to the Second Router’s Network
Start the daisy chain process by connecting your computer to router 2’s network.
Then, switch on the router, find the network, and log in or connect as required.
Note: If unsure about the second router’s settings, perform a hard reset.
Step 2: Configure Router 2’s Settings
Proceed to tweak the router’s settings after logging in.
You can type the IP address in any web browser to access the settings. Alternatively, you can follow the instructions that come with the router.
Step 3: Deactivate DHCP on Router 2
Next, you must disable DHCP on router two before proceeding.
The setting is responsible for assigning IP addresses to devices on the network.
So, the second router doesn’t need this feature, as router one handles giving IP addresses to connected devices.
Therefore, ensure you do this step before connecting the two routers.
Note: Deactivating DHCP on router two is a critical step. Missing it may cause issues on your local network.
Step 4: Examine Router 1
After configuring router two, you’ll need information from the primary network.
First, discover what subnet router one uses–and the IP address ranges it assigns within its DHCP.
For instance, IP addresses on the network may range from 191.168.0.100 to 192.168.254.
Alternatively, it may be 10.0.0.100 to 10.0.0.254.
Note: Many home routers have the 192.168.0.0 and 255.255.255.0 subnets. Hence, your home router may likely be the same. Don’t worry if it’s not because it’s easy to determine a router’s internal IP.
Step 5: Give Router 2 a Static IP Address
Once you get the necessary information from router one, give router two a static IP address. While at it, ensure that the static IP address is out of the primary network’s range but within the subnet.
Usually, you can accomplish this in your secondary router’s LAN settings tab. Additionally, ensure both routers have similar network masks (typically 255.255.255.0 or /24).
For instance, if your primary router’s internal IP is 192.168.0.1, you can set 19.168.0.2 as your secondary router’s LAN IP. In short, make sure other devices don’t have the same address.
How do you do that?
Start by opening “Command Prompt” and inputting ‘ping 192.168.0.2.’
You’re good to go if it returns the prompt “Request time out” four times.
Step 6: Grab your Ethernet Cable

Man plugging ethernet cable to a router
Next, connect your secondary router to router one’s LAN port.
Any network devices plugged into router two will grab the settings from the primary router’s DHCP.
In addition, enabling the second router’s wifi will ensure the networks are on non-overlapping channels.
Also, both routers should have similar WLAN SSID and security settings.
Step 7: Final Adjustments
Wifi ready for connection
It’s easy to log into your second router’s network. So, you can open your web browser and type the assigned IP address from step 5.
Once you connect, set a password and adjust the settings if required.
Final Words
Daisy chain routing can easily create more access points for increased network strength.
Therefore, it’s an adequate alternative to purchasing Wi-Fi network extenders.
In truth, the process is easy and requires few components.
Also, you only need two routers and an ethernet cable for a successful daisy chain routing.
Do you have any questions? Feel free to reach us, and we’ll be happy to help.


