The battery is one of the most brilliant inventions ever made. So, how it works is that it stores a fixed amount of power before running out. That’s why we have rechargeable batteries. Hence, if you’ve got a flat battery, you can hook it up to a charger and get it juiced. However, the performance of your batteries depends on the charger. That’s why a decent battery charger is necessary. But, if you want to make one, there are many battery charger designs out there. Some are simple, like an LED battery charger, while some are like biting the bullet. Luckily, we’ve created this article to show you how to make DIY battery chargers. Are you ready? Let’s dive in!
Contents
What is a Battery Charger?
In layman terms, battery chargers are devices that charge dead batteries.
But let’s go a little deeper.
Battery chargers are devices that feed electric currents to batteries for a lengthy period.

Battery charger with volt and watt checker
The aim is to make the battery cells hold enough power and work as an energy source. And it’s something all chargers have in common.
However, there are some differences between a cheap battery charger DIY and one with excellent quality.
So, here’s the thing.
Cheap battery chargers supply constant voltage or current to batteries—until they get turned off.
The problem with the cheap chargers is;
If you leave the battery charging for too long, it will get overcharged.
But, if you take it off too soon, your batteries won’t get enough power to run for longer durations.
On the other hand, good-quality chargers utilize a softer trickle charge (usually 3-5 % of the battery’s max capacity) for longer durations.
The other variation of the battery charger is the timer battery charger. This intelligent battery charger is capable of switching off automatically.

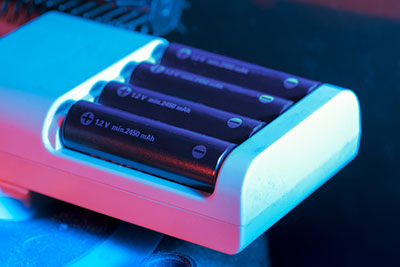
battery charger with four battery cells
Unfortunately, this doesn’t prevent overcharging because each battery possesses different charging times.
What Are the Materials Needed to Build a Battery Charger
You don’t have to be a professional battery manufacturer to build a battery charger. You can create a DIY battery charger from your home.
All you need to do is to follow the instructions and use the right materials.
So, here are the parts you need to build the battery charger project:
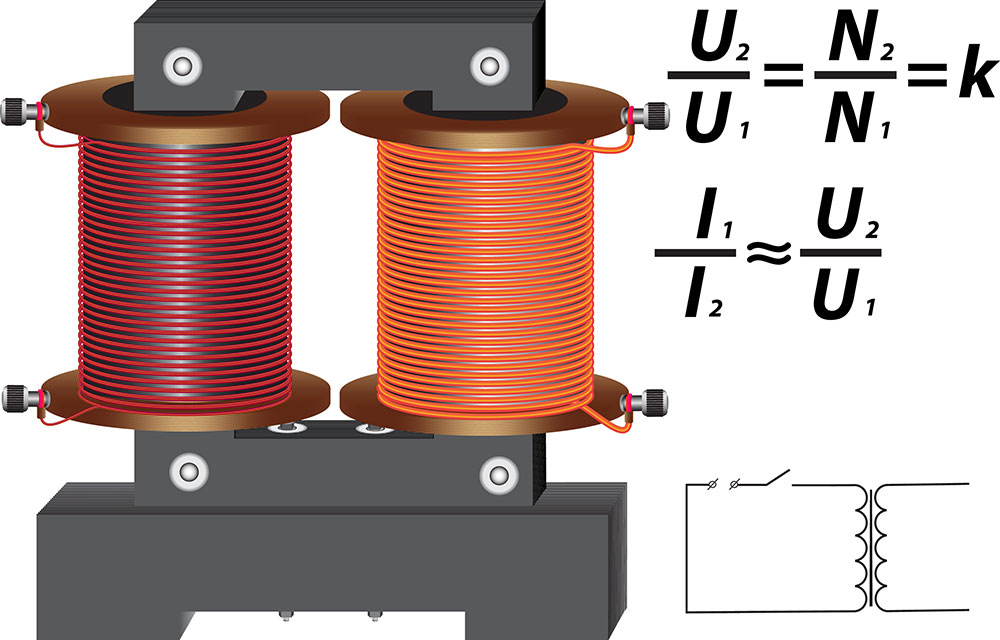
- Step-down transformer (220V/14V) X 1
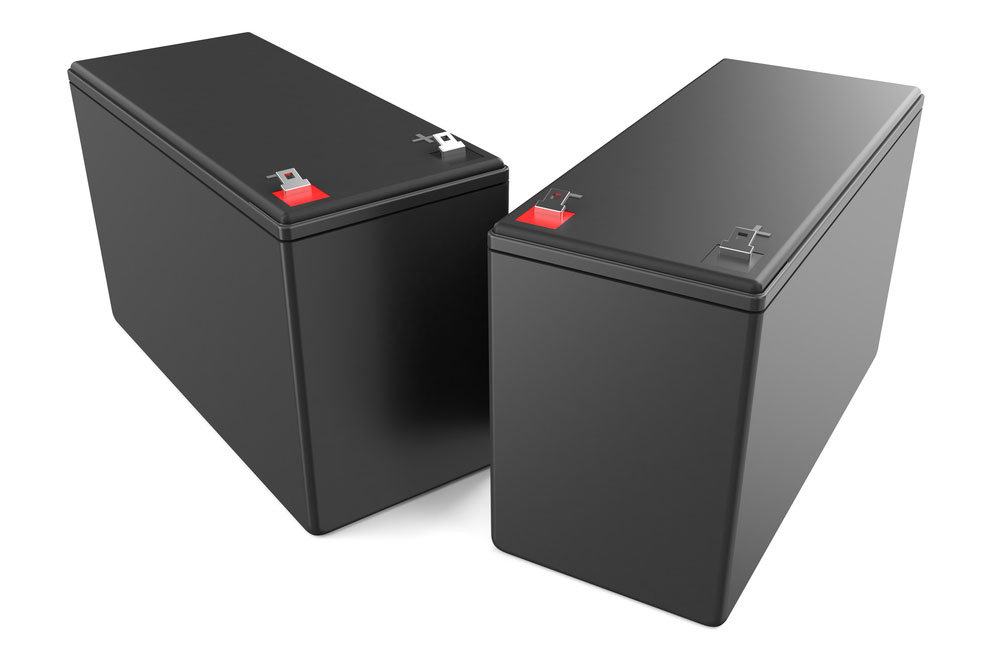
- Lead-acid battery (12V/7Ah) X 1
- Diode (1N4007) X 4

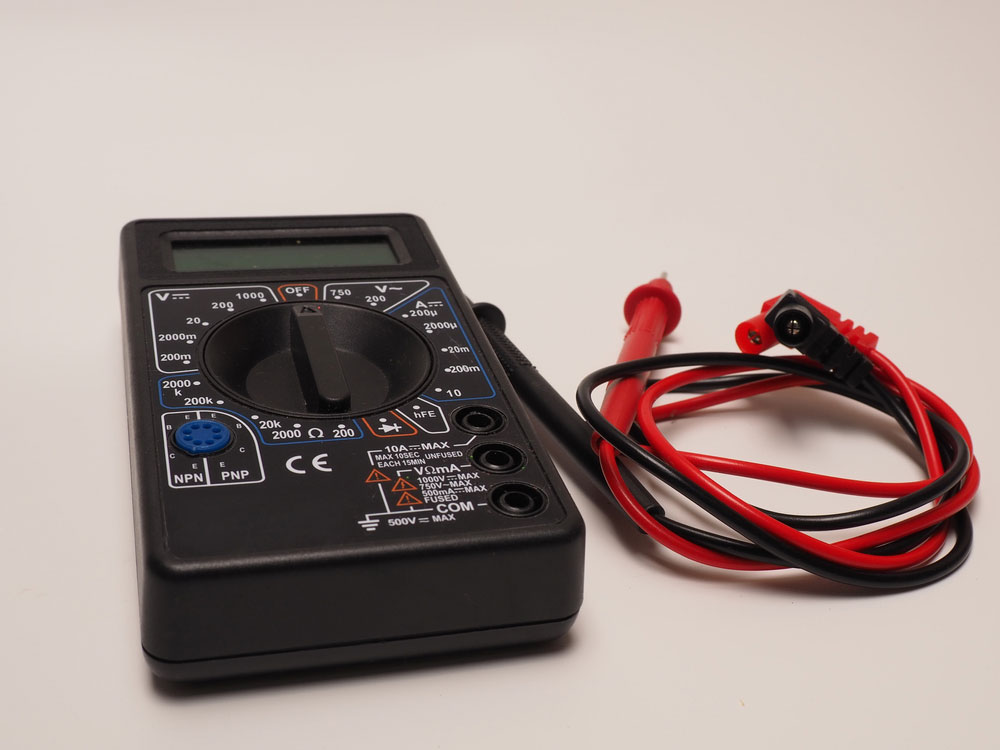
- AVO meter w/ probes X 1
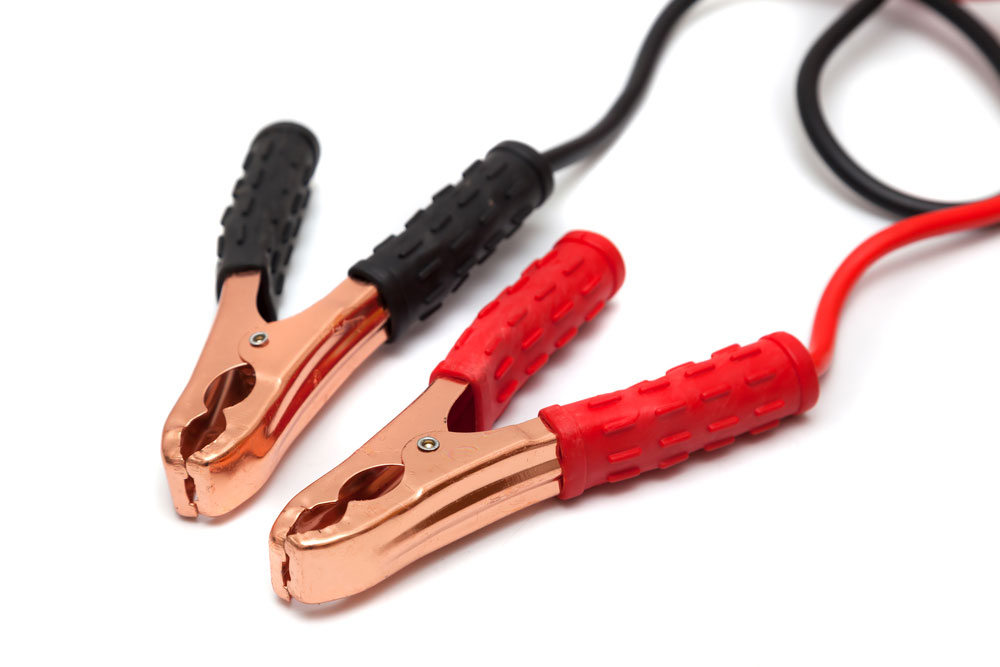
- Alligator battery clips X 1
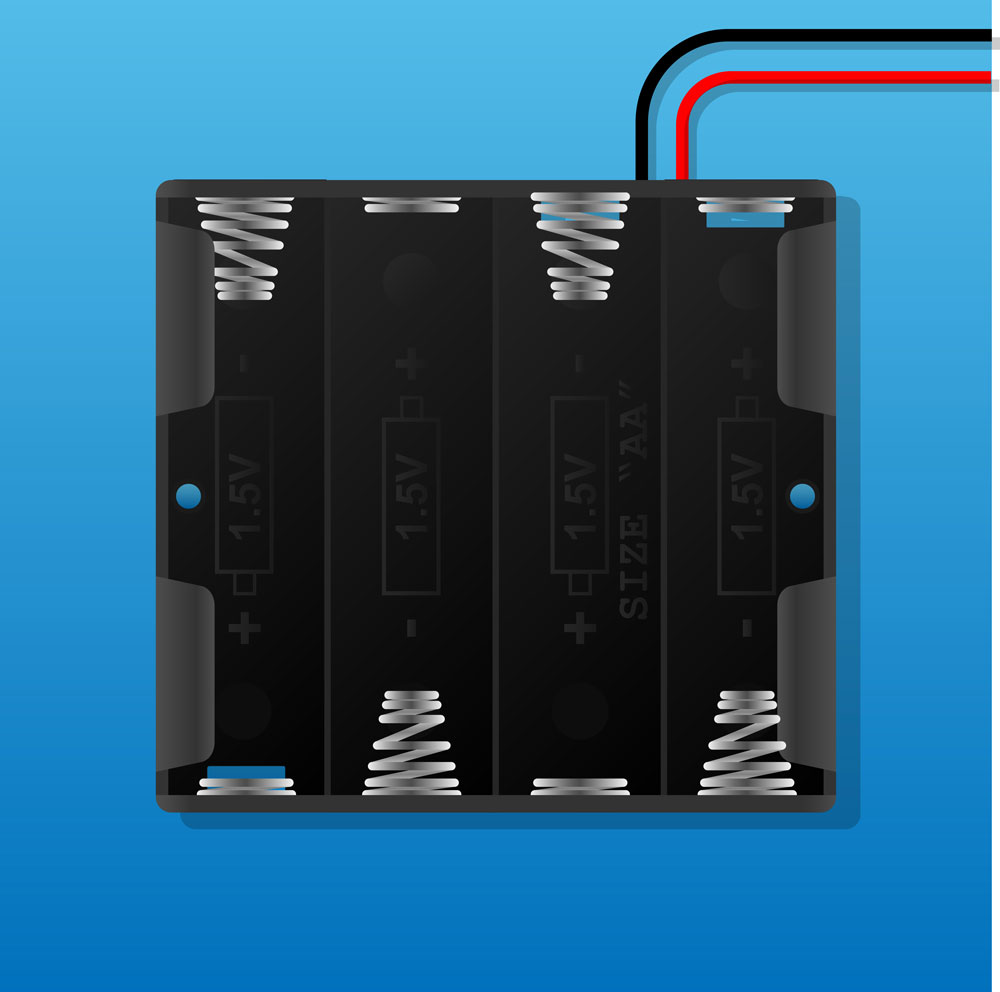
- Battery holder terminals X 1
- Film capacitors (1uF/105j) X 1
- Soldering iron X 1
- Power cords X 1
- Soldering wire & flux X 1
- DC power jack X 1
- AC power plug (2-pin) X 1
- Connecting wires X 1
12v Battery Charger Circuit Diagram
Here, in this section, we’d show you the 12 V battery charger diagram. You can use this circuit to charge any 12V rechargeable battery and car batteries too.
The circuit only comprises a 12V DC power supply with an ammeter that monitors the charging voltage.
Also, the two diodes create a center-tapped full-wave rectifier, while the capacitor sieves the rectifier output to deliver a pure 12 voltage output.

Diagram showing a 12v battery absorb charger circuit
Here, you can wire its IC in its normal mode where you include R1 and R2 to adjust to the required voltage.
The IC gets input power from the standard transformer or diode bridge network. After the filtration of the voltage through the C1, the voltage is set at 14.
Hence, the filtered 14V DC gets applied to the input pin of the IC.
Also, you can fix the ADJ pin of the IC to the junction of the resistor, R1, and the R2 (variable resistor). You can also set the R2 to align with the final output voltage of the battery capacity.
Without the RC, the circuit would perform like an LM 317 power supply where you can’t sense or control the circuit current.
So, the RC and the BC547 transistor, positioned in the circuit, can detect the current supplied to the battery.
As far as the current stays in the safe range, the voltage will remain at the specified level.
However, if the current rises above the safe range of applications, the IC withdraws the voltage and drops to restrict the rise in current any further and make sure the battery remains safe.

Understanding the Concept of DIY Battery Chargers
The concept of a battery charger sounds simple, and it is. However, even if the idea is quite simple, it requires some laborious processes.
Plus, one of the things you need to do is make sure the charger doesn’t overcharge.
So, let’s look at the easiest way to make a simple battery charger.
How does it work?
For a battery to work, it needs to convert its stored chemical energy into usable electrical power. Once the battery runs out of electrolytes, the battery becomes flat; then, you have to charge it.
So, here’s where the battery charger comes in.
A battery charger provides Direct Current (DC) to the battery, and the exhausted electrolyte gets restored.
So, in theory, when the battery’s electrolytes reach complete charging, the charger needs to stop supplying current. At this stage, you’d have to watch out for the battery’s status and unplug the battery USB port when it’s complete. Or perhaps, you buy an intelligent battery charger/ mobile phone USB charger.
You can also use solar panel power and solar battery clip to power a simple battery.
The Battery Charging Process
The whole charging process includes:
- Stabilizing
- Charging the battery terminals
- Optimizing the charging rate (at least 10%-20% higher power input)
- Termination (knowing when to stop supplying current to keep the battery safe)
Also, the charge and discharge rate of a battery represents the C-rate (Charge Rate). It measures the rate of the charge or discharge level of the battery—with a measured capacity in Ah.
For example, if a fully charged 5Ah battery is released at a 5-ampere rate, it will take an hour to charge the battery fully. Hence, most modern-day gadgets like laptops, electric vehicles, mobile phone chargers, kitchen & home special applications, power tools, and mobile phones use a Li-ion battery.
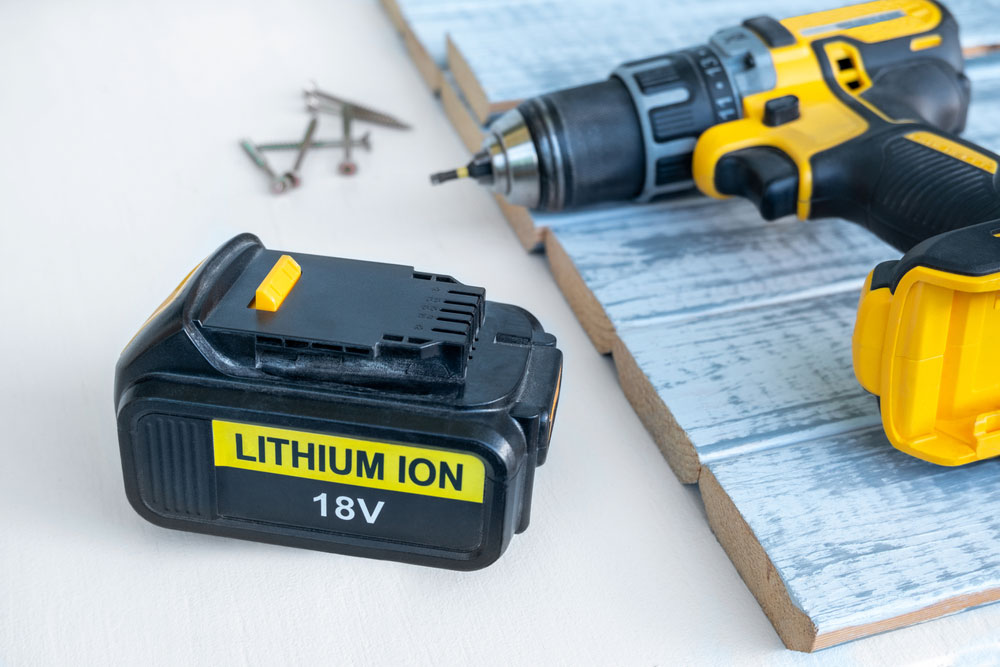
Li-ion battery
Why?
The lithium-ion battery input extends for a longer time when you charge it frequently.
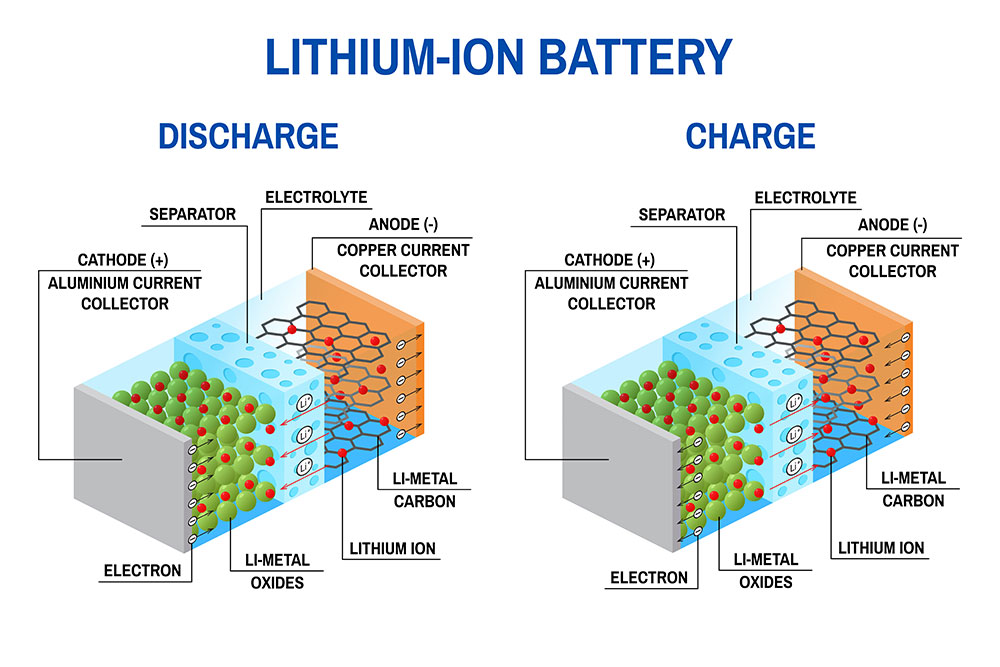
Lithium battery diagram
What Happens When a Battery Gets Over or Under Charged by a Battery Charge?
When a battery under charge gets fully boosted, it needs to stop charging. But standard chargers have no way of detecting when the battery has reached 100 percent, so it keeps supplying currents to the battery.
For this reason, batteries heat up and possibly get damaged. It’s a way for the batteries to rid the extra power being supplied. Overcharging batteries may damage not only a battery but also reduce its life.
A wide selection of chargers is available like trickle chargers, time-based intelligent chargers, simple chargers, smart chargers, pulse chargers, motion-powered chargers, solar chargers, fast chargers, and three-stage chargers.
Most times, chargers get manufactured for a specific battery due to the number of currents it will supply and how long it will take to charge the batteries fully.
Unfortunately, it means any charger designed to charge a particular battery may not work for another battery.
So, gadget manufacturers advise that you use the same battery chargers to charge batteries. That way, you don’t damage or reduce the battery life.
If you want to get the best from your battery charger, don’t try charging different battery capacities or chemistries together.
Why?
There’s a high risk of damaging the batteries over time.
How to Build a DIY Battery Charger
Once you have the materials ready, you can either follow instructions or connect all the parameters with the help of a circuit diagram.
So, here’s a full explanation of how the circuit works:
When you switch on the battery’s power, a 1N5402 diode works with a 24V DC to produce a half-wave of 24V DC as the charger’s output.
While the RMS value for the voltage looks like 9-12 volts, the maximum voltage is 24V, so you can’t apply it directly to the battery.
If you want to reduce the max value of the charger, use a bulb in cooperation with the circuit.
So, the job of the bulb is to absorb the max values of the voltage. Thereby, it allows a more controlled output to the battery. In the long run, this also becomes self-regulatory because of the intense glow through the bulb’s filament.
But you should note this;
All bulbs have varying resistance, so their performance might differ.
For this reason, the output voltage and current automatically adjust to the reasonable charging level that’s suitable for safely charging the battery.
After installing the bulbs, you will know when the battery is charging. Plus, the bulb gradually dims as it reaches its threshold.
Once the battery voltage comes close to 14.5V, you need to stop the charging.
Quick Steps to Make a DIY Battery Charger Circuit
So, here are the quick steps you should take to create a DIY battery charger circuit with power output and emergency power:
1: Build a bridge rectifier by connecting four 1N4007 diodes
2: Solder the +Ve and -Ve terminals of the bridge rectifier to the secondary winding of the non-C.T transformer.
3: Ensure you trim the excess parts of the bridge rectifier
4: Next, solder one end of the X-rated capacitor to the +ve terminal of the ac supply and the -v to the transformer’s primary terminal.
5: Solder alligator clips to the bridge rectifier’s terminal.
6: Connect the terminals of the DC power jack to the output terminals of the charger and test the circuit.
Final Words
That’s it—everything you need to create DIY battery chargers. So, you see, the creation process isn’t as complex as you expected.
If you follow every instruction in this article, you’ll equally create quality battery chargers that can last long.
So, let us know how your battery charger project works out for you. Also, If you need more information on the circuit of the battery charger, feel free to contact us.


