The advent of technology has brought many improvements in the flashlight industry, and LED has taken the front seat. So, we’ve flashlights with unmatched durability that you can build from the comfort of your home, depending on the Flashlight circuit.
Of course, Yes—a flashlight circuit is an important aspect to consider when building a flashlight.
The good news is;
A flashlight is a simple series circuit, and its mechanism isn’t as difficult as it looks.
So, we created this article to show you how you can build a DIY flashlight circuit.
Let’s get started.
Contents
How Do Flashlights Work?
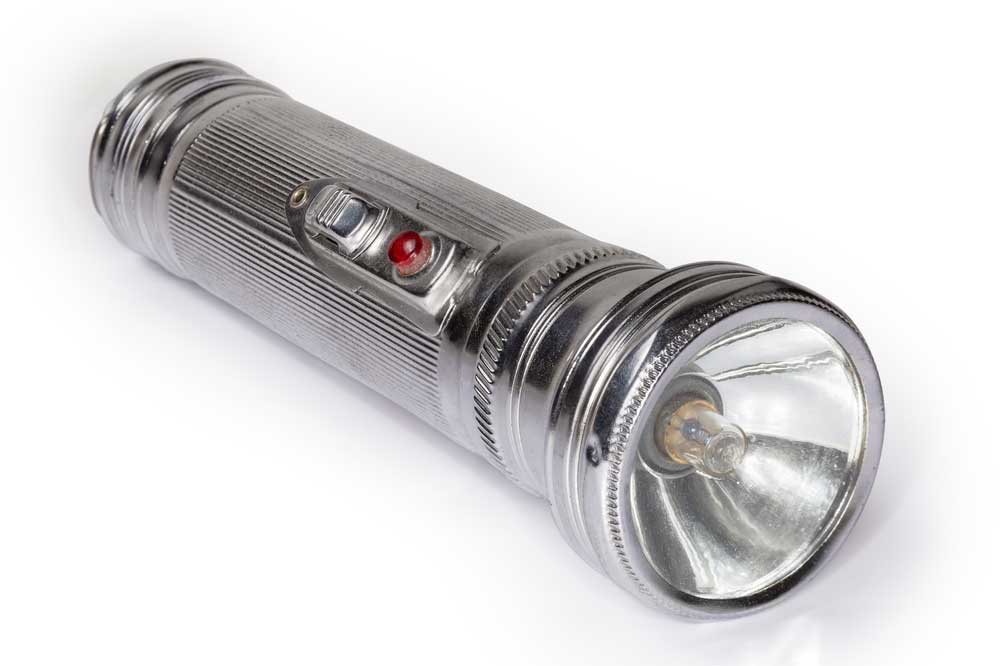
Old electric hand flashlight with metal housing
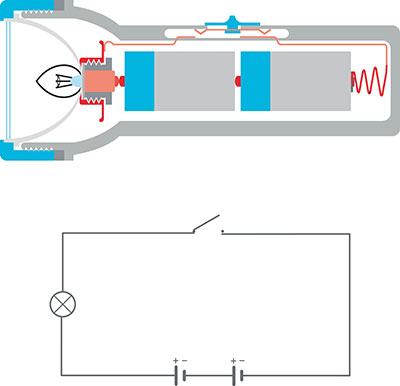
When you switch on a flashlight, it comes in contact with wire strippers on both sides of the switch and makes an electrical connection. Then, electricity starts flowing from the batteries.
In essence, it’s best if you connect the batteries so that the flow of electrons runs between the negative and positive terminals of the batteries (power source).
Plus, it’s ideal for placing the batteries on a small spring connected to a thin wire (usually copper or lead). So, when the thin wire makes contact with one part of the switch, it’s able to activate an electrical connection when operating the flashlight.
Also, the other side of the strip has one more wire that connects the lamp to the switch.
Again, another wire connects the lamp to the positive electrode of the battery and completes the circuit.
Furthermore, activating the light source (incandescent bulb or the LED) with electricity allows it to emit light that shines off the reflector, which surrounds the lamp. The reflected light rays then create the steady beam of light you see when you use a flashlight.
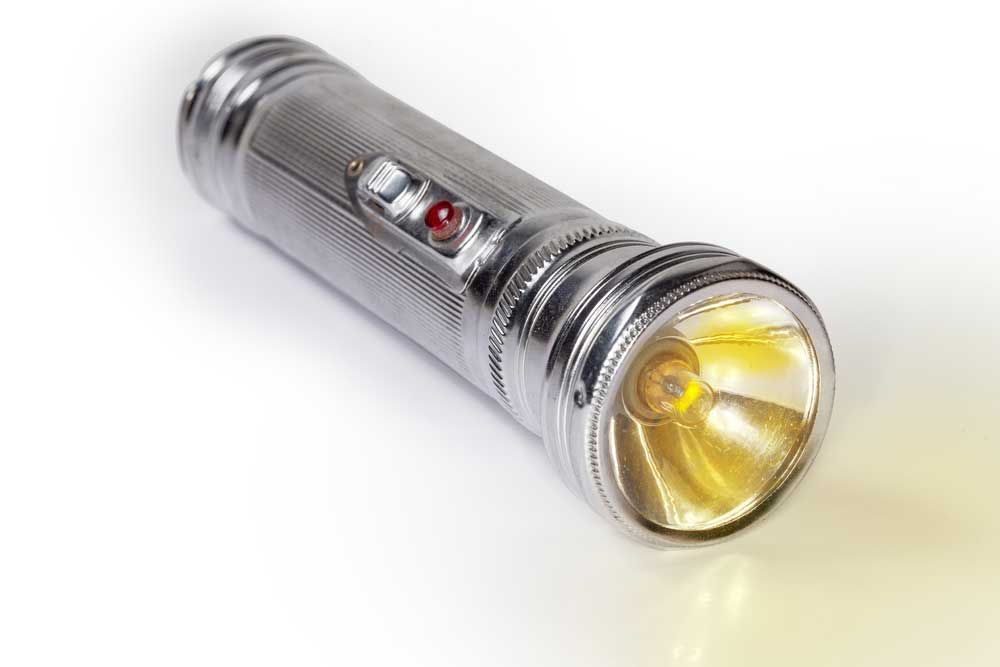
Vintage Portable with an incandescent bulb
When you turn off the flashlight, the wires get physically separated, breaking the electron’s flow. And this process stops the flashlight from producing light.
So, all the mentioned parts must be in place and connect properly in the flashlight body. Otherwise, you’ll have an open circuit, and your portable flashlight won’t generate any electricity or light.
Flashlight Circuit Diagram
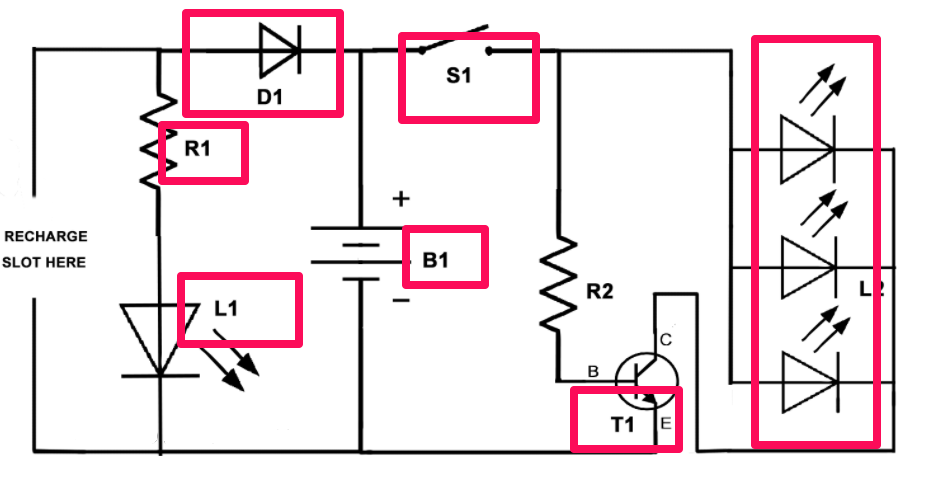
Flashlight Circuit Diagram
Source: Wikimedia Commons
Normally, a flashlight (LED) needs a supply of 3.5 volts to work properly—without the need for current limiting resistors.
However, this circuit diagram supplies 3.7 volts to the transistors (T1) when you put on the flashlight with the switch (S1).
Here, the transistors have a direct connection with the switch. Thus, it powers up the LED since its wires connect to the negative cathodes of the LED.
Also, this circuit board uses a rechargeable battery. Plus, the diode in the charging section protects the battery and ensures it charges. Additionally, the L1 indicates that the torch is plugged in and charging.
The electrical circuit is a simple project idea, so it’s easy to create. Plus, you can power it with a 3.7 volts rechargeable mobile battery.
The flashlight also uses three LEDs, which provide enough illumination in dark areas. Plus, you can use a female USB port as your recharge slot. However, remember to remove the diode first if you want to use your mobile phone charger to charge the circuit assembly.

How to Make a LED Flashlight Circuit
So, to make an LED flashlight simple circuit, you’ll need the following materials:
- Bulbs & Batteries (4 LEDs and 3 AA batteries)
- 27 Ohm resistor
- Protoboard
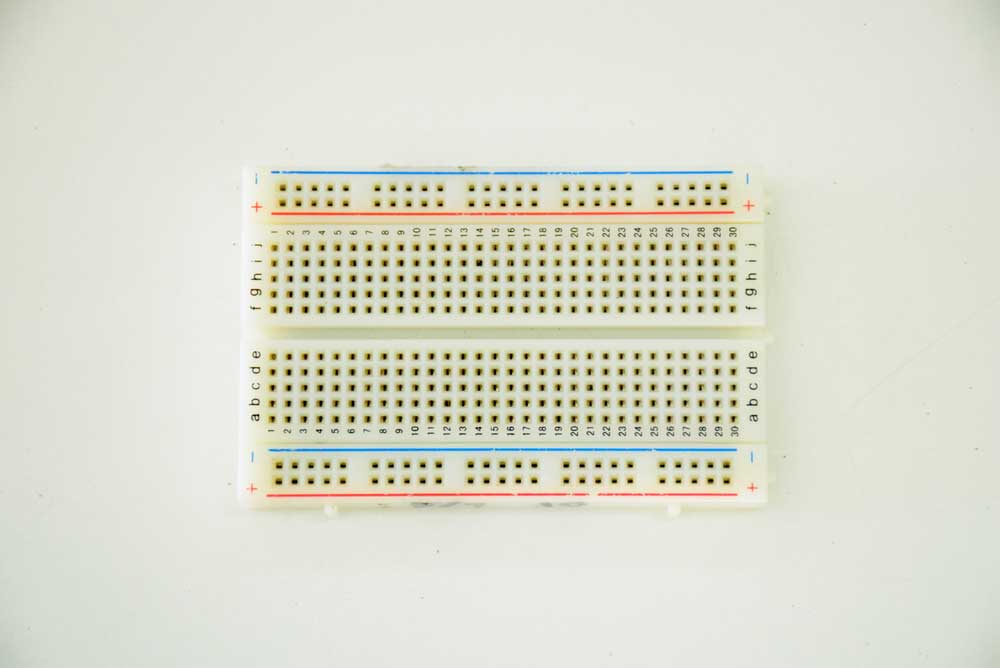
Solderless Protoboard
- Switch
- Circuit Components

Electronic circuit board
- 1k resistor (R1)
Resistor
- LED indicator (any color)
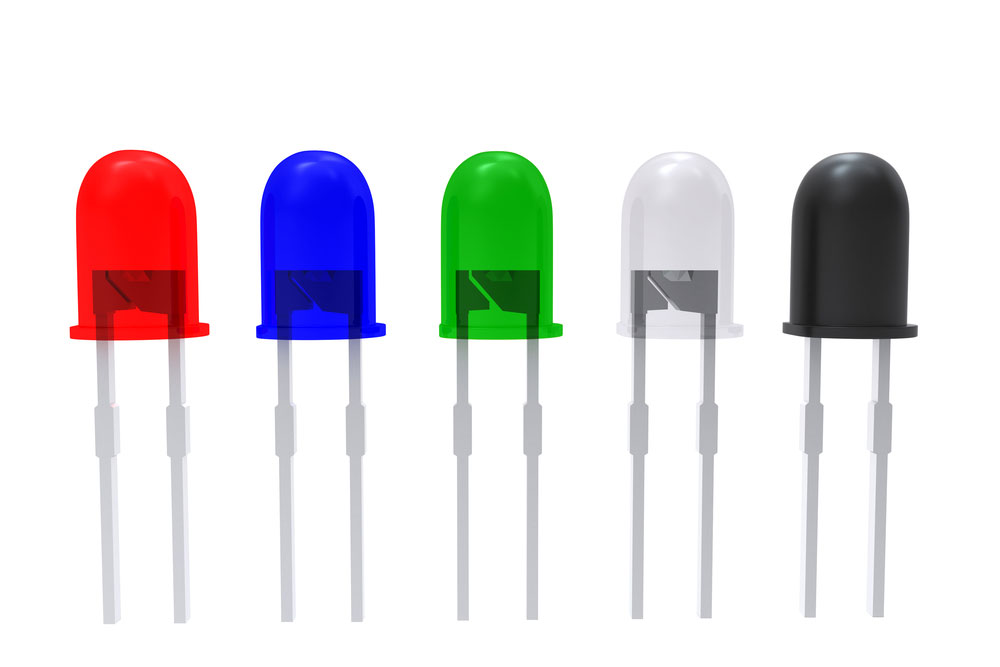
Assembly of LED indicator
- 1N4007 (D1)
- 2N5551 transistor (T1)
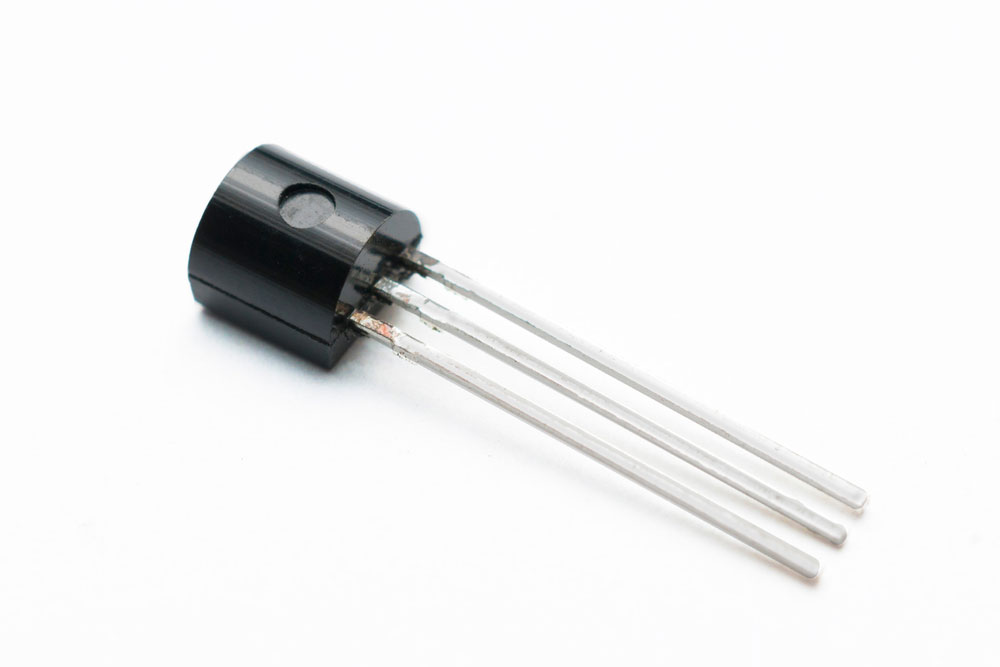
Transistor
- On/off switch (S1)
- 3.7V mobile phone battery
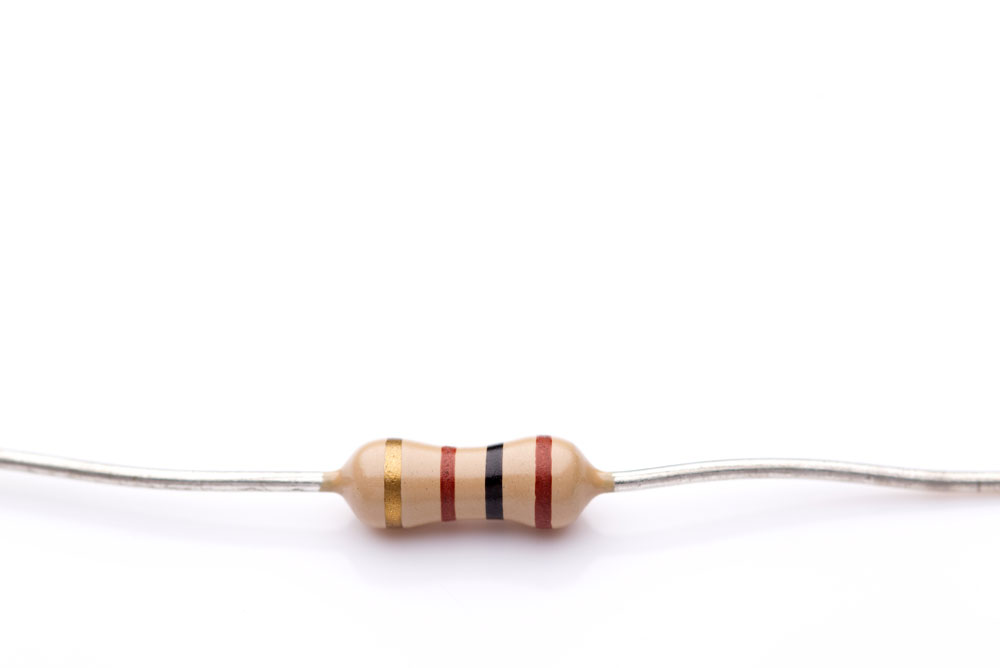
- 560 OHMs resistor (R2)
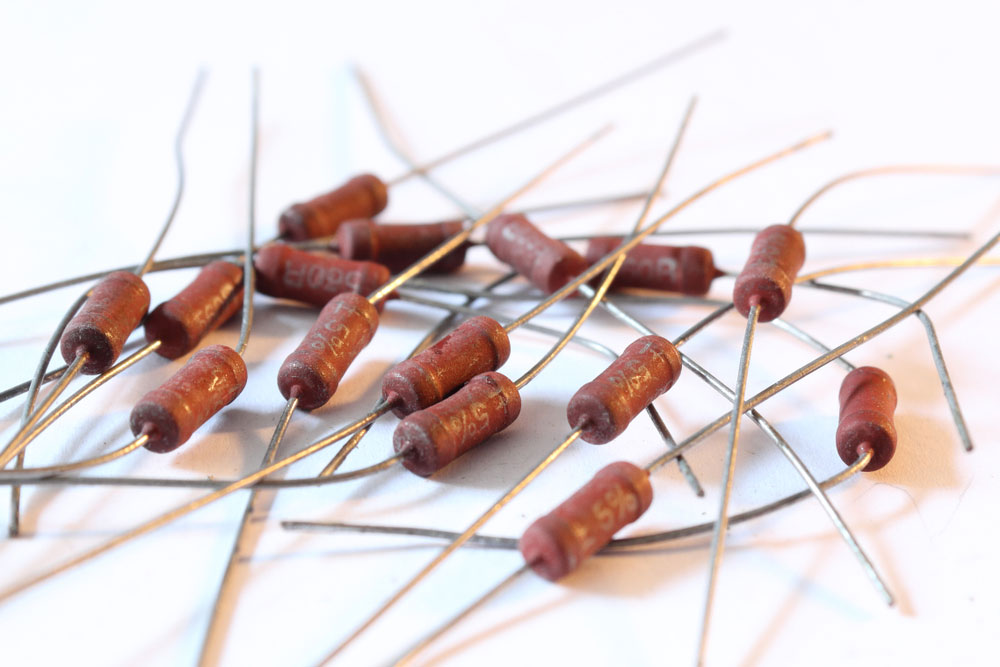
A heap of brown 560 OHMs resistor
- Three white LEDs (L2)
- Compatible charging slot
- Wire
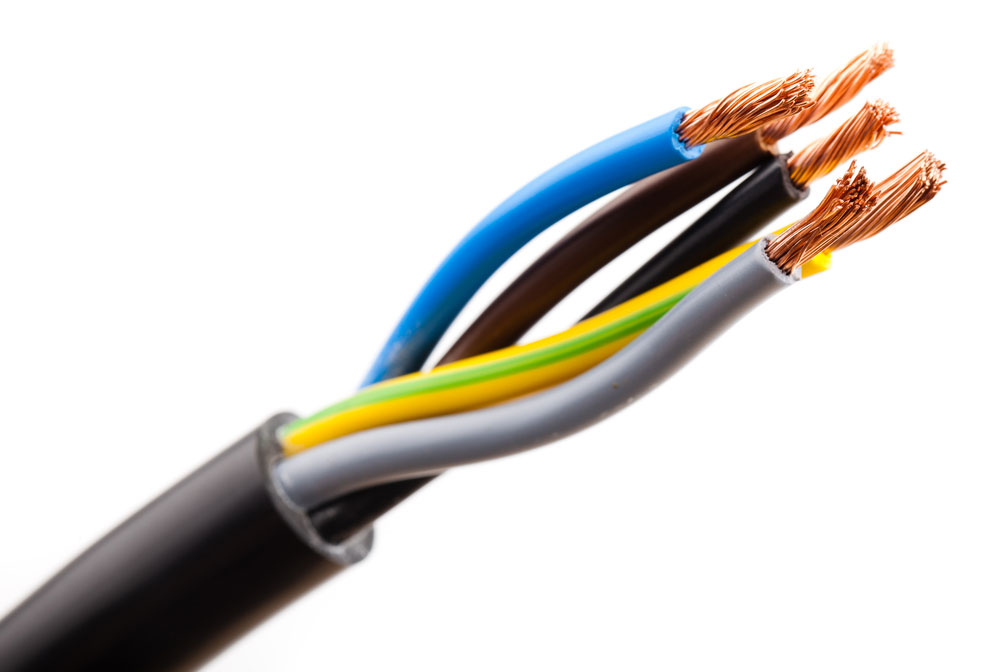
Isolated wire
- Soldering iron
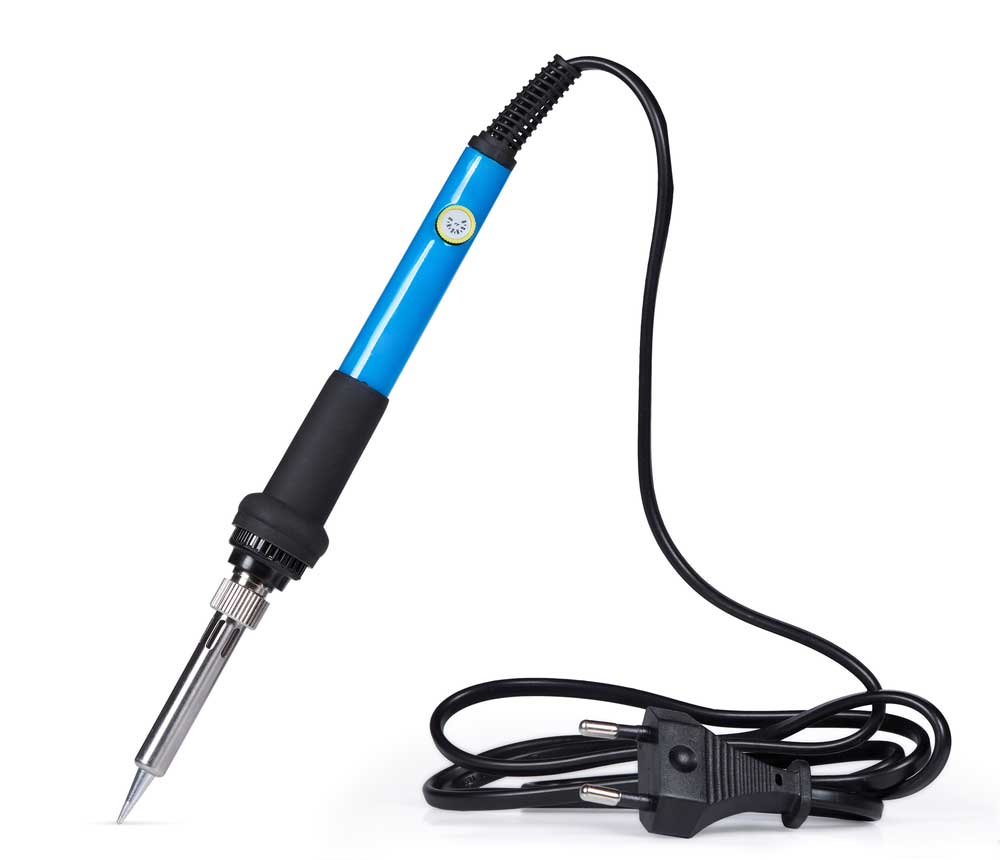
Soldering iron
Steps to Follow
Here’s a step-by-step guide for making a simple DIY flashlight circuit board:
Step 1: First, connect the LEDs and resistors to the protoboard. In short, each LED should have an anode (long leg) and cathode (short leg).
Step 2: Next, bend all the long legs and the short legs together. Plus, you can bind the legs together or tie the legs together.
Step 3: Ensure the legs are touching each other. Also, bend the resistor and place it parallel to the LEDs. Then, flip the board over, and bend one leg of the resistor to touch the closest group of wires, and bend the second leg in the other direction.
Step 4: Use your soldering iron to join your LEDs firmly together.
Step 5: Test your LEDs and confirm your soldering connections. Next, use a battery pack and connect the wires to the negative side of the LEDs and the free end of the resistor.
Step 6: Attach two 6 cm wires to the soldered LED legs and the free end of the resistor with your soldering iron.
Step 7: Connect the end of the wire connected to the negative LED legs to the prongs of your switch and the positive wire to your battery terminals (positive end). Also, connect the negative end of your battery pack to the other prong of the switch.
Step 8: Finally, test your circuit and solder all the connections if it works.
FAQs
What Kind of Circuit Does a Flashlight Use?
Flashlights use a simple series circuit that allows electricity to flow through a single conductor to two or more loads.
Why Does a Flashlight Need Two Batteries?
Most filament bulb-type flashlights with a light bulb and no electronics can run on single batteries. On the other hand, LEDs need a double battery pack or more to function properly.
Are Flashlight Batteries in Series or Parallel?
Batteries in a flashlight are in series.
Is Flashlight a Closed Circuit?
Yes, the flashlight is a closed circuit. Also, your flashlight won’t work if it has an open circuit.
Final Words
Now, you know how to build a DIY flashlight circuit, thanks to the instructions listed in this article.
The next thing is to get all the necessary materials and tools required to build this project.
Also, ensure to remove the batteries while soldering your last direct connection, and if you make a rechargeable flashlight, don’t switch on while it’s charging.
So, that’s all you should know about a flashlight and how to make a flashlight circuit.
If you need more information, feel free to contact us.


