
Everyone would wish to make most of the operations done daily automatically. Besides, the same can be possible when trying to identify the water levels in your tank. Therefore, you should consider having a float switch bracket and installing it in your tank to accomplish this. So, continue reading through this article for more details about this device.
Contents
What is a Float Switch?
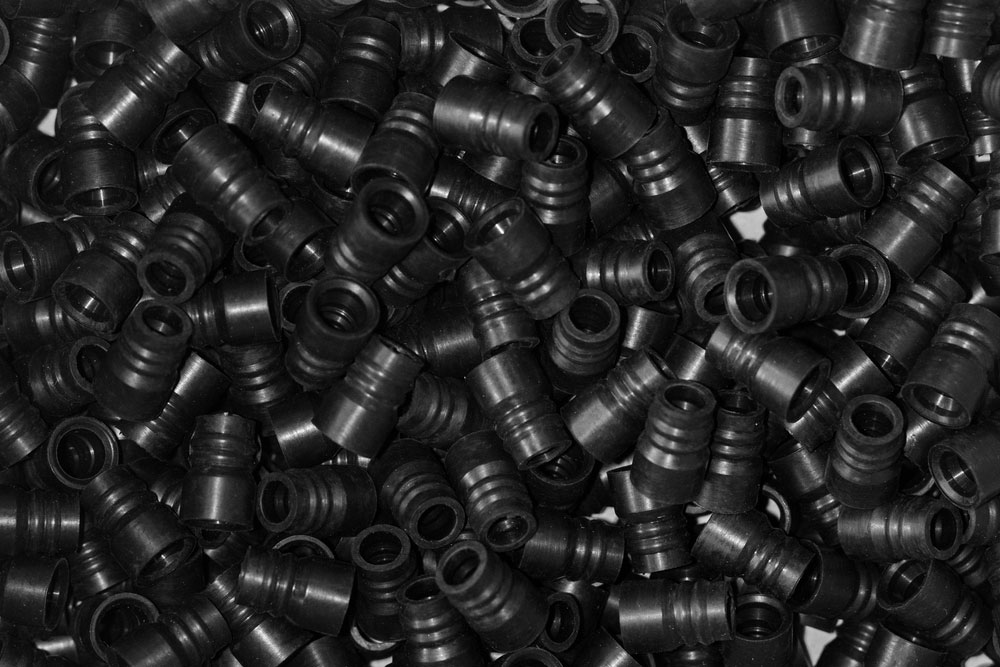
float switches
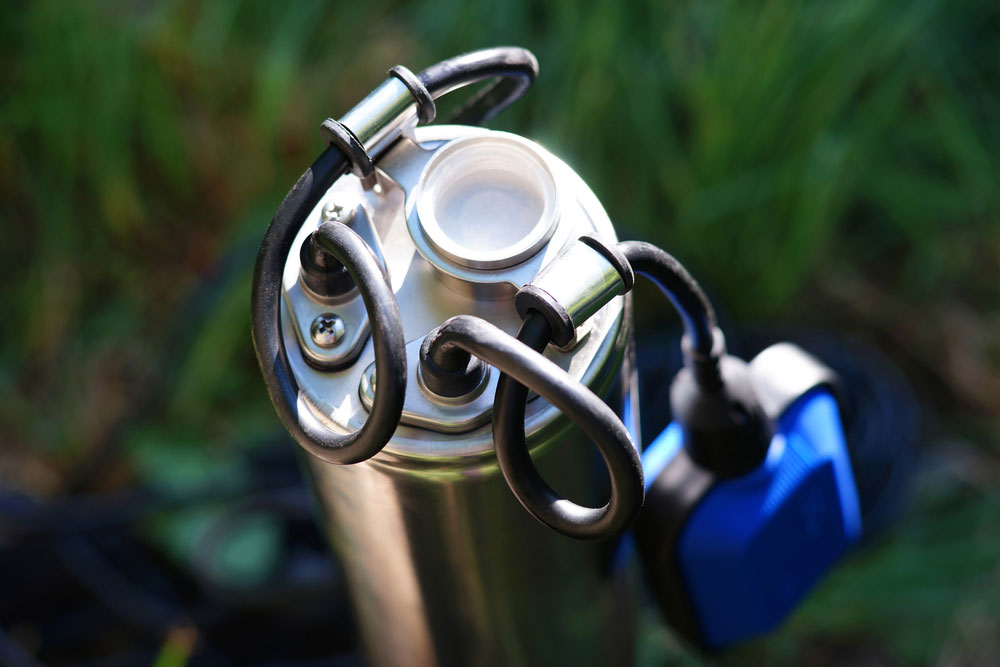
A float switch is a device that identifies the level of fluid in a container of a tank. Therefore, it is also known as a water level controller. Nevertheless, it hangs at the topmost of the water surface. Additionally, a float switch behaves like a mechanical switch when the liquid level rises or goes down. Therefore, they can work best in valves, water pumps, and a water alarm to alert the users. Additionally, most float switches use an optical sensor with a backup switch in their operations. Moreover, it is reliable, cost-effective, and best for use in different types of liquids.
How Does a Float Switch Work?
Float level switches
The primary function of float switches is to close and open the circuit. Moreover, this happens when the level of the liquid goes up or down. Although, most of the float switches are closed since they have two cables running from the top of the device to complete the circuit.
Therefore, for the circuit to be complete, the switch uses a magnetic reed switch. Moreover, the switch has two contacts that are in a glass tube. Additionally, when the magnet draws near the two contacts, they develop some charges that attract each other, giving room for the current to flow through. Besides, if the magnet withdraws, the contacts lose magnetism hence breaking the circuit.
Float Switch Benefits
Below are some of the benefits of the float switches.

Aqua float switch sensor
Power Saver
Living in the current world where the powerful energy we consume daily is a significant concern, a float switch is the best device for conserving power. Generally, controlling water levels can wastewater and use a lot of electricity. Nevertheless, if you install this automatic water controller, the amount of power usage goes low. Additionally, the device requires less water to control supply.
Money Saver
The float switches help you save your money by restricting the waste of electricity and water. Additionally, this device correctly controls the amount of energy spent to save you from unnecessary electricity and water usage. Therefore, with time, you will notice that you save a lot of money.
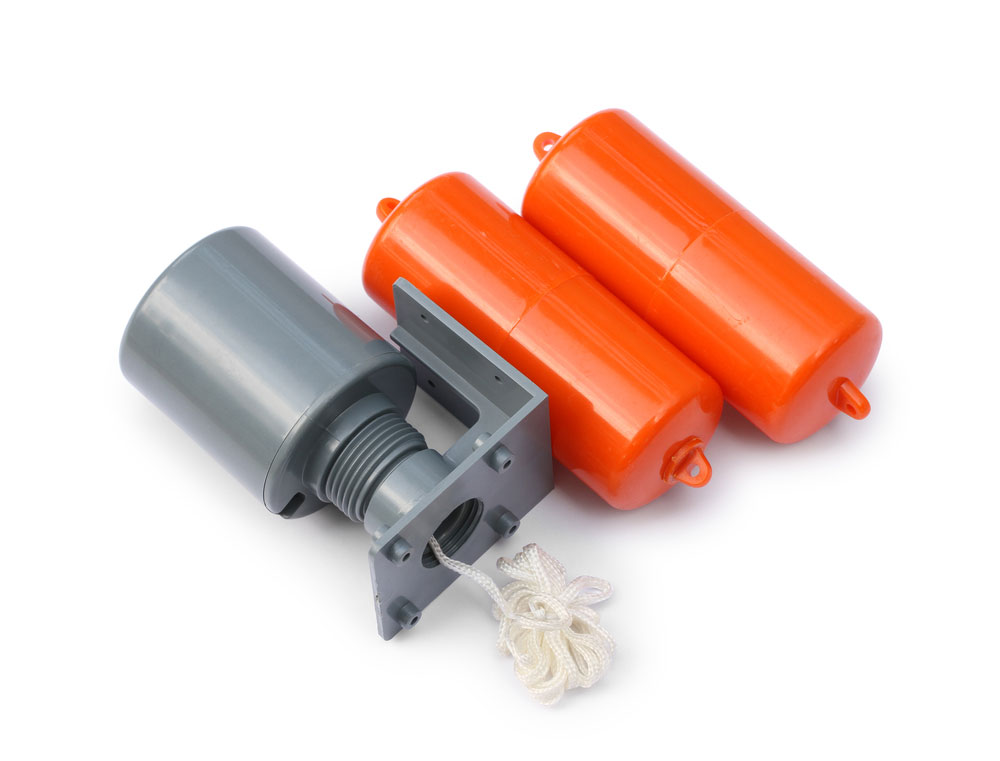
Float level switch
Automatic
Another outstanding benefit of a float switch is that it regulates on its own. Therefore, it removes physical operations using a control switch. Additionally, it reduces the frustrations of checking the water level in the tanks manually. However, water levels in the tank remain at the correct levels, courtesy of the automatic feature of this device.

float switch visible in dim light
Water Maximization
Under normal circumstances, people use water pumps more during the day. Moreover, a float switch maximizes water consumption through midday and automatically reduces water consumption at night. Therefore, this maintains the correct water level all through and gives you maximum water usage at the proper times.

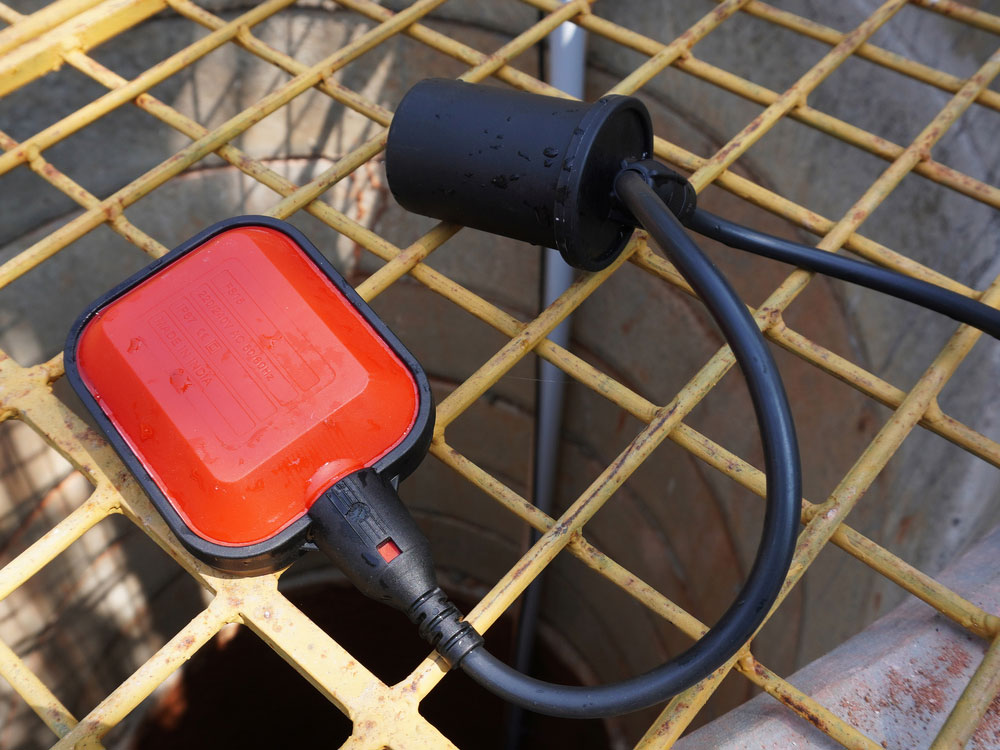
Water float switch sensor for water level controller

How do You make a Float Switch at Home?
Water float switch sensor
Making a float switch circuit board is very simple. Therefore, below are the materials you need and the procedure. Moreover, make sure you try to make a good quality float switch to serve you to the maximum.
Materials required
First, you need a ½ ” and ¾ ” diameter PVC pipe- the length will depend according to the height of your tank.
Secondly, you require a proper plastic ring (approximately 1-inch thickness) with a central hole diameter larger than that of the outer pipe.
Thirdly, get a reed switch- the quantity depends on the kind of water level detecting application.
Moreover, you need a 1 mm diameter copper wire- the length varies depending on the tank depth.

In addition, you need a pipe cutter and a knife.
Additionally, you need an oz. bottle and a screwdriver.
Finally, have a PVC adhesive.
Procedure

Liquid level control switch
Step 1: cut off 5″ of PVC pipe using the pipe cutter. Additionally, drill four holes near each other in the middle of the pipe to create proper float switches housing.
Step 2: with the knife, cut out the switch slot according to its dimensions. Probably, a half-inch from the ends of the pipe. Therefore, drive the float switches into the housing through the slot. Finally, seal the switch using PVC adhesive.
float switches
Step 3: Drill two 3/16- inch adjacent holes on the opposite ends of the pipe. Besides, incorrect application of the float switches will lead to its failure. Additionally, drill the other two holes on the pipe tee’s ends and the other two close holes of about 3/8-inch on the pipe’s outlet side for mounting.
External float switches
Step 4: fix the ½ -inch PVC pipe into an oz—soda bottle. Moreover, set the other end of the pipe into a ¾ -inch pipe on the wall. This will support the pipe to slide up and down without difficulty.
Step 5: place the pipe’s tee above the water close to the floats switch. Therefore, mount the pipe’s tee to the roof of the cabinet using a screwdriver and wood screws. Moreover, fix the switch arm and the PVC tee up to the center. Additionally, using a 2″ screw, secure the float switches arm from the cabinet’s roof. Finally, you should not screw completely or over-torque for easy movement.
FAQs
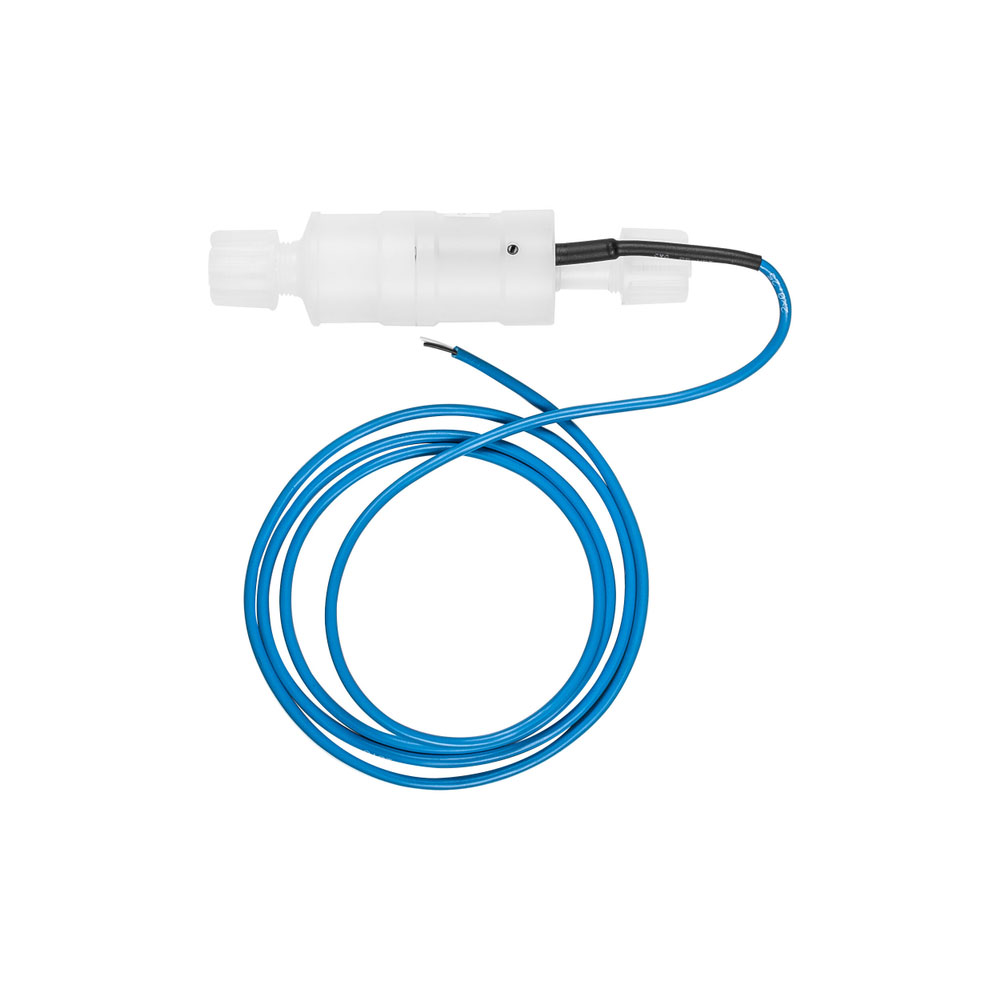
How do you wire a float switch?
Below is the procedure on how to wire float switches.
1: switches the power to the float switch off. Additionally, if the device is operating in an air conditioner drain line, switch the circuit breaker. Moreover, if the device uses a pump, you should disconnect the pump from the actual power.
2: using wire strippers, remove 2/8 inch of the insulation from the two wires connecting the float switches and the float switches tips.
3: wind one end of the float switches tip round the end of the cable connecting the power source and shield the compartment using a nut.
4: wide the other end of the float switches tip to the device’s load cable and screw the wire nut on the ends. Besides, if your switch operates on an air-conditioning system, you should wind the tip of the float switch around the red wire on the thermostat. If it works on a pump, cover the second tip of the float switch around the cable that joins the device to the pump engine.
How long does a float switch last?
There is no specific duration that this device can last. It all depends on how you use and maintain it. If you use the device properly and carry out the correct maintenance, there is no doubt the device can last for some years.
Why do float switches fail?
There are three main causes of float switch failure:
First, poor maintenance- like any device, a float switches requires regular maintenance to last long. Therefore, if you don’t carry out any maintenance, the device may fail anytime.
Secondly, wrong switch selection for a given application- you should carry enough research to avoid making wrong decisions. Therefore, having the right float switches for the correct application will help you get the best out of your device. Besides, incorrect application of the float switches will lead to its failure.
Lastly, moving parts- if you fail to lubricate the device’s moving parts, it will fail to work usually. Additionally, dirt and debris may also make the switch jam.
Is a float switch normally open or closed?
Float switches can be both normally open and closed. Besides, it depends on the working mechanism of the machine. Therefore, the device can work on either of the two mechanisms.
Summary
Having read through the article, I believe you have the information about everything you should know about the float switches circuit. Additionally, it would be best to get the correct float circuit for your application to avoid failure. Nevertheless, feel free to visit us for more information. Also, do not hesitate to share this article with your family and friends on social media.


