Contents
What is an hc06?
HC-06 modules are class-2 slave Bluetooth modules creating a wireless data transmission over a short range amid two systems or microcontrollers. Moreover, since it uses a Bluetooth 2.0 communication protocol, it can function as an agent device.
Also, other than transmitting files at 2.1Mb/s speed, it is flexible and a cheap option for sharing data without wires.
Lastly, it works through FHSS (frequency hopping spread spectrum). As such, it can achieve a full-duplex transmission and avoid interfering with added devices.
HC06 Pinout
HC-06 has four functional pins, even though some HC-06 modules can have up to 6 pins.
They include;
Pin1/ Key pin shows the module’s operation in either a normal mode or AT command mode. For instance, NC or Low symbolizes a regular working Bluetooth module. Then, High means AT commanding response mode/ AT commands receiving mode.
Pin2/ Vcc pin supplies a positive supply of +5V that powers the module.
Pin3/ GND pin – It connects to the common ground of the circuit.
Pin4/ TXD pin – It allows the transmission of serial data by the module. Often, it’s 3.3V logic and a default of 9600bps.
Pin5/ RXD pin – It receives the module’s serial data at a 3.3V logic and 9600bps by default.
State pin – The last pin shows the module’s state on the board via an LED.
Hc06 Features
- First, it operates on a frequency of 2.4 GHz ISM frequency band.
- Then, it has a transmitting power of ≤ 4 dBm and a sensitivity rate of -≤ 84 dBm at a 0.1%-bit error date.
- It is also a Bluetooth class two power level and uses a USB protocol of USB v 1.1/2.0.
- Its speed for data transmission is 1Mbps/ 1 Mbps (synchronous) and 2.1 Mbps (maximum)/160 kbps (asynchronous).
- Fourthly, it is an inexpensive module that weighs 4g and has a dimension of 36×5×16 mm.
- It has an inbuilt 2.4 GHz antenna, and therefore, the user won’t have to purchase a different test antenna.
- Furthermore, you can use the hc06 module in SMDs plus other applications with a modulation mode of Gauss Frequency Shift Keying. Besides that, it bases its supported configuration on minor and major Bluetooth serial ports.
- It also has a default baud rate of 9600, and the module’s pinboard is half-hole size.
- The operating temperature of the HC06 module has a range of -20°C – 55°C.
- Then, it has an operating current of 50mA while its operating supply voltage is 3.3V DC.
- It possesses a high-performance wireless transceiver system and an external 8 Mbit flash.
- Finally, its manufacturing process is based upon CSR BC 04 Bluetooth technology and undergoes the ROHS process. For that reason, its safety features via encryption and authentication are top-notch.
How to Use hc06
You can achieve communication with an hc06 module via a UART interface. Generally, the interface ensures data received or sent passes through it before reaching the module. Therefore, you’ll have to connect the hc06 module to a PC (directly) or microcontroller with a UART interface (RS232 port).
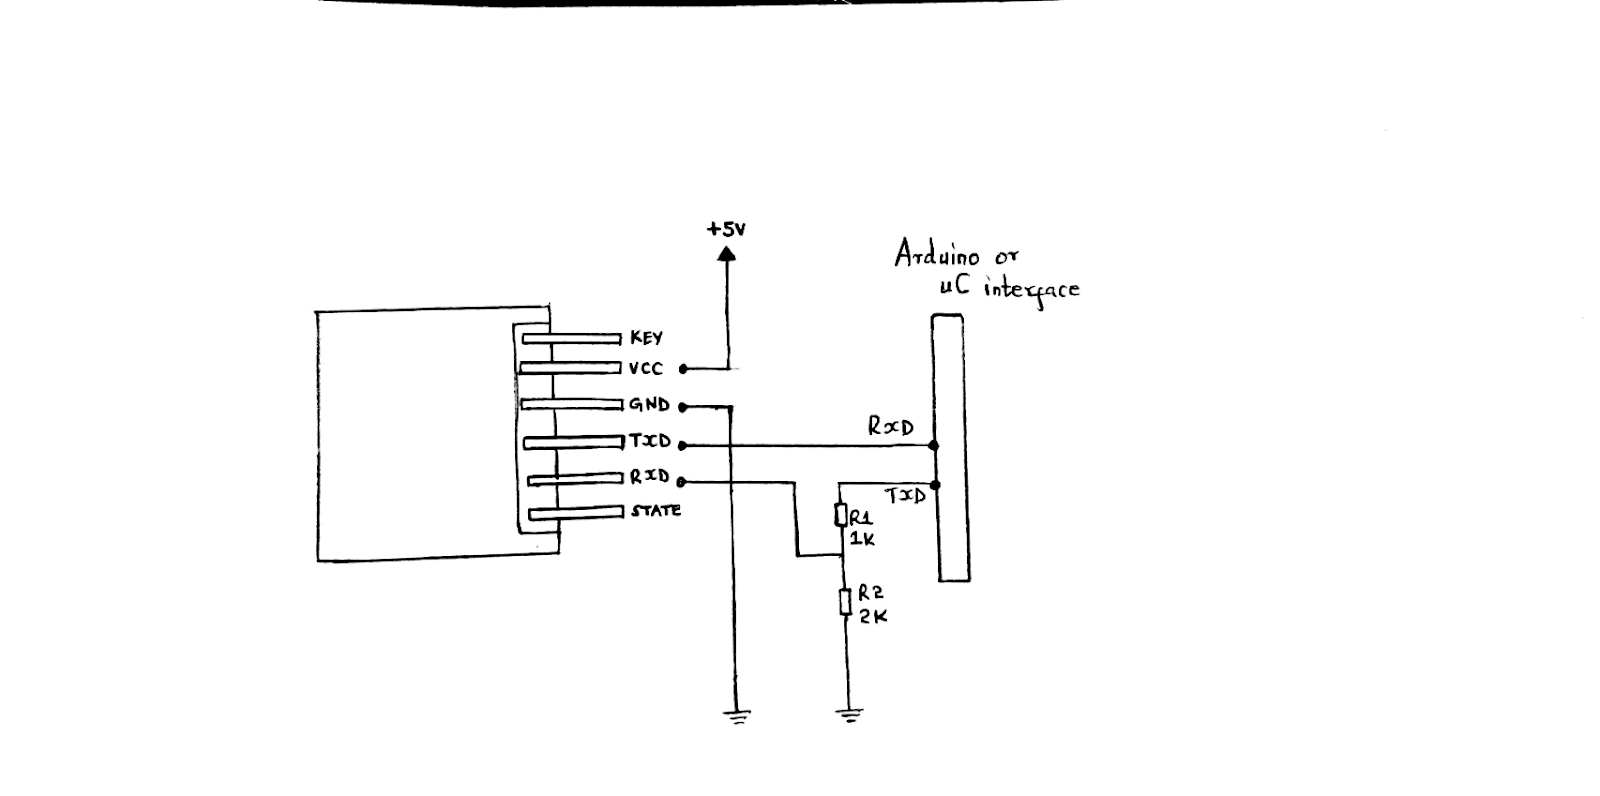
Circuit diagram on using HC-06 module
Circuit Explanation
The module receives a regulated power supply of +5V (the standard voltage) and has the UART interface.
- Start by using a resistor voltage divider to connect the module RXD to the TXD pin of Arduino. Similarly, connect the TXD of the module to the RXD pin of the Arduino using the same divider. The voltage divider converts 5V signals from an Arduino into a required +3.3V signal for the HC-06 module.
- Then, when utilizing separate power sources, ensure you connect the module and Arduino’s ground for voltage reference.
- Finally, after the connection, write the Arduino IDE program that’ll receive and transmit data to the HC-06 module.
The following key points will also help in effective wireless communication.
- Use the module’s default setting to program the UART serial communication at a default baud rate of 9600bps.
- Secondly, you may use a smartphone as the master and pair it with the HC-06 as the slave device. Alternatively, use another module + Arduino setup that incorporates a master feature.
- The default password of the module is a changeable ‘1234’ that connects to the master.
- Then, after authentication, you can use the data from the master to perform related tasks.
- Also, use websites to download module libraries to ease communication.
- Finally, you can use an RS232 cable to interface the PC to HC-06. Afterward, use the serial terminal in any software or PC to receive or transmit data to HC-06.
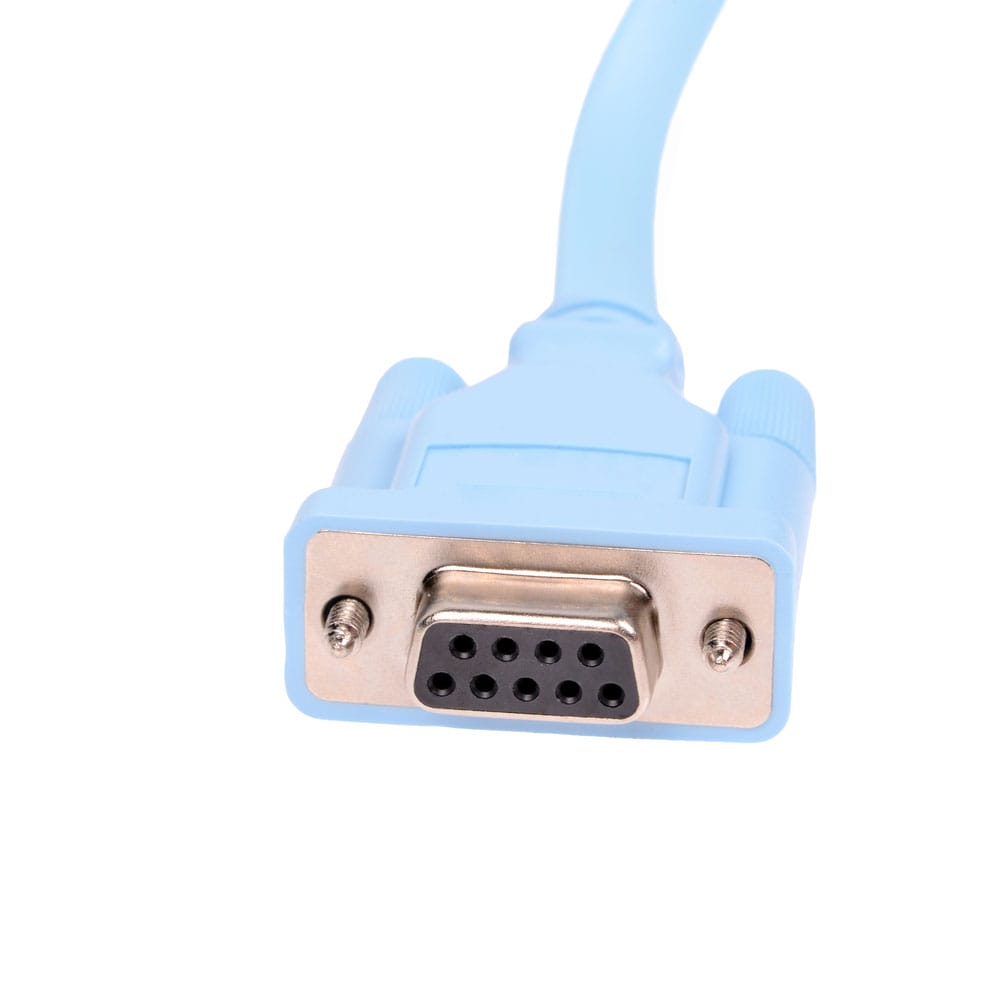
(A serial communications connector marked RS-232)
HC06 Application
Some applications of the HC06 Bluetooth module include the following;
- Robotics projects,
- Sports and leisure equipment,
- Servers,

(servers in a data center)
- Industrial projects for sending and receiving data,
- USB dongles,
- Engineering applications,
- Computer peripherals, and
- Mobile phone wireless accessories.
Conclusion
All in all, we hope that the HC-06 knowledge we’ve discussed above will be of benefit to you. If, however, you still need help in using the module, kindly reach out to us. We’ll be waiting for you.