
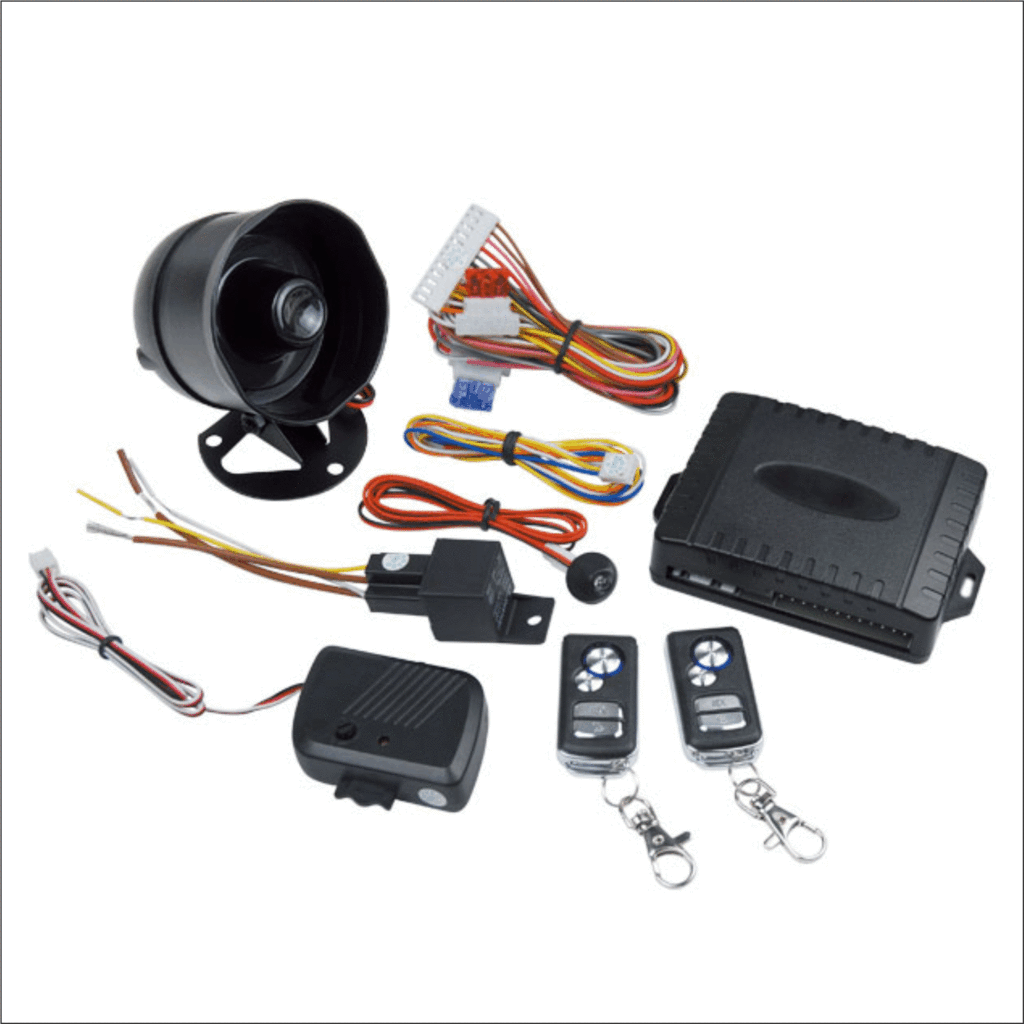
Car Alarm
Source: Wikimedia Commons
Did you know that the United States alone experienced a hike in the national rate of motor vehicle theft within the last 30 years? This report from Statista also revealed over 240 cases per 100,000 population. What does this mean? It means that your car is a natural target for thieves. So, what’s the way forward? Simple, you can get a car alarm—as long as you can spare a good amount of money. But if you can’t afford one, the best bet will be to create a homemade car alarm.
This article will show you how to create a simple DIY car alarm from home without breaking the bank. Also, we’ll share the benefits of having an alarm installed on your car.
Why a Car Alarm is Necessary
Car alarms come with their snags. But their benefits outweigh the cons.
Immobilization Characteristics
Not every thief gets perturbed by the alarm system’s loud noise during a car burglary. But there are other ways to get such thieves. That’s where alarms with an immobilizing motion sensor feature come in—it prevents a car from starting when the alarm is active.
No doubt, this feature beefs up the level of security of a car 2X more.
Reduced Insurance Costs
It’s pretty expensive to replace a stolen car. And that’s the reason why numerous car insurance policies provide incentives for the prevention of theft.
Also, whether you add an aftermarket system or your car comes with a factory-installed alarm—it saves you cost. That is, you may get a reasonable discount on your insurance policy rate.
Remote Start Options
A remote start option is a convenient feature. In truth, the anti-theft alarm remote starter helps you warm up your car without leaving your house.
The remote starter also comes in handy when you park your car far in a 3000-ft range. With this feature, you can start your car before approaching it.
Helps you Track Your Vehicle
An intruder may ignore your alarm when it goes off and drive away—if there’s no immobilization feature. But it becomes impossible to go far when the alarm has a tracking device. In such a scenario, the car will ONLY move within a certain distance and stop at a max range.
Some advanced tracking features will allow you to use your phone as a remote control to initiate a “kill command.” That way, the police can easily find your car’s location thanks to its active car alarm system. Consequently, your car will freeze when it stops.

Homemade Car alarm– DIY Car Alarm
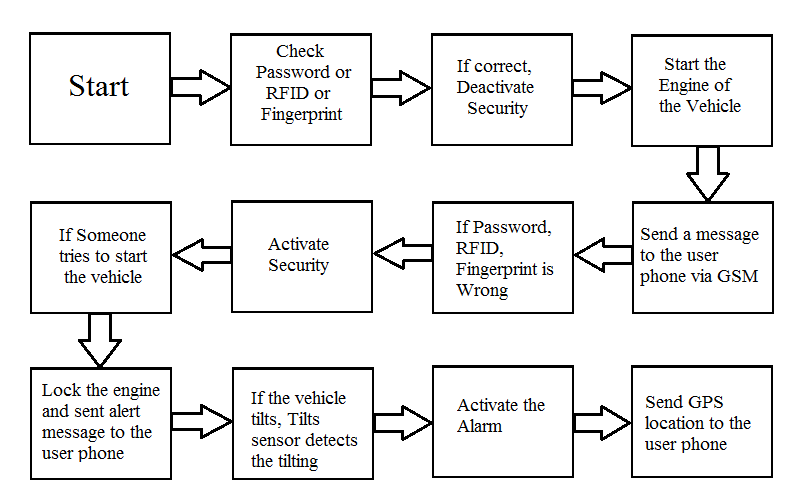
Block-diagram of car anti-theft
Source: Researchgate ℅ Abu Tayab Noman
The Design
A GSM car alarm allows you to use subsequent missed calls to lock and unlock your vehicle. Interestingly, you can initiate the alarm indicator and stop your car’s engine. That way, you won’t incur costs.
That is, you can unlock your car with a continuous ring (in the owner’s phone). And do a lock confirmation by rejecting calls. Also, you can assign many numbers to the system’s cell phone. That way, the cell phone will respond, and you can efficiently operate it via the numbers.
When there’s an intrusion or break-in, the cell phone will send a call to the owner’s cell phone as a warning. And it will do this by reverting a call. Also, if you forget to lock your car—that’s no problem because the alarm has a built-in automatic locking system.
That said, you’ll need to fit a prepaid sim in the attached phone module. Also, it’s crucial to note that this system can only work if your car doesn’t have a security system.
The Trigger Circuit
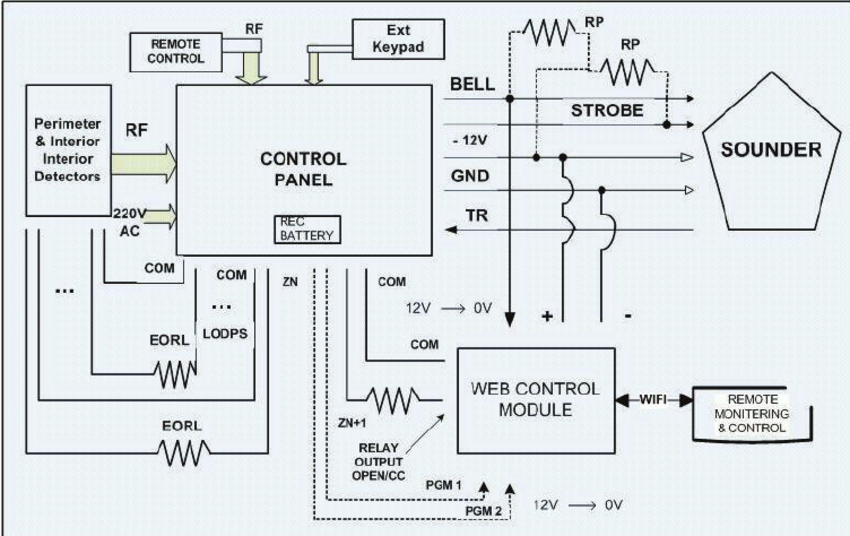
Automatic Trigger Circuit
Source: Researchgate ℅
Components Needed
- Diode – 1N4007
- R23 – 10K
- C16 – 0.1/100V PPC
- T6 – BC557
- R21 – 220 Ohms
- Relay – 12V/400 Ohms
- R19 – 22K
- T4/T5 – BC547
- C15 – 47uF/25V
- R18 – 100 Ohms
- C14 – 2.2uF PPC
- R20 – 4K7
- L1 – 40mH, Buzzer coil (You can also get this from any standard piezo buzzer)
- R22 – 1K
N.B.: the resistors are 1/4 watt 5% CFR (unless we state otherwise).
In the circuit, you’ll see two small transistor circuits. Both circuits help to create the primary “beep one.” And it comes out of the cell phone’s headphone socket.
While at it, you may notice unwanted glitches alongside the ringtone. Hence, it’s crucial to stop the strong RF disturbances from going into the main control circuit. And it’s because the disturbances may distort the whole circuit and generate weird results.
That said, you can include L1, R18, and C16 to rectify the disturbances. Also, the amplified signal energizes the circuit by moving into the relay—as long as the tone continues.
Further, you can wire the supply voltage across the N/O contacts of the relay. Consequently, the main flip/flop control circuit will receive a logic high signal when the circuit operates.
The idea of using a relay is to ensure that you can operate the trigger circuit only by a particular pulse (real ringtone). That is, stray disturbance from the cell won’t trigger the circuit—if it can break the defense of L1, R18, and C16.
Homemade Car alarm– The Major Control Circuit
This circuit helps to generate a logic Hi or Lo response—based on the input signal it gets. Also, you can use this circuit for central locking your car and ignition system (activation and deactivation).
Component Needed
- R8 – 22E(2W)
- Zener – 4.7V/400mW
- C6/C7/C8 – 33uF/25V
- R1/R7 – 1M
- C1 – 100uF/25V
- R2 – 10K
- C9 – 0.1 PPC
- R3 – 39K
- Diodes – 1N4148
- R4/R5 – 2M2
- C3/C4/C5 – 0.22 PPC
- T1-BC547
- IC1, IC2 – 4093
- R6 – 10K
- C2 – 10uF/25V
The Auto-Lock Capacity
When the system locks, N2 tends to be high. When N2 has a low output, it initiates the N4 to count. And the auto-lock consists of N4 and N5. Hence if any of them are disabled, the auto-lock won’t work.
Consequently, N5’s output will increase over a certain period—based on R1 and C1 values. And it will generate a trigger pulse at the N1 input. Then, it will toggle back to its locked position. So, that means your circuit can only stay unlocked for a certain period.
Central and Ignition Control Circuit
Components Needed
- RL1/RL2 – 12V/100 Ohms/10A
- R24 – 15K
- T8 – D1351
- DPDT
- C18/C17 – 470uF/25V
- D14 – 1N4007
- T7 – BC547
The relay driver circuit consists of the T8, R24, and T7. So, when the circuit receives a pulse from the circuit, T7 and T8 create and break the ignition relay.
That said, the relay group in the central locking rigs to T1. Hence, the central locking operation will handle unlocking and locking your door. And it does this for a concurrent execution with the ignition system.
Homemade Car alarm– Call Back Feature
Components Needed
- Relays – 12V/400 Ohms
- R9 – 10K
- IC3 – 4069
- R17 – 1k
- R10 – 2M2
- IC 2 (N6, N7, N8) – 4093
- R11 – 330K
- T2/T3 – BC547
- R12 – 4K7
- D8/D11/D12 – 1N4007
- R13 – 39K
- D9/D10 – 1N4148
- R14 – 1M
- C13 – 47uF/25V
- R15 – 1K
- C11 – 0.001uFDISC
- R16 – 330E
- C10/C12 – 100uF/25V
Make an external connection with the relay coil outside your car’s door switch. So, if your door remains open in a locked position, the circuit will recognize it as an intrusion. Hence, it will activate the relay and initiate the monostable (N6 and N7).
Consequently, the N7 output will reduce. And this action will reset pin 12 IC 4060. As a result, IC 4060 will start counting. Then the IC’s pin two will increase for a few seconds and clasps itself. So, when the cell phone calls, it will signify the owner of a theft.
After about 90 minutes, the monostable will discharge. Before this happens, the circuit will remain undisturbed. That is, it won’t respond to missed calls on the owner’s cell.
Homemade Car alarm– Call Rejection Feature
A pulse exists when the system locks via missed calls from the owner’s cell phone. And the pulse will move to the driver transistor’s base—which executes a relay briefly.
Then, the owner’s phone will reject the received call because the cancel button has the contacts of the relay wired over it. Consequently, the owner’s cell will get a “Number busy” notification—showing that the car is securely locked.
Homemade Car alarm–How to Wire the Modem Cell Internally
Remove the outer cover and inner metal mesh that shields the keypads. Peel off the keypad sticker to expose the keypads. Then, fix the wires by gluing the strip ends to the keypad. Secure the wiring with the metal mesh frame and keypad sticker.
While you’re at it, ensure that your wires have stripped end—to enhance the contact with keypads. After, place the metallic wire mesh to finish the modem assembly.
As for the charging section, connect the modem to a current limiting resistor and regulator IC 7805. Consequently, it will charge the battery in trickles. After that, place the prepaid sim card in the modem. Then, switch it ON (short circuit the cancel button). Next, save the number on the unit you will operate and call through the modem. You can do this by shorting the call button three times.
Connect the circuit to a good 12V regulated DC to test the setup. At this point, you should see the modem charging.
Rounding Up
A car alarm plays a crucial role in securing our cars since it’s a natural target for thieves. And you don’t need to break the bank to buy one. That’s why we shared the schematics and components you can use to build a cheaper option that works: the homemade car alarm.
That said, what do you think about the project? Do you need help with getting the right components to assemble yours? Please feel free to reach us.


