Contents
What is IC LM386?
As stated earlier, the LM386 is an IC that works as an amplifier. It uses a low power supply from batteries or a common DC input type of electricity. The LM386 IC comes with an 8-pin configuration with two gains, ground, Vout, and Bypass.
Interestingly, the voltage default gain is usually adjustable to 20, but you can also amplify this gain to 200 by having external resistors and capacitors co-joining the IC. This adjustment allows controlling the volume from an external audio source accordingly.
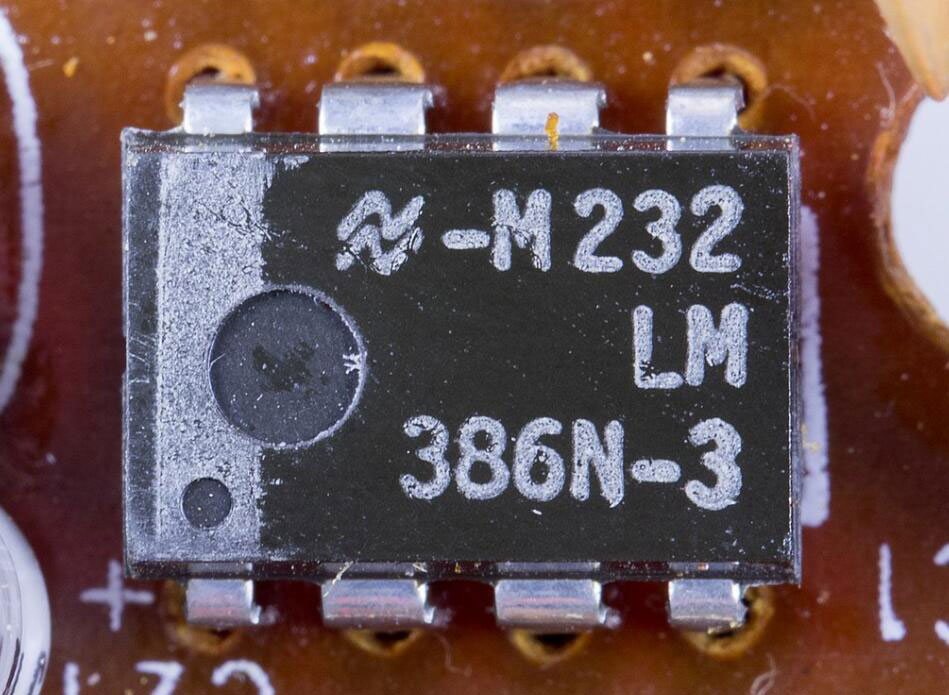
( an up-close photo of an LM386 IC)
IC LM 386: Characteristics of the LM386
The LM386 IC bears some unique traits, as discussed below.
- Distortion of less than 0.2%
- Low supply voltage of 4V to 15V
- Minimal static power drain of 4mA
- Maximum analog input voltage of 0.4V
- Speaker impedance 4Ω
- Wide voltage gain range of 20 to 200(26dB to 46dB)
- It has an 8 Pin configuration
LM386 Pin Configuration
The LM386 has an 8-pin configuration and is as depicted below.
| Pin no | Pin name | Function |
| 1 | Gain | It is the inverter pin and has a connection to the ground |
| 2 | -IN Inverting | Adjust the amp’s gain by connecting the IC to an external capacitor |
| 3 | +IN Non-Inverting | Provides audio signal |
| 4 | GND | Ground pin connected to the ground terminal |
| 5 | Vout | Output pin for output audio to the speaker |
| 6 | Vss/Vcc | Connects to power |
| 7 | Bypass | Links to a decoupling capacitor |
| 8 | Gain | Adjust the amp’s gain by connecting IC to an external capacitor |

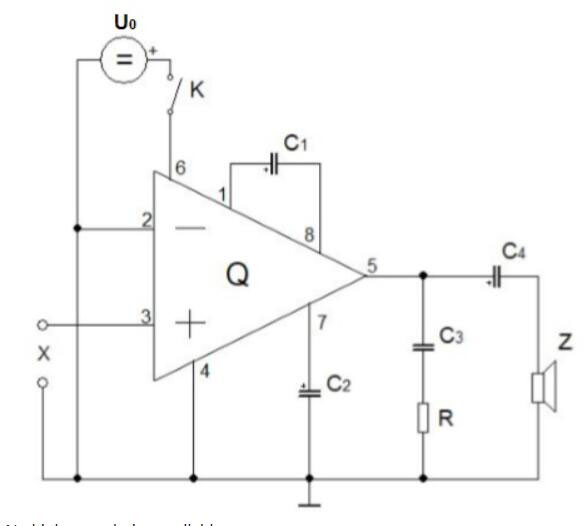
LM386 Audio Amplifier Circuit Diagram and Working Principle
You can quickly build an audio amplifier with minimal components: the LM386 IC, capacitors, potentiometer, couple of resistors, a power source of 12 V, a speaker of 4Ω, a breadboard, and then connect your wires, and you are good to go. You need to know that the amplifier has three blocks: Power and Output, Gain control and Bypass.
Once you have all three, you can design the circuit, which is not very technical.
To begin with, connect the power supply pins 4 to the ground pin 6.
You can then connect your input pin from any audio device, let’s say, a stereo or mobile phone. Most have the 3.5mm connector, which generally has the ground, left, and right audio.
Then, you can control the input level by using a potentiometer at the input. Also, a capacitor connected to the information will remove DC components.
The gain will automatically adjust to 20, but when you connect an external capacitor between pin 1 and pin 8, the payment rises to 200.
Regarding the output connection, connect a 10 Ω external resistor and a 0.05 µF capacitor in series with the GND pin and the Vout pin of the LM386 IC. It will now form a Zobel network that fully utilizes the input impedance.
You can connect your portable speaker with impedance ranges of 4 Ω to 32 Ω because the IC will be optimal.
( a 2D diagram of the LM386 IC)
IC LM 386: Application
The LM386 IC is the most common type of IC in audio devices. So it finds use in most of the day-to-day devices. Its application includes;
- FM radio amplifiers
- Power amplifiers
- Wienbridge oscillator
- Portable audio players
- Voice recorders
- Intercoms
- Audio Boosters
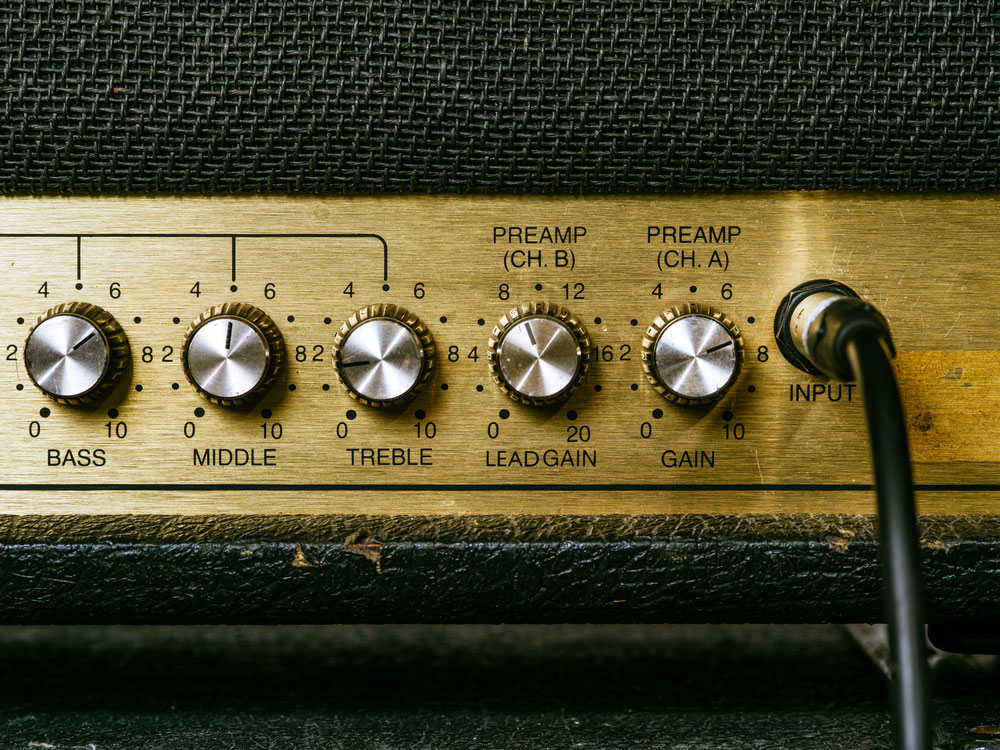
(An image of an amplifier that uses the LM386 IC)
Conclusion
As we come to the end of the article, we hope that you can effectively use an LM386 in all your audio projects. When it comes to enhancing the audio quality of any device, integrating the LM386 IC is crucial. It is an IC that finds daily use in everyday devices.
If you need further clarification regarding the LM386, feel free to contact us, and we will be glad to help.