Arduino is one of the most popular microcontrollers for many DIY enthusiasts. Primarily this is because of Arduino IDE’s thousands of libraries which ease working on the microcontroller board. We’ll highlight the significance of the list of libraries on Arduino IDE. Also, we’ll expound on how to install the Arduino library.
Contents
What are Arduino Libraries?
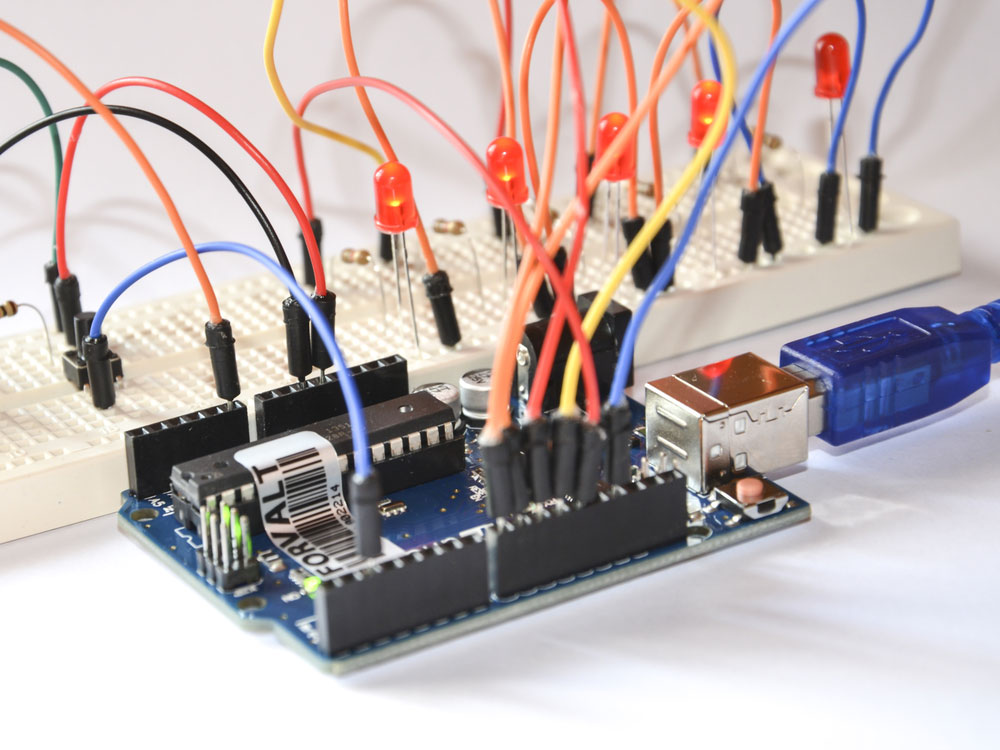
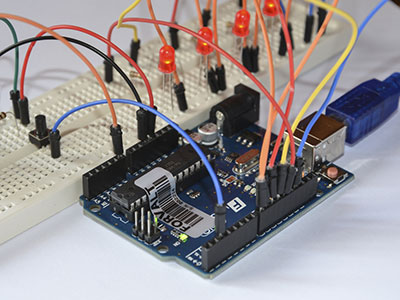
Fig 1: Arduino electronic platform for hobbyists
Arduino libraries are codes that simplify the microcontroller board’s functionality. You can access the codes by downloading their respective installation folder.
Hence, Arduino IDE saves users from the hassles of creating the codes from scratch by having a built-in library. Some library examples include the LiquidCrystal library and CapacitiveSensor library. Therefore, on the menu, check out the Arduino Library Reference to access the full libraries folder.
Lastly, note that Arduino distributes libraries in the form of a zip file. Thus, after downloading one from the library folder, you need to unzip it for installation.

Install Arduino Library- Types and Installation Method
Step 1: Differ the Types of Arduino Libraries
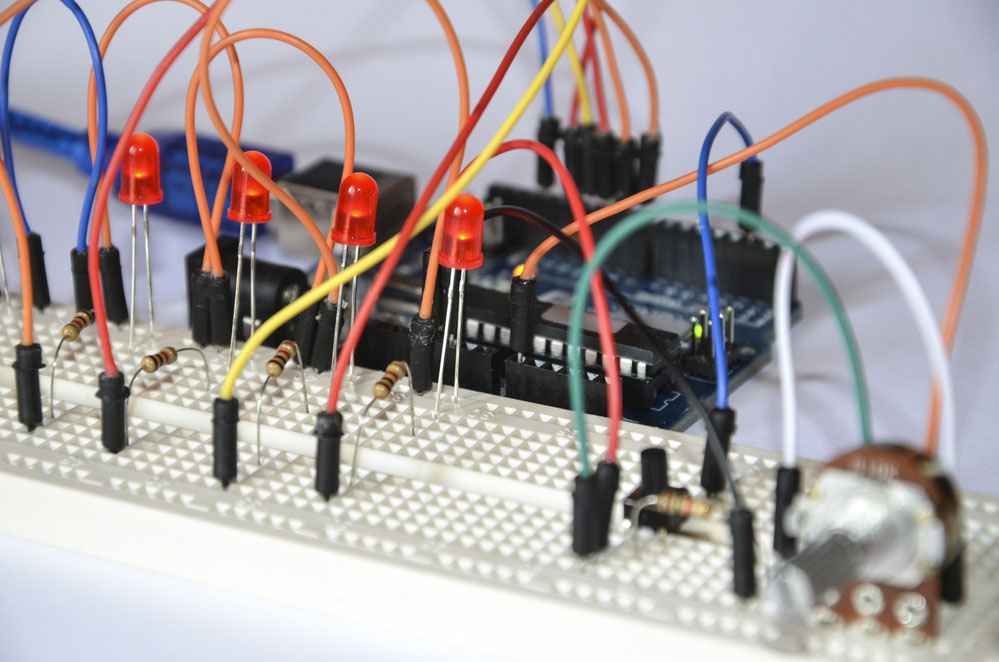
Fig 2: Arduino electronic platform for hobbyists
There are two main Arduino – Library types:
Standard Library
The preinstalled Arduino – Library features a documents folder of the common functionalities. Among the fundamental functionalities of this library are the basic communication functions.
Also, the standard library supports common hardware types such as Character LCDs and servo motors.
User Installed Libraries
The Arduino IDE library manager also allows users to access extra functionality features. Hence, user-installed libraries are additional libraries for hardware and drivers not covered in the standard library.
Therefore, user-installed libraries let you use 3rd party libraries like GitHub, Google Code, and Arduino Playground.
Also, it is imperative to save these additional libraries in the sketchbook libraries folder. It will enable use with all the Arduino IDE versions.
Step 2: Download the Library Examples.
Fig 3: You can download libraries for use with the Arduino Board
You can access the list of zip libraries from the following areas:
- Download from the product page
If you are using a product that requires a valid installation, you can access it by clicking the download button. Typically, it should look like the button below:

Thus, click on the manual installation button, and downloading will commence immediately.
- Download from GitHub

Fig 4: You can also download libraries for GitHub.
GitHub is a library manager that serves as a repository for almost all Arduino libraries. Thus for installation, click on the ‘Clone or download button, then select the ‘Download ZIP library’ popup.
Step 3: Install Your Libraries
Make sure you install your libraries in a folder that is easy to locate by the compiler. Next, find the Sketchbook Folder. The Arduino IDE board will store the sketches in this folder, and the system automatically creates the Sketchbook folder after installation.
If you are using Linux Os, the folder will show as “Sketchbook,” which will be on the home tab. But on the Windows and Macintosh OS, the folder will be marked “Arduino.” Also, for these operating systems, it will be in the ‘Documents’ folder.
Further, note that the user-installed libraries will save on the sketchbook’s “Libraries” folder. Therefore, the IDE will locate the libraries you have installed from this folder.
Step 4: Add the library
You can add the library via any of the following two installation procedures.
- Add the Zip library
After downloading the zip Library, select ‘Sketch’ on the Arduino IDE. Next, click ‘Include Library’ and select ‘Add. ZIP Library.’
Then, select your zip file, and if you have installed the library correctly, you will receive this message; “Library added to your libraries.’
- Add the Library folder manually.
If your Zip library’s root folder lacks .cpp or .h files, the Arduino will not recognize it. Hence, you’ll have to add it manually.
First, unzip the zip file. Next, copy the library folder to where you want to store it. If you’ve added the library, it’ll give you a demo.
Step 5: Install a Library on Windows
First, shut down the Arduino IDE, given that it will scan for libraries only during starting. Thus, your library will be invisible to the IDE if it is open during the installation process.
Next, download the zip file, unzip it and install it on the desktop. Once complete, copy and paste the library to the “Libraries Folder.”
Step 6: Rename the Library
You must ensure your folder doesn’t have dashes on the name, as their presence makes it unrecognizable to the IDE.
Hence, you need to rename your Github Master Folder, and you can opt to use underscores. You can opt to rename it, say, AFMotor or any other convenient name.
Next, confirm that you have the AFMotor.h and AFMotor.CPP files.
Step 7: Confirm that it Compiles
First, switch off the IDE and on again. Next, check if it compiles from the IDE’s check-mark icon.
Conclusion
Above is a detailed elaboration of installing an Arduino Library, among other key insights. For more information or queries, talk to us.


