Contents
- 1 What is an LED splitter?
- 2 Is it possible to separate LED strips?
- 3 Benefits of LED Strip Splitters
- 4 What’s the difference between a DC splitter and a Y-splitter?
- 5 What Is the Number of LED Strips You Can Join Together?
- 6 How do you connect two LED lights to one power source?
- 7 How to connect LED strips to splitter
- 8 Summary
What is an LED splitter?
An LED splitter is a device that splits the signal from one electrical source, sharing it with multiple strip lights.
A splitter is extremely useful for an LED strip project. You will need a splitter to connect multiple strip lights to a single electrical source like a 12V battery or AC/DC transformer. Otherwise, you may need to wire each strip in a series or parallel configuration.
Is it possible to separate LED strips?
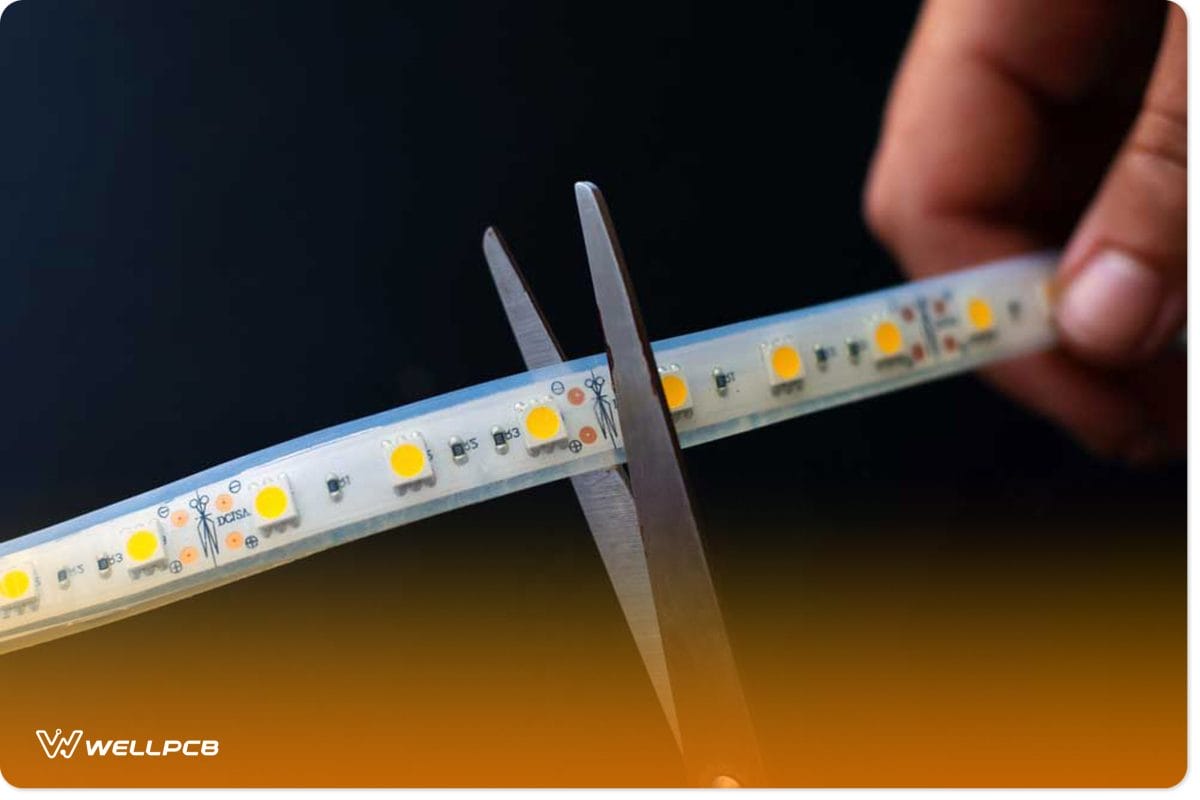
Separate LED strips with scissors
Yes. Due to their versatility, you can shorten an LED strip light by cutting it on the dotted copper lines with scissors.
Although different brands provide specific cutting lengths, you should separate the strips every 5-10 centimeters. Ensure that you pay attention to the brand’s recommendations before proceeding!
Benefits of LED Strip Splitters
Connecting LED light strips requires extra wiring and power supplies. So, using an LED strip splitter for your project comes with the following benefits:
Simpler to surround a room with LED strips
A splitter makes the installation process much easier to connect to one power source! For example, this allows you to run two LED strips in opposite directions to provide additional lighting.
It also does not require a lot of wiring.
However, the power supply needs sufficient power for the lights, which must have the appropriate wattage.
Run two strips from opposite directions!
Typically, splitters are located at the front of the strip, splitting power to other connected strips. They can also be added to the back, making it easier to split the strip in opposite directions. Ensure that you don’t integrate more than the total strip run.
Plug in a max of four strips into a single source!
You can purchase an LED strip splitter with two to four plugs. That way, it will provide power to four strips from a single outlet, even if you form a parallel connection. They also make the setting look simple and neat.
What’s the difference between a DC splitter and a Y-splitter?

The DC Splitter is intended for a single-color LED strip.
The DC splitter is ideal for single-color strips, such as white. It features 2.1mm output plugs, allowing you to connect a power adapter. You can also insert these plugs into the LED strips’ female 2.1mm jack.
Use a Y-Splitter for RGB strip lights.
Meanwhile, a Y-Splitter, also known as a 4-pin LED splitter, is for RGB LED flex strips. This type will only work with 4-pin connections and helps separate one run into another.
That way, you will introduce more lighting to cabinets, shelves, and more!
What Is the Number of LED Strips You Can Join Together?
You can join up to two LED strips together. However, more than two strips require a higher gauge power bus installation. This makes it possible to integrate additional power supplies.
How do you connect two LED lights to one power source?

Image showing a solder and wire.
As you know, linking two to one electrical source can be a bit complicated and challenging. So, refer to these options to help you with this project!
Daisy chaining both strips serves as an excellent choice to consider. Start by soldering a wire to the first strip’s positive terminal.
Then, solder another wire to the other strip’s negative terminal. Afterward, hook up the first strip’s negative wire with the power source’s negative terminal.
Lastly, hook up the other strip’s positive wire with the power source’s positive terminal.
You can install a T-connector for power-sharing purposes. First, solder wires to the connector‘s terminals.
Next, connect the opposite end of each wire to the power source’s matching terminals. As a result, each strip will operate via a single power source.
How to connect LED strips to splitter
You can also set up a power splitter cable with the strips in addition to the previously mentioned methods. Follow these two simple steps to complete this task:
First, connect the LED strips to the splitter’s plugs. Doing so allows you to achieve either a series or parallel configuration.
Lastly, connect the LED splitter to your power supply.
Summary
Overall, an LED splitter is perfect since it allows you to plug in multiple LED strip lights, providing the whole room with extra light.
As a result, you can enjoy a fuller lighting experience! However, depending on the strip type, you should choose the appropriate splitter.
For example, an RGB strip requires a Y-splitter. Meanwhile, the single-colored strip requires a DC splitter, so choose the correct one.
Do you have any questions regarding an LED splitter? Feel free to contact us!