1. Using a CNC
In this method, you could choose to use a 4mil thin stainless steel sheet. After a PCB Design is done, turn off all the other PCB layers except the SMT pad layer (also called the cream layer). Export to a .dxf file or any other format that you know will make it easy for you to make a 2D CNC file. Most CNCs will understand G-Code. You can then generate a G-Code file using software of your liking.
A good enough pick would be the Mach 3 program. Alternatively, you could search for an online G-Code file converter or prepare your G-Code based on your SMT pad dimensions. The CNC should be well set with a suitable PCB cutter tool. From this point, having loaded your G-Code to the CNC. It will comfortably cut away the steel material as specified by the G-Code to make through holes in the steel sheet. This is how you can make an SMT Stencil using a CNC.

2. Using an Etchant
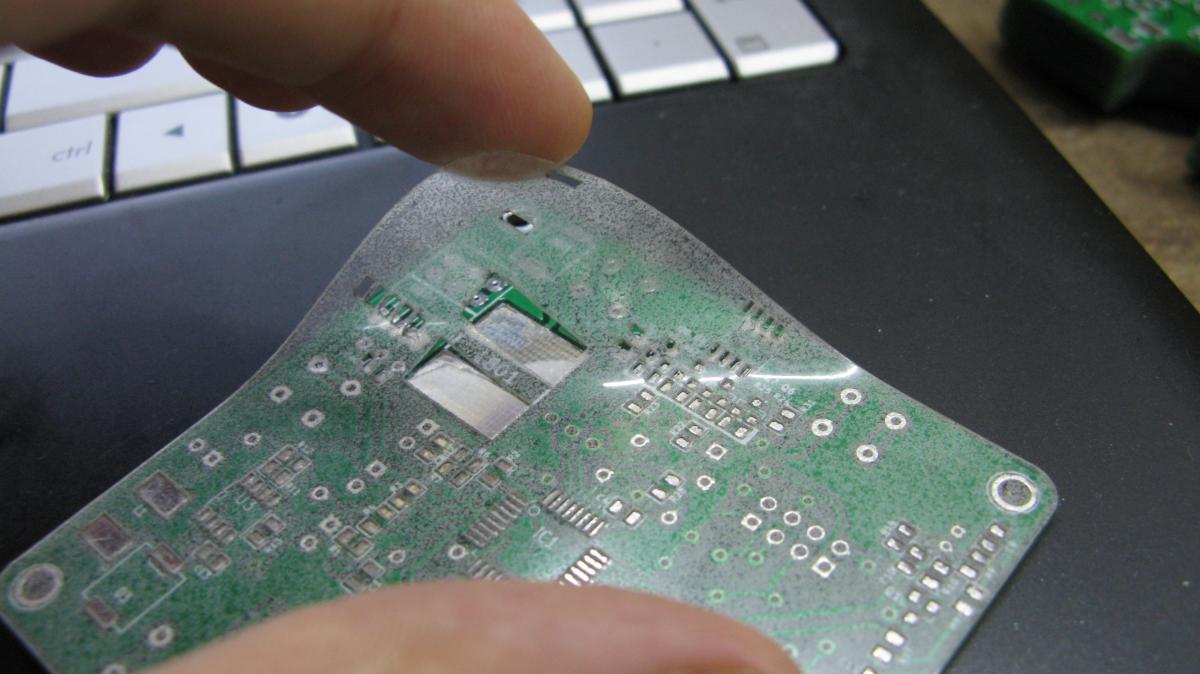
Another method of making SMT Stencils is by using a chemical Etchant. In this case, we shall still use a 4mil stainless steel sheet meant for SMT Stencil. In this method, instead of exporting a .dxf file from a PCB Design software, you could export a .png file with an actual scale of 1:1. Unlike the CNC .dxf file, it is recommended that you make the SMT pads white and the other parts black. This file represents your mask. Do not forget to mirror this .png file if needed. Various methods can be used to transfer this mask onto the steel sheet.
These methods include toner transfer and UV light exposure. Toner transfer is commonly used when preparing small-scale PCB prototypes. While UV exposure is preferred for large-scale PCB prototypes and can also be used for small-scale prototypes. It is advisable to clean the steel sheet using Acetone or Alcohol before the mask is transferred into the sheet. After the mask is well transferred into the steel sheet. Cover the rest of the sheet with tape that will protect it from any form of corrosion.
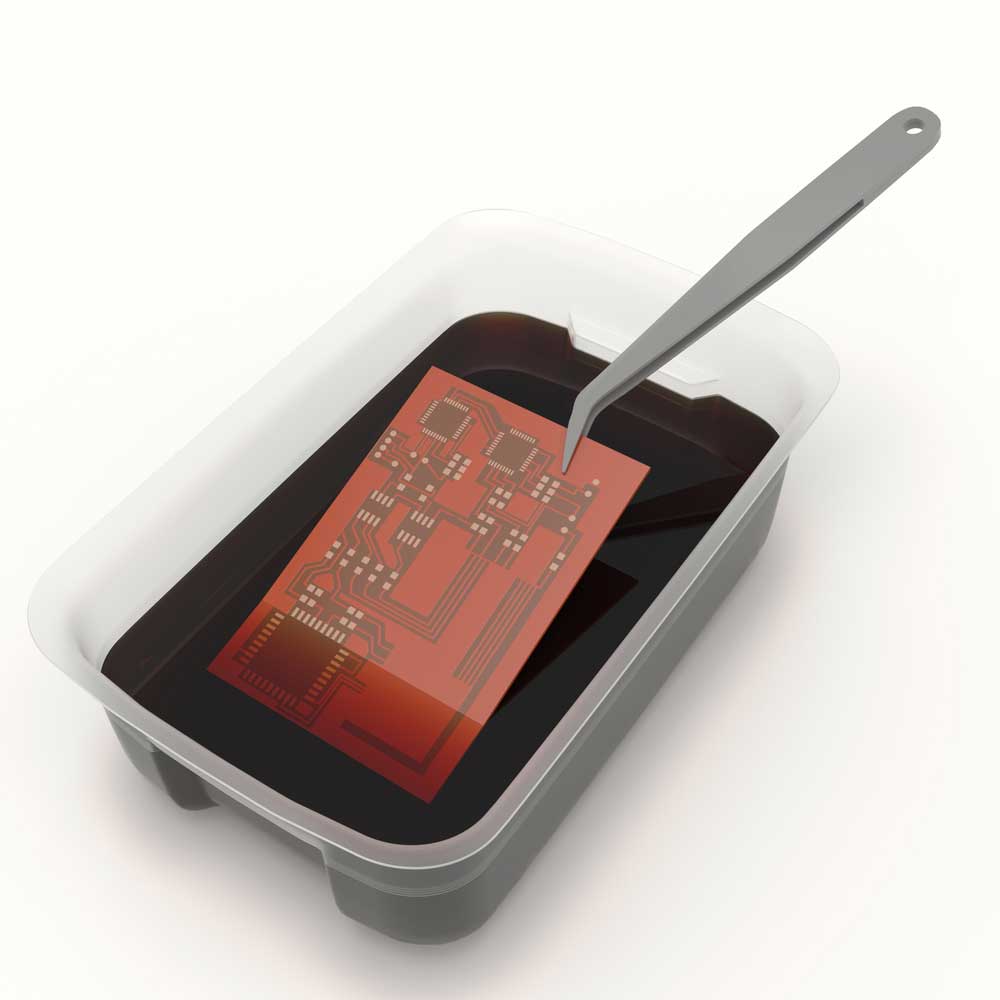
The sheet is then dipped into a hydrogen peroxide solution, which eats away the exposed areas. The SMT pad areas were white. Within a short time, perfect SMT Stencil holes will be created. And the SMT Stencil will be ready for use after cleaning.
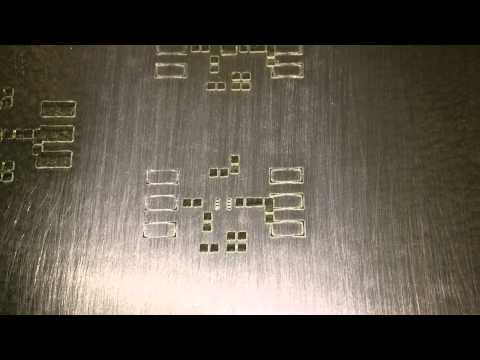
3. Using Laser
This method is similar to using a CNC. except that the laser’s heat is the one being used to remove the material. The heat from the laser is enough to vaporize or melt the material away. The advantage of using the laser is that you have more freedom to choose a wider range of materials for your SMT Stencil. For a plastic sheet, you could opt for laser etching or laser engraving. Great care should be taken to avoid poor-quality finished holes caused by laser heat-affected zones. This can be achieved by balancing the laser current with the laser cutting speed.