Contents
What is A Pi-Hole?
The Pi-hole is a DNS-based filtering tool that you can configure and use to block advertisements, tracking, known malicious sites, and malware on your entire network.
Why Should You Use A Pi-Hole?
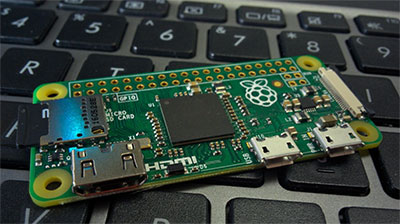
Raspberry Pi-Hole on a wooden stand
Source: Maxpixel
Traditional ad blockers such as U-Blocker and Adblock Plus function within the limited sandbox of your web browser or operating device. They analyze your device’s incoming data as it loads a website or resource. Next, the adblocker will remove or replace any content it recognizes as an ad. Again, this may be effective for devices or web browsers that support ad-blockers, but it leaves other devices in your network or ecosystem vulnerable.
While you may try to manually install additional ad-blockers on all the devices in your network, it isn’t very time-effective or efficient. Furthermore, not all devices support ad-blocking. The best way to get around this is to protect a single point in your network using a device like the Pi-hole. It will remove ads from all your internet-enabled devices, including your:
- Smartphones (apps and games)
- Smart TV
- Smart Watches
- Media players
- Casting devices
However, the Pi-hole isn’t just limited to blocking ads. Once you’ve configured it, you’ll be able to apply it to any internet traffic on your network. For instance, you’ll be able to block known tracking services and blacklist adult sites from users on your network (such as your children).
Furthermore, you can prevent malware or malicious sites from communicating with their controlling servers. Thus, the Pi-Hole isn’t just an adblocker but a network security device offering multiple uses. However, it may be intimidating for users who may not be network or hardware-savvy.

How Does the Pi-Hole Work?
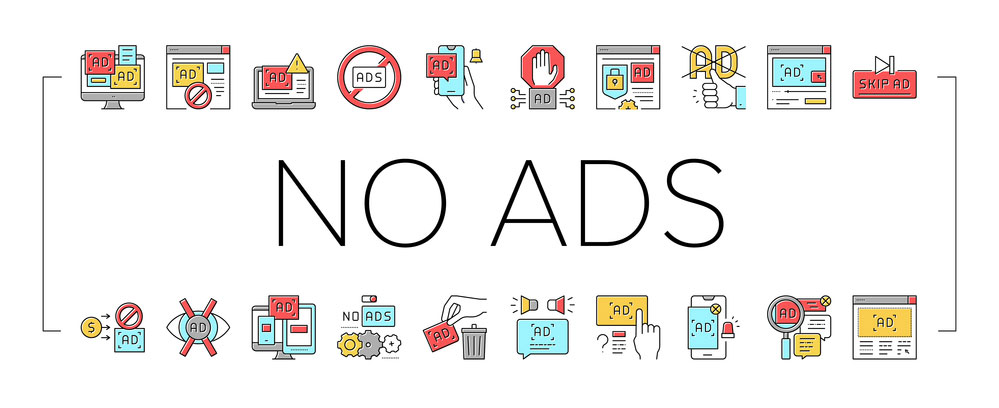
A vector image displaying ad-blocking ar
When you run an ad-enabled website, game, or service, it will request the URL of the DNS server that manages adverts for that resource. It will do this while loading all its main assets (main content, images, text, videos, etc.).
Your internet router’s specified DNS provider looks up the ad URL. It then replies to your device with the IP address of that server so that it can load the ads. While it may be easier to statically integrate the ads into the app, game, or web page, a dynamic approach is more advantageous. Among other advantages, it allows them to deliver individually tailored ads across multiple providers through multiple servers.
The Pi-hole sits between your DNS provider and your device as a middleman. As with most ad and tracker blockers, it features a blocklist. As a request is sent to your DNS provider from your device, the Pi-hole will assess it to see if it’s on one of its blocklists. If it finds that the request is on a block list, it will prevent it from reaching the DNS provider. Instead, it will reply to your device with an unspecified address – essentially telling it that the ad resource doesn’t exist.
We call this a DNS sinkhole. Depending on how your browser or app works, it will either present an empty hidden space or an error where the ad should appear.
Setting Up and Using the Pi-Hole
The Pi-Hole uses a high-compatibility design. It can work with almost any Linux system. It’s effective regardless of whether the Linux system is in a docker container or a virtual machine. Of course, you must point your DNS towards it.
Nevertheless, an inexpensive embedded computer is the most popular deployment method. That’s what we’ll use in the following tutorial.
Required Components, Equipment, and Tools
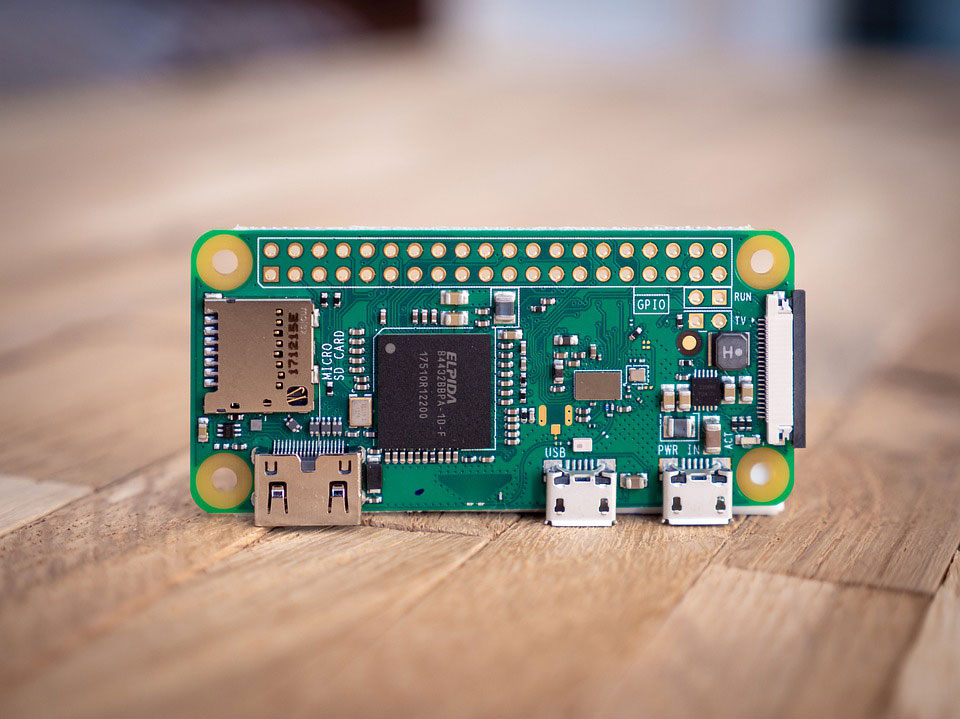
Raspberry Pi Zero (you can use any Raspberry PI model)
Raspberry Pi Model 2 and Pi Zero
Micro SD Card (16GB)

Hand holding a MicroSD card
2.5A Micro USB AC Power Supply

Black mobile phone charger
Micro USB to RJ45 Ethernet Adapter
An enclosure for the Raspberry Pi
Ethernet cable
Ethernet cable
Heat sinks (for the Raspberry PI)
Mini HDMI cable to connect Raspberry PI to TV
HDMI to mini USB converter
In addition to the above components, you’ll also require a PC or device to allow you to flash the operating system onto the Micro SD card. You can use a microSD/uSD card reader connected to your computer/laptop. Furthermore, we highly recommend that you use a Windows PC.
This project will require a few command-line arguments to set up. However, do not be intimidated. We have ensured that the following tutorial is as easy to follow as possible.
Instructions
Before setting up the Pi-Hole, we first need to install our operating system on the Raspberry PI Zero (or embedded computer of your choice). For this tutorial, we chose Raspbian Buster Lite.
Use a computer to download the Raspbian Buster Lite image
Next, download and install balenaEtcher – it will allow you to write/burn/install the Raspbian Buster operating system onto the Micro SD card.
Plug your micro-SD card into your SD card reader (connected to your computer or smart device)
Next, run the balenaEtcher application from your laptop or smart device
The balenaEtcher’s wizard requires two inputs before it can flash the operating system. It will require the micro-SD card directory and the Raspbian Buster Lite image directory. Once you input these two properties, you can click on the flash button.
Unplug and re-plug the micro-SD card into your computer
Open a file explorer (if autorun doesn’t open it automatically)
Windows (or your PC’s operating system) will display a new drive with a label reading as “boot.” If it doesn’t show up in your list of drives, you’ll need to manually assign a letter to it.
Next, open the boot folder, create a generic extension-less file, and name it “ssh” (without quotation marks).
Setting up the IP Address
Plug your micro-SD card into the Raspberry Pi, power it on, and then turn networking on
Log into your router’s admin page from your computer and scan through the DHCP client list until you find “raspberry pi.” Alternatively, you can download the Angry IP scanner to find your Raspberry Pi. Once you find the hostname, note the IP and Mac Address.

Angry IP Scanner
Use the Raspberry Pi’s Mac address to set up a static IP address on your router. The fixed address should be unique and not used by any other device on your network. This process will differ from router to router. However, logging onto your router’s admin page will entail configuring the settings accordingly. You can review your router’s manual or Google the steps using your router’s name and model number.
Unplug and re-plug your Raspberry Pi. Resetting it will allow it to fetch its freshly assigned static IP address.
Using a Secure Shell Protocol (SSH) to Install The Pi-Hole Software
Download PuTTY. It’s an SSH client that will help us set up the Pi-Hole.
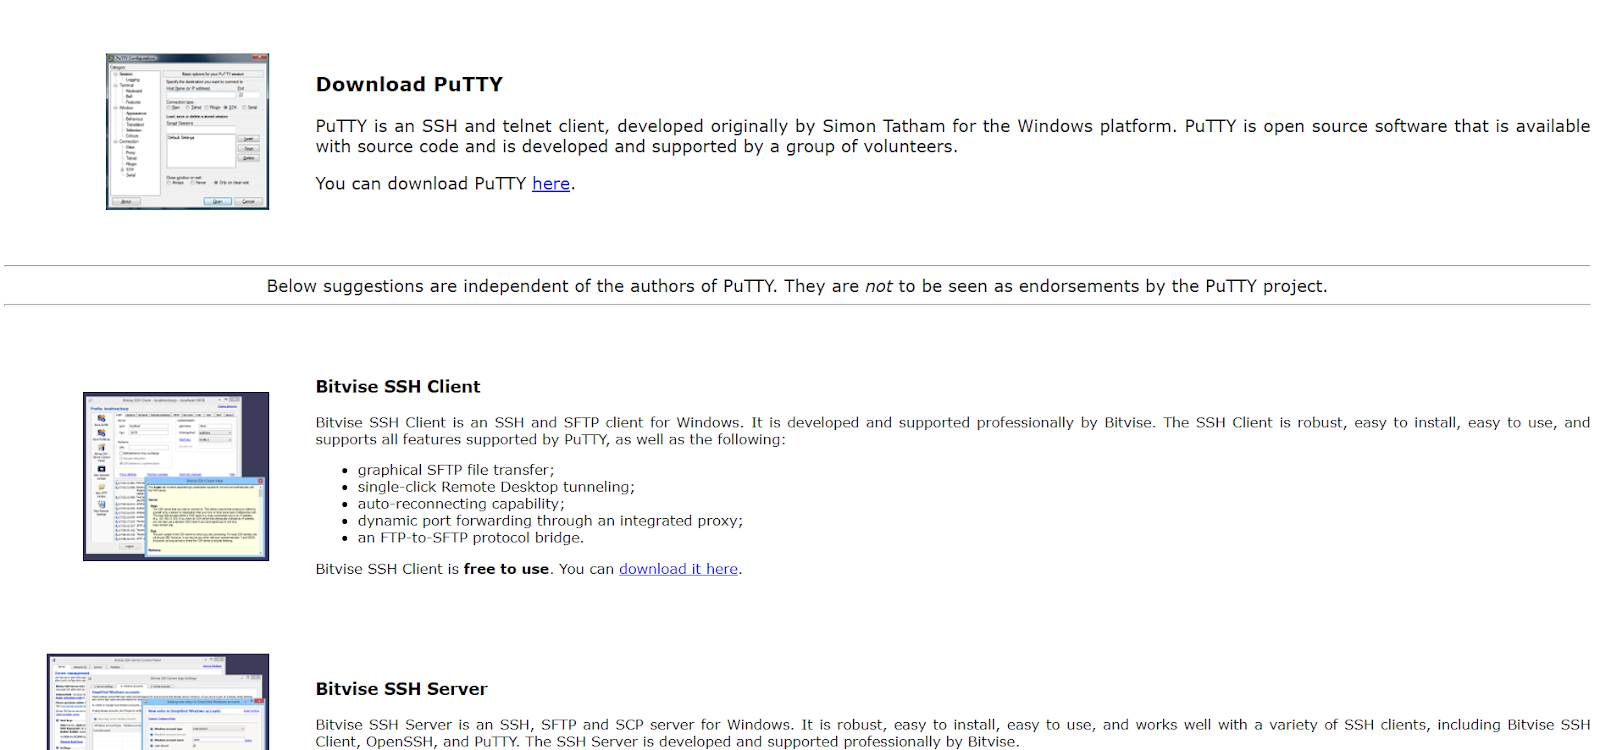
Screenshot of PuTTY website
Configure your Raspberry’s new static address into the PuTTY screen and click the Open button.
Putty will prompt you to log in as a user. Input “pi” (without the quotation marks)
Next, insert “raspberry” as a password. You can change this password using the password command once the Raspberry Pi logs you in.
Before moving on to the next steps, we will need to update the Raspberry Pi. Type the sudo apt update command into the PuTTY terminal screen and hit enter. It will fetch a list of updateable packages.
Next, run the sudo apt upgrade -y command to update all available packages.
Insert the following command into the PuTTY terminal screen: curl -SSL https://install.pi-hole.net | bash. It will install and set up the Pi-hole. You can learn more about this command from the official GitHub page. Nevertheless, it will open the automated Pi-Hole installer as it’s running.
Configuring The Pi-Hole Software
Once the installer is complete, it will display the configuration screen. Keep hitting the enter key on your keyboard until you reach the page with the “Choose an Interface” title. Make sure that the configuration has selected the eth0 interface – unless you’re using Wi-Fi (we advise against this), you can use the “wlan0”. Next, insert your upstream DNS provider.
Most users use Google DNS, which should be the default setting. Alternatively, you can use OpenDNS or a provider of your own choice. Hit the enter key to move on to the next screen.
The next screen will require you to select or alter the available blocklists. We suggest you leave this screen unchanged unless you know what you’re doing.
Next, the installation will ask which IP protocols you’d like to use to block ads. Again, we suggest leaving this unless you know what you’re doing. Hit the enter key to move to the next page.
The setup wizard will list all available IP addresses. This list should include your Raspberry Pi’s IP address and router’s. You can set the Raspberry Pi’s static address from this screen. However, since we completed it earlier, you can leave this screen untouched and move on to the next page by pressing enter.
*Note: if it displays any IP conflict errors, ignore them and move on to the next screen.
- The next screen contains configuration data related to web servers, interfaces, and logging modes. If you’re not familiar with these settings, we suggest keeping the defaults and hitting the enter key on your keyboard.
Completing the setup
- Finally, the Pi-Hole setup will use the settings from the previous screens to configure the software and device. This entire process may take a few minutes. Nevertheless, it will display a page with a title reading “Installation Complete!” once it’s complete. This screen lists the IP address and password for the Pi-Hole web interface. We suggest that you make a note of these details.
- Run a web browser from your computer (or Raspberry Pi) and insert the Pi-Hole’s IP address. After the web page loads, it will request your password. Fill in your password. If you’ve completed these steps correctly, you should have a working Pi-Hole setup on your network.
You can configure your Pi-Hole on a device-to-device basis or cast a wide net over your entire network through your router. Each device will require you to change the DNS settings and point them towards your Pi-Hole for the former.
The device will require the IP or MAC address and possibly a password. We suggest you search the internet for the instructions related to your specific device. Similarly, to configure the Pi-Hole to provide network-wide protection, you must configure your router’s DNS server using the Pi-Hole’s IP address. We suggest using a search engine and inserting the following into the search field: “How to set DNS for” + [Your router’s name and model number], i.e.,
How to set DNS for Netgear Nighthawk AX8 (RAX80).
Like most ad blockers, the Pi-Hole may detect false positives and block useful elements and websites. Here’s a list of commands for domains that you should safelist for your Pi-Hole.
Summary
Adverts can be intrusive and annoying. However, technology has become ingrained in our everyday lives. We can credit this phenomenon to the Internet of Things (IoT) and smart devices such as sensors. Thus, we need to ensure that we’re protected when using modern technology. As the above guide highlights, a Pi-Hole is one of the best ways to achieve this. However, it’s also important to have good internet and technological hygiene. Make sure that you’re using technology with the best components.


