
We can’t deny how voice assistants and voice-controlled home automation systems make things easier. Perhaps, the big question is: How does voice recognition work? And how can I build one? Voice recognition systems can serve various purposes. They can perform tasks or control your home based on your voice commands. Although dealing with voice recognition can be tricky, we’ll make it easy. In this article, you’ll learn how to build a Raspberry Pi voice recognition system. Also, you’ll get insight into how voice recognition works.
Let’s get started!
Contents
Raspberry Pi Voice Recognition
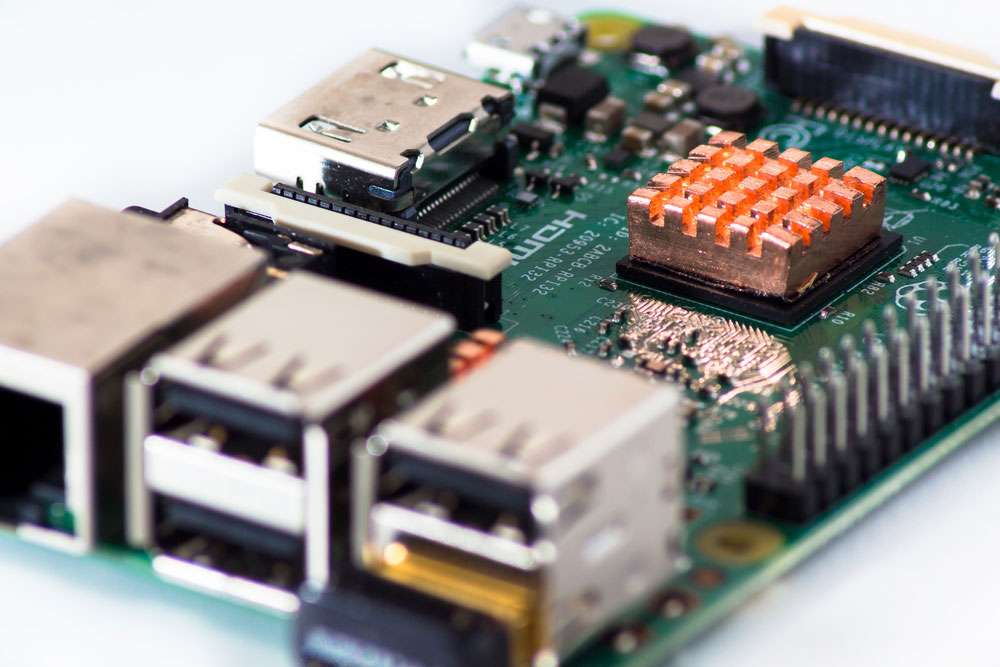
Raspberry Pi
Before we go into the technical details, what can this Raspberry Pi voice recognition system do? A voice recognition system listens and performs tasks based on your voice commands.
Typically, these tasks involve controlling loads connected to the circuit. But you can customize the circuit to perform any task you want.
More importantly, the Raspberry Pi can handle voice recognition directly without needing help from other devices. All you need to do is to plug in a microphone to speak to your Pi.
Plus, you can keep this system active and give commands at any time.
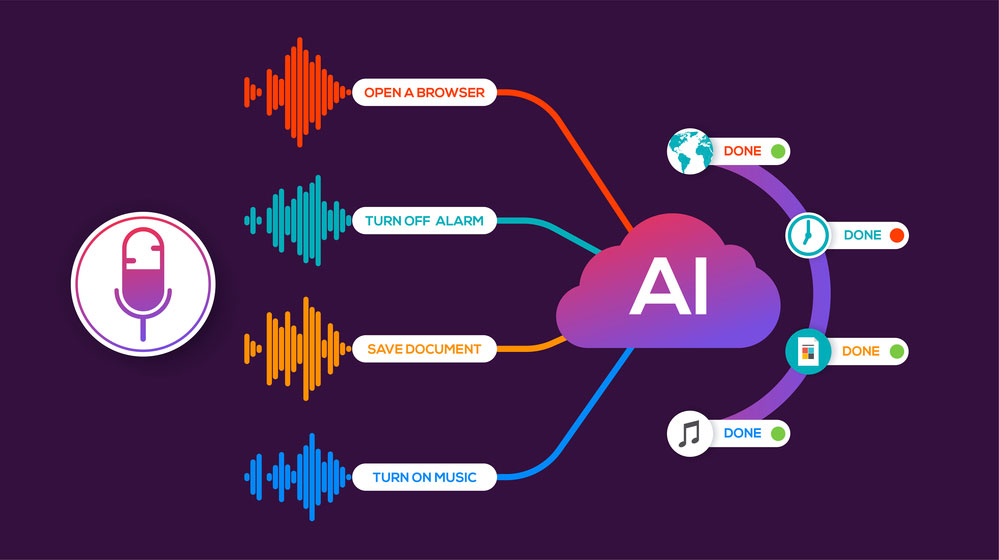
How Voice Recognition Works
It’s incredible how we can speak to our devices, and they respond. But computers don’t understand the human language.
What happens is that we create vibrations in the air when we speak, which makes energy. Then, the microphone we speak into converts the energy to electric signals.
However, we produce analog signals, which computers can’t understand. So, an AC/DC converter transforms the signal into digital.
After digitization, it also filters the signal and cancels out noise with the help of complex natural language processing systems. Afterward, the computer creates the perfect response for the sound signal.

How to Build a Voice Recognition System
For this project, we’ll use Google’s Speech API to convert our speech into text. Then, Espeak will convert the Pi’s responses into speech for this Raspberry Pi project.
What We Need
Here’s a list of the components we need for this project.
- Raspberry Pi
- Jumper wires
- Relay
- USB Microphone
- Speaker
Circuit Diagram
Hardware Connections

Speaker
The hardware set-up for this circuit involves only a few connections. And you can connect them in any order.
First, connect your USB mic to the Pi’s USB port. Then, plug in your speaker with a 3.5 mm jack male connector. Further, the speaker is what converts the electrical signals generated by the microphone into sound waves. While at it, ensure your speaker has an Aux option.
Also, you can connect the bulb through the relay. That way, it’s easy to connect the relay to the Pi board. Simply follow the circuit diagram to see how to connect the relay and the bulb.
Finally, power up your Pi with your USB cable, and your hardware setup is complete.
Software Set-Up
Now that the hardware phase is complete, proceed to the software. Here’s how to set up the Raspberry Pi to receive voice commands.
Step 1: Connect the Microphone
The USB microphone can handle AC/DC conversions and features a built-in amplifier. Hence, we can connect it directly to the Pi without external circuits or amplifiers.
Now, you’ll need to check if your microphone is working. Here’s how to do this easily:
- First, open your LXterminal and input the following code:

- Then, use the arrow keys to choose your connected microphone in the dialogue box that pops up.
Note: It may have a different name like “USB PnP Sound Device.”
- After, press F6 to set your mic’s recording volume. Also, you have to use the arrow keys for this task.
- Next, test your microphone with the following code:

The code will start a recording and save it as test.wav.
- Also, input the following command to play your test recording:

It is a simple test to check if your mic works properly. So, if you don’t see your microphone in the dialog box, check your connections. If your mic is on the dialog box, but the sound is glitchy or wrong, confirm your connection or change your hardware.
Step 2: Installing Speech Recognition Libraries
You’ll need some libraries to ease the stress of coding. The libraries we need are the Espeak library and the Speech recognition library. Also, you’ll need the PYAudio library.
Run the following codes to download the libraries:

Next, test your Espeak library with the following code. If it works, you’ll hear your test word.

Note: If it doesn’t work or you get an error message, check if you used the correct code and try installing again.
Step 3: Coding Your Raspberry Pi Speech Program
Here’s the complete code you need for this project:
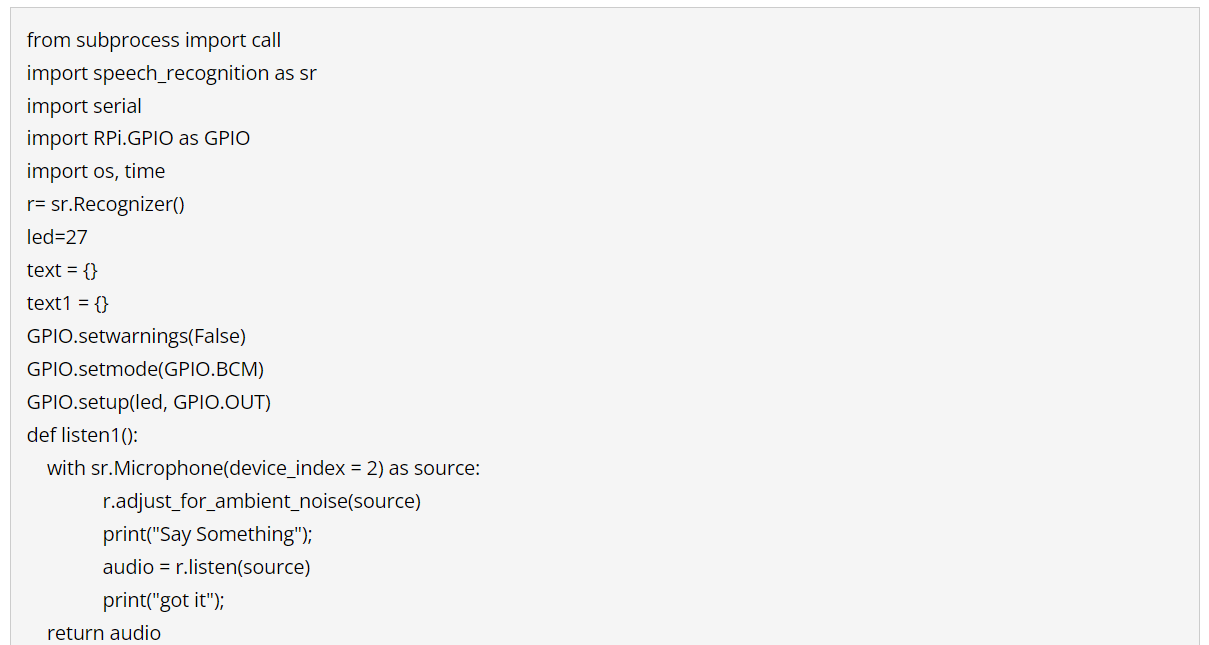
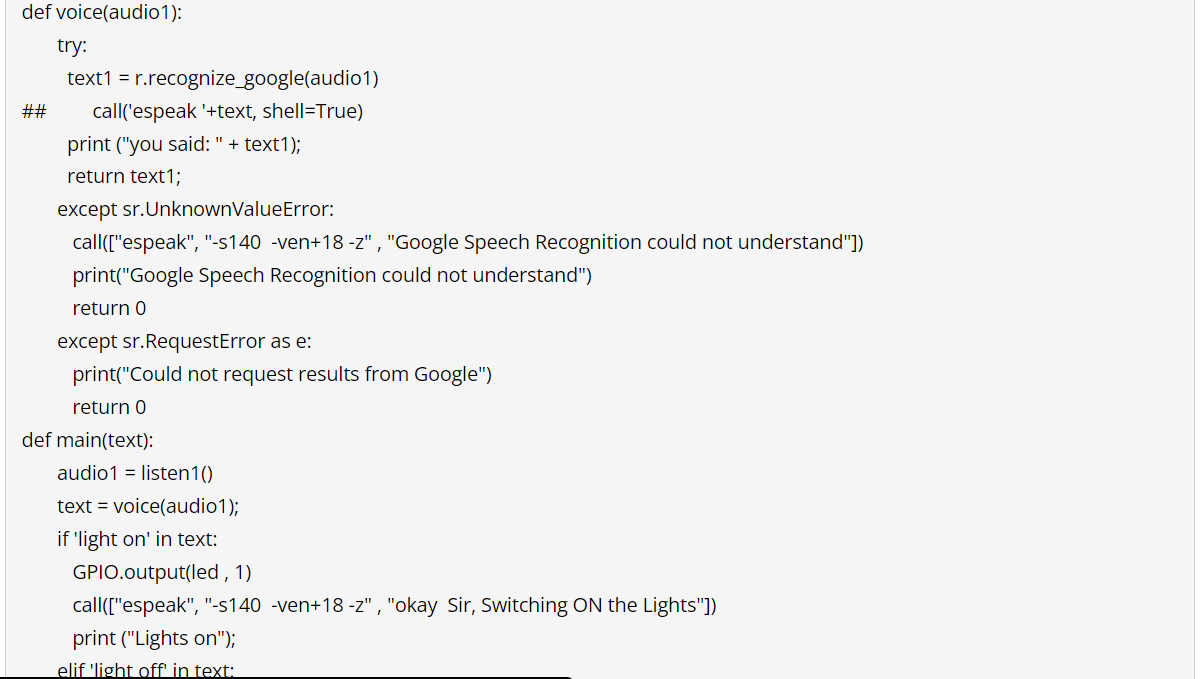
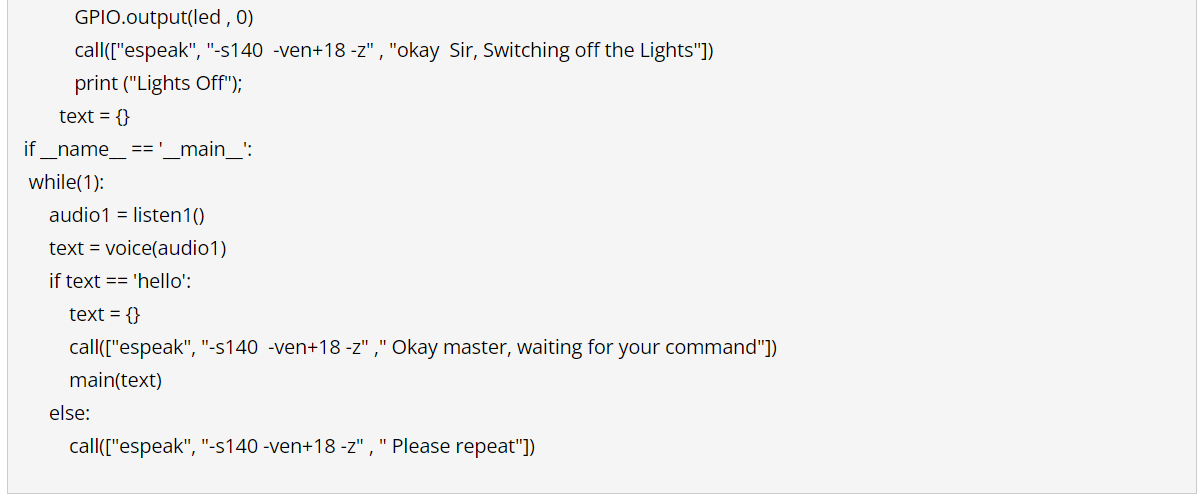
Code for Raspberry Pi Speech Program
Note: Ensure you input the code correctly to avoid any errors.
How the Circuit Controls AC Loads Via Voice Commands
Speech Recognition Tasks
The Raspberry Pi always waits for the keyword that activates its code, even when idle. So, once you speak the keyword, which in this case is “Hello,” the code will start.
Further, the code will carry out the commands which can either turn on or off the AC load (bulb). Then, once the Pi completes the task, it will respond through the speaker. Afterward, the Pi will return to its idle condition and wait for the next command.
Interestingly, you can tweak the code to control other forms of AC load and perform other tasks. Also, you can choose a different trigger to activate your code.
Summing Up

Alexa Voice-controlled System
While this voice-controlled system is not as great as Alexa or Google Voice Assistant, it’s a great way to add a voice-controlled project to your home.
Also, you can control some devices in your home and even hear audio feedback from the circuit. The best part is that you only need a few connections and coding to build your Raspberry Pi voice-controlled system.
What do you think about this project? Do you want to build one? Please, don’t hesitate to contact us if you have any questions.


