One of the numerous functions of Raspberry Pi is that it can be useful as a web server for access to a remote connection. The setup process for using the Raspberry Pi website server is also straightforward, as you’ll find out from our guide.
Contents
How to set up a web server on the Raspberry Pi?
Raspberry Pi must connect to a local network (internet service provider) and run on an updated Raspbian desktop version. Our guide explores the Pi web server set-up procedure for any Pi model, including Raspberry Pi 4 and Zero W.
Here are the key steps:
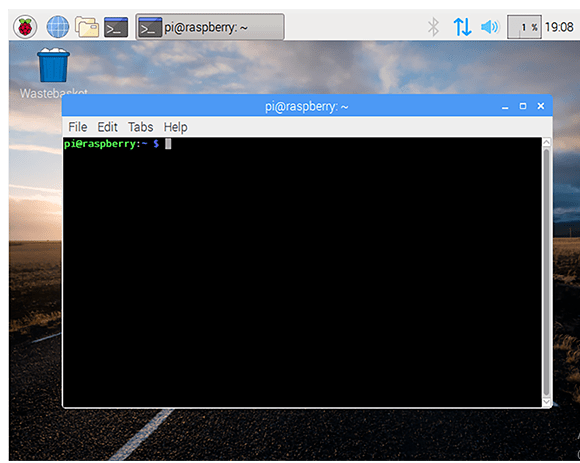
Step 1: Accessing the terminal
You can access the terminals/ window manager via either of the following two ways:
- First, on your Raspbian desktop/ remote desktop, click CLRL+ALT+T. It will yield the terminal window shown below.
- Alternatively, connect remotely via an SSH. Remember, this will be possible if the feature is enabled on the Raspberry Pi.
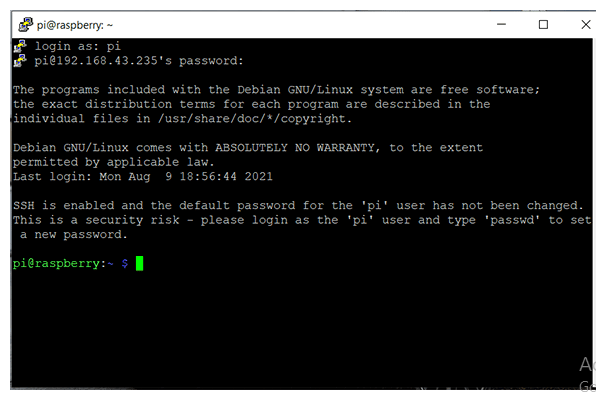
Therefore, to connect, access the Putty tool and enter the raspberry’s username and password.
In most cases, the default username is ‘Pi‘ while the default password is ‘Raspberry.’ Hence, since you’re the default user, the above login credentials should work.
Step 2: Updating packages
This step ensures that Raspberry Pi’s available packages are up to date. Hence, to find out, input the command below.
Sudo apt-get update
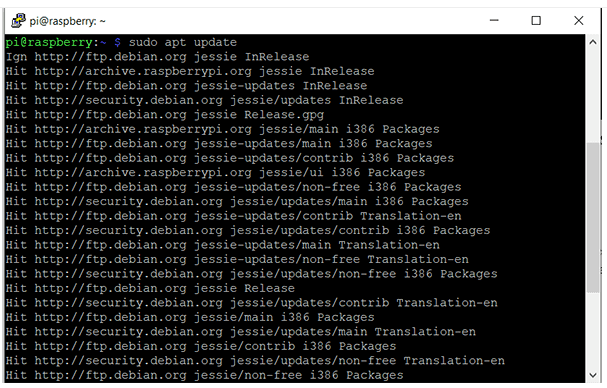
Essentially, it’ll allow downloading the most recent versions of any file you download after the update.
Step 3: Installing Apache
An Apache is an open-source web server, essential in delivering dynamic content via a wireless network connection/ internet. Hence, to install the file, enter the following command:
sudo apt-get install apache2 -y or Apt Install Apache2

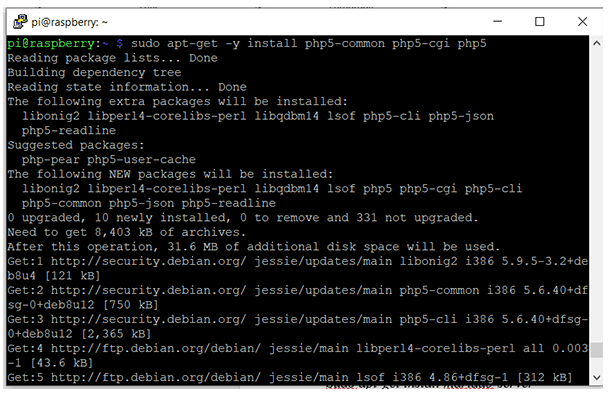
Step 4: Installing PHP
Next, you need to install PHP to facilitate the efficient performance of the web pages and access to an internet service provider. Further, it enhances communication with the database. Therefore, to install PHP, enter the command below.
sudo apt-get install php libapache2-mod-php -y

Step 5: Downloading MySQL
Now, you can download your database of choice and use MariaDB or MySQL. In this case, we’ll be using the MySQL database. Hence, to download, input the following on the command prompt:
sudo apt-get install MySQL-server
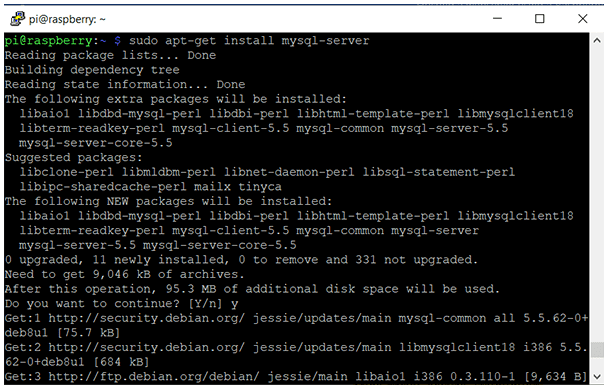
Also, note that at this step, you’ll be prompted to change the root password. Make sure you choose a strong password and write it down if you are wary of forgetting it.
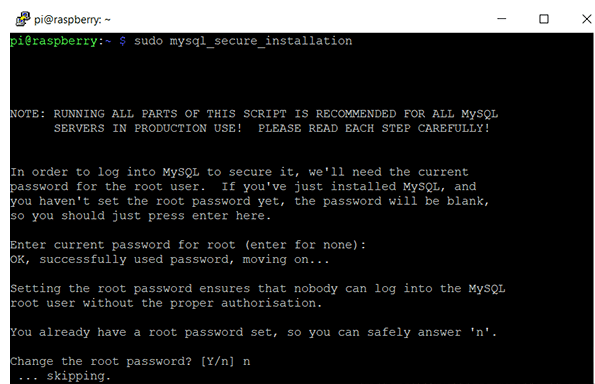
Step 6: Installing MySQL
It is a continuation of the previous step. After downloading the MySQL, install it via the following command:
sudo mysql_secure_installation
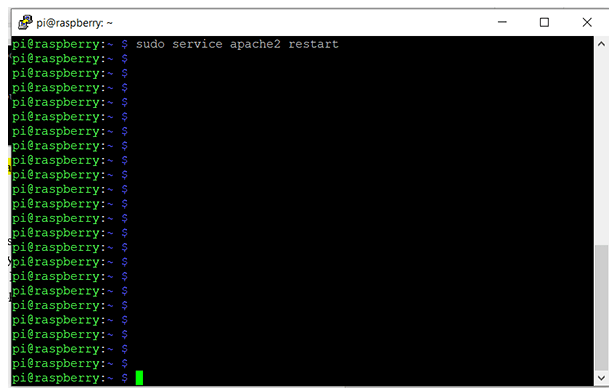
Step 7: Restarting the apache2
Restart the webserver/Apache2 to confirm that your changes are effective. The command below will be handy in this process.
sudo service apache2 restart
Step 8: Testing the webserver
Now, we need to test the Apache Server. The Apache features an HTML file stored in an Apache web subdirectory. Therefore, to serve it on the Raspberry Pis, type the web address below on the address bar.
HTTP://[Host_IP_Address]/
Upon browsing the Raspberry Pi webserver’s default page, you’ll access the following page to indicate that it is functioning well. Besides, you can use a remote computer for this process.

Also, you can build the Raspberry Pi Website by initially identifying the PHP files/ HTML. These are accessible from the directory below.
/var/www/HTML
Lastly, make the folder easily accessible to a default user by entering the following command:
Sudo chown –R pi/var/www/html
Changing Your Server’s Host Name
By default, your Pi’s server hostname will be ‘raspberry.’ Nonetheless, you could be having other pi names on your private network. Hence, to avoid confusion, a change of names is imperative via the process below.
- First, enter Sudo raspi-config on the terminal window. Next, choose a hostname.
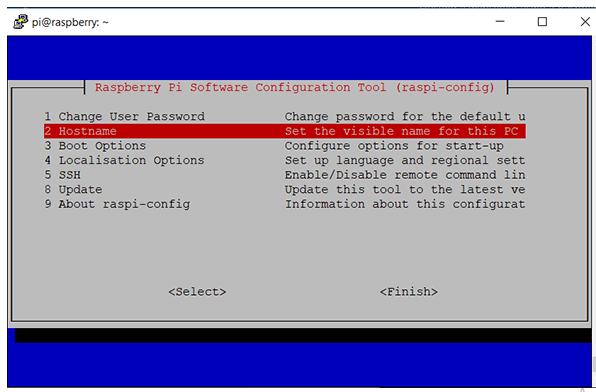
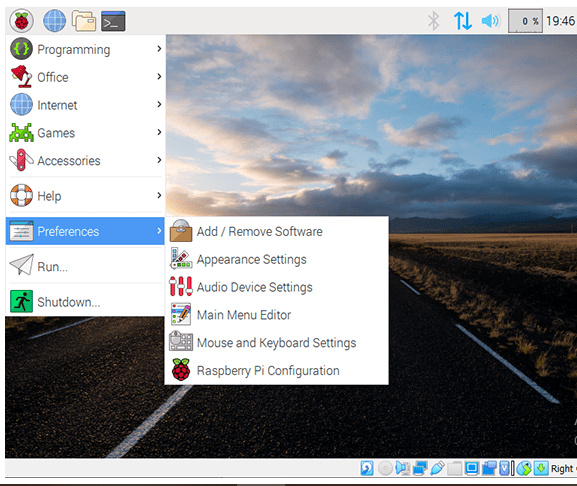
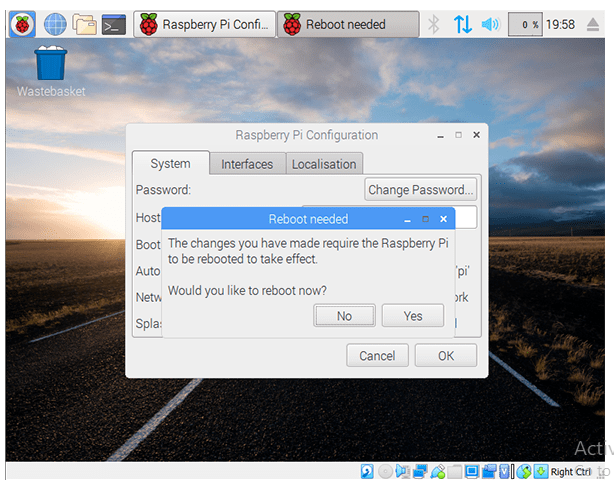
- Alternatively, you may select the start menu for navigating, then select Preferences->Raspberry configuration. It will launch the windowed version as shown below. Also, you need to select the Network Options.
- Next, select your hostname of choice. For instance, in our case, we’ll use “myraspserver.”

- Then, you’ll be prompted to restart. Select ‘Yes‘ for the boot option, and the computer will reboot. Now the Pi will have a different name.
How to Set Up FTP on Your Pi Web Server
Your web server will be incomplete until you store some media files and web pages in their default location, i.e., the /var/wwwHTMLl folder. Also, it’s possible to perform web development on the Raspberry Pi OS.
Nonetheless, for advanced projects, it’s much easier to write the code first on the primary PC/ remote desktop and then transfer it.
An FTP is the best means of achieving the above transfer. Here’s how to go about it.
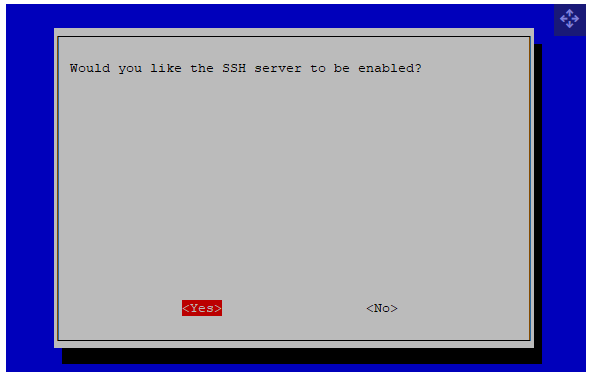
- First, you’ll need to enable FTP on your Raspberry Pi. Click ‘Interfacing Options‘ then select ‘SSH menu‘ on the rasp-config.
- Alternatively, if you’re using a desktop/portable device, select ‘Preferences‘ then choose ‘Raspberry Pi Configuration‘ and click the ‘interfaces tab.‘
- Next, you need to tinker with the /var/www/ folder to facilitate writing files. You’ll need to input the sudo chown pi /var/www/HTML command for this step.
- Next, on your PC, you need to set an FTP client and ensure that it uses the SFTP protocol. For Windows OS, consider using Filezilla as it is one of the best free FTP apps.
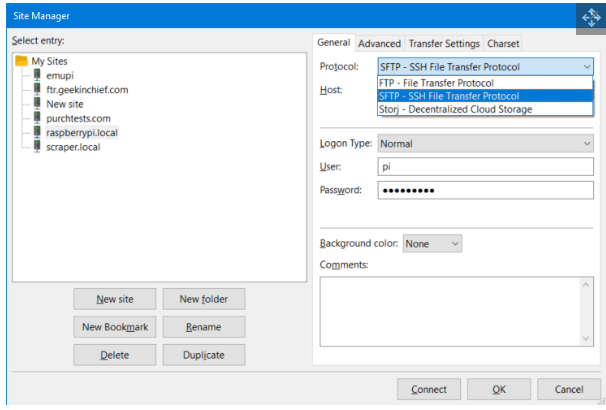
- Lastly, input the default username and default password. These are “pi” and “raspberry,” respectively.
Conclusion
As you’ve seen, using the Raspberry Pi for remote access to an internet connection is an easy server project. Contact us anytime for more inquiries on this and much more of our dynamic content.


