Are you looking for an affordable chip that allows you to interface a USB port with microcontrollers easily? Then, what you need is the CH340G.
Not sure how this device works? Not to worry, in this article, you’ll get a comprehensive breakdown of this adapter chip.
Some of the things we’ll cover are what it is, its features, applications, and more.
Let’s begin!
Contents
What is a CH304G?
The CH304G is a USB device serial terminal that allows a PC to communicate with its single chip.
Further, the device adapter performs USB to a printer port, USB to IrDA, or USB to a serial port.
Also, when this device is in serial port mode, it offers MODEM contact signals.
With these signals, you can add a UART to a PC. Alternatively, you can change existing UART devices to USB interfaces.
Features and Specifications of the CH304G
- It supports existing applications with serial ports
- The device is RoHS-compliant
- Operates with few external components
- It’s adaptable with CH341
- Supports 3.3 volts, and 5 volts operation
- Well-suited with USB 2.0 interface
- Supports flow control signals like CTS, RTS, DSR, DTR, RI, and DCD
- The hardware full-duplex serial interfaces with internal FIFO
- Offers a virtual serial port for upgrading available serial ports
- It aids RS485, RS232, and RS422 with external level shifting parts
- It supports a baud rate range of 50bps to 2Mbps
- Operating temperature range of -40 to 850C
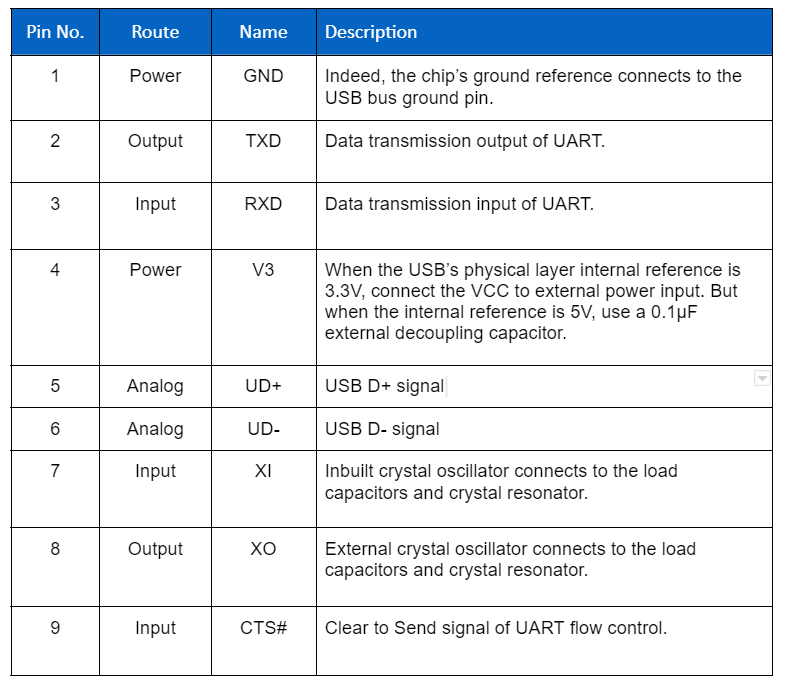
The Pinout of CH304G

Schematic Diagram of the CH340 Module Circuit
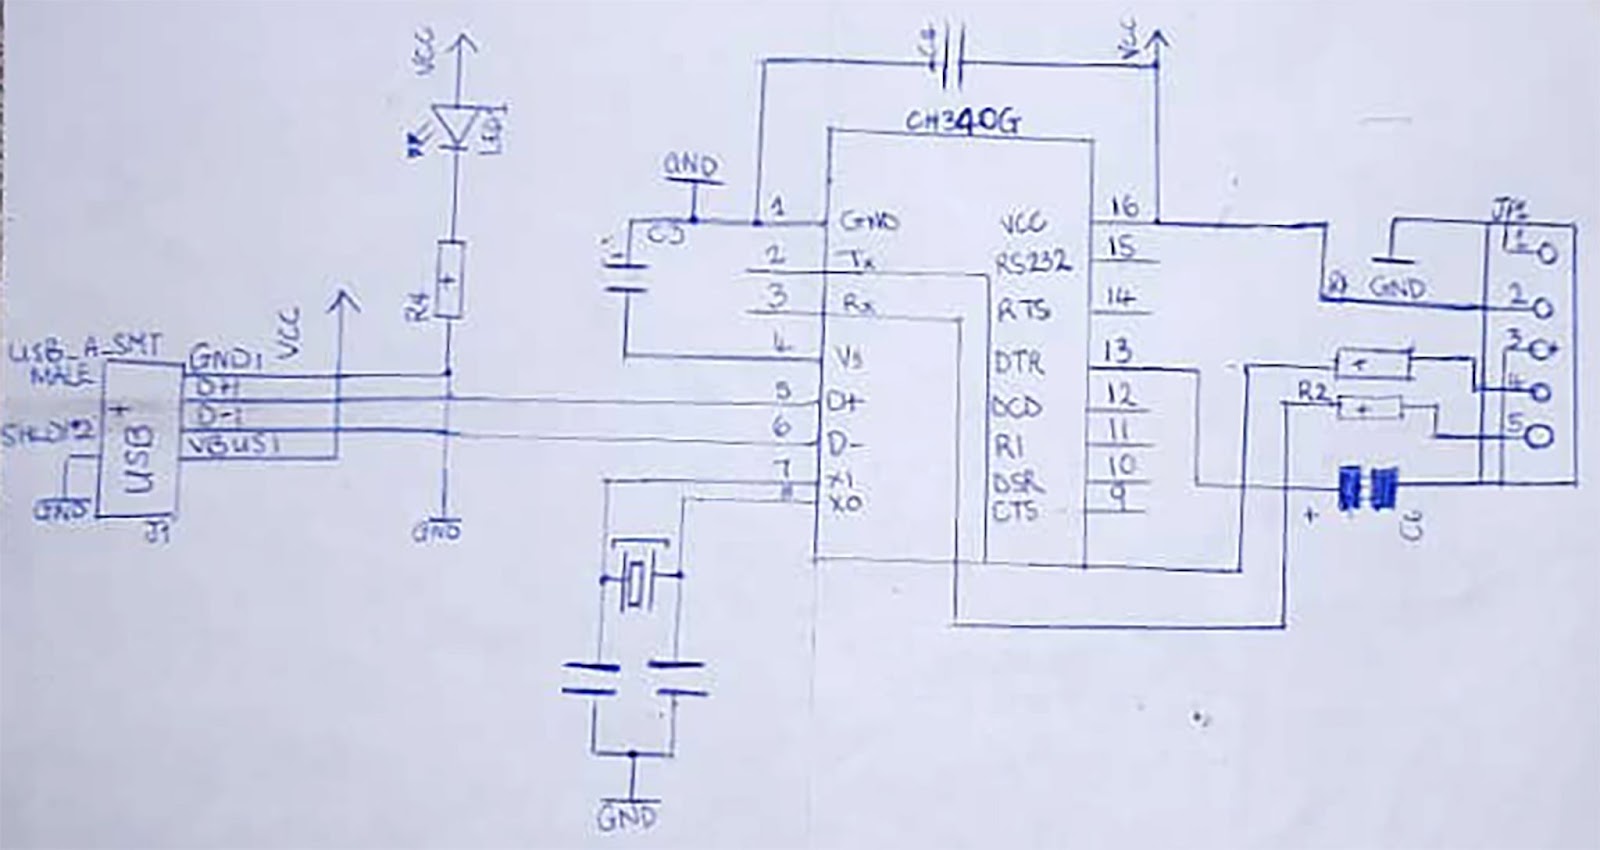
CH340G schematics diagram
The first step is to link the H340’s TXD pin to the microcontroller’s RXD pin. Afterward, connect the RXD pin to the microcontroller’s TXD pin. Then, link a resistor to the RXD and diode to the TXD pin.
As a result, it will stop the USB from sending power to the target chip. In addition, you can also add a toggle to the schematic. In truth, it will help to regulate the power supply to the microcontroller. And the power supply will be cut off when needed.

CH340G Arduino
A CH340G Arduino is when you shrink an Arduino control system into a serial interface module.
CH304G: Components Needed
- Arduino IDE software
- USB Type-A Data Extension Cable
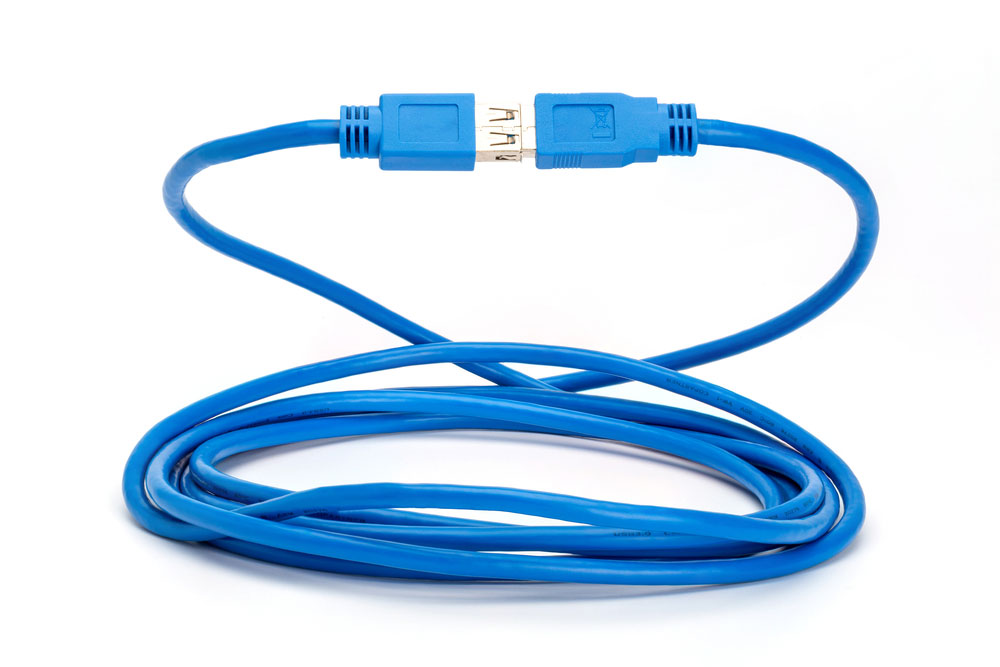
USB data extension cable
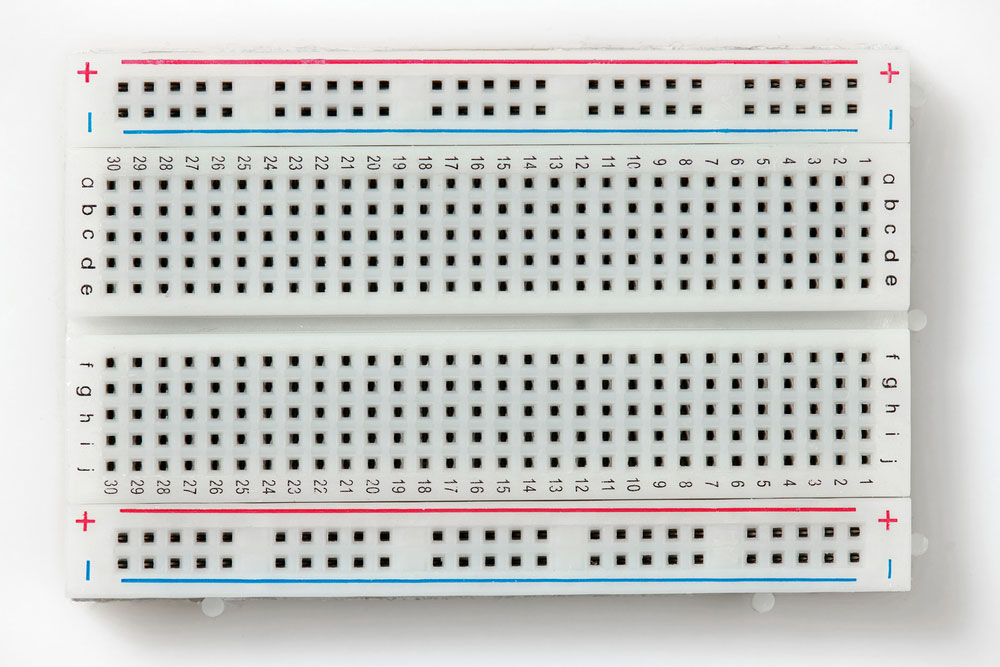
- Mini breadboard
Breadboard
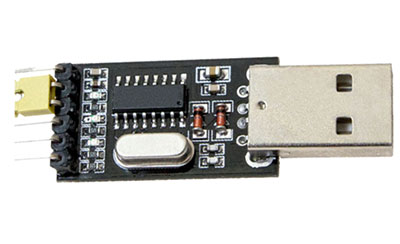
- CH340G USB-TTL Serial Interface Module
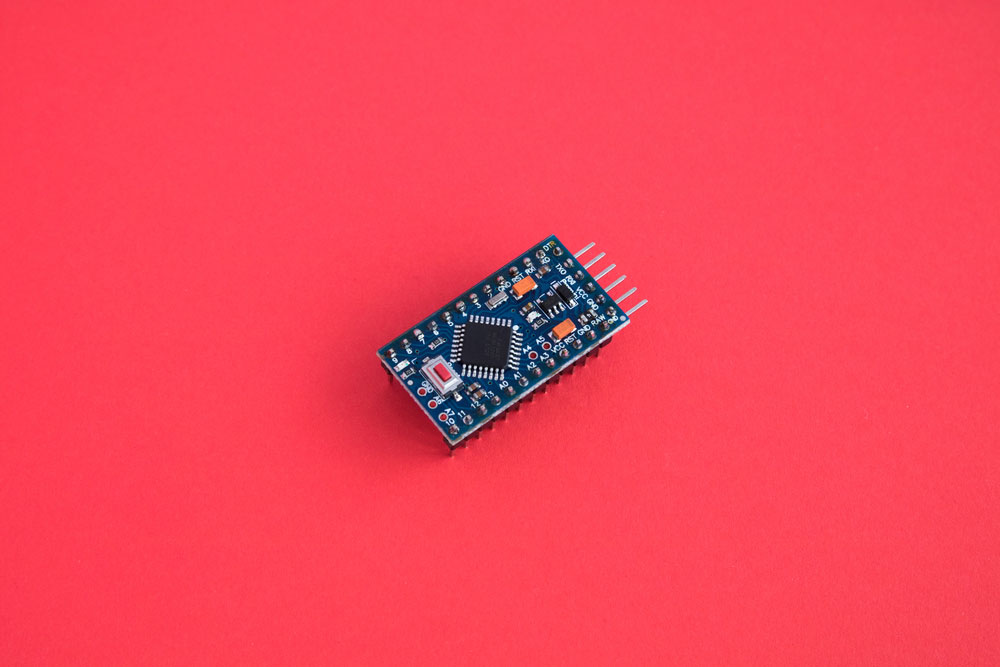
- Arduino Pro Mini 5V
5 volts Arduino pro mini
- Jumper wires (female-to-female) – 4
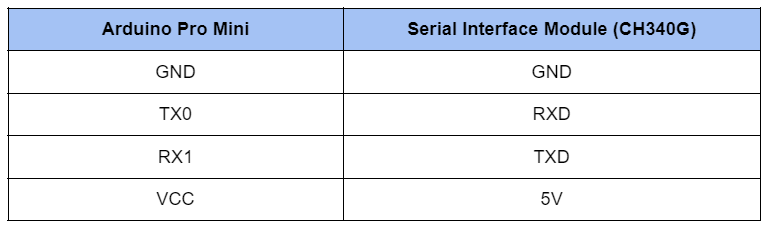
CH304G: Wiring Chart
CH304G: Steps
1. Place the Arduino Pro Mini 5 volts on the mini breadboard. Meanwhile, ensure the serial interface module is on the side. Then, connect the wires between both devices.
2. At this stage, confirm that the CH340G module’s VCC pin binds to the 3v3 pin at the side.
3. Next, proceed to link the Serial Module to your computer.
4. Afterward, ensure that your computer has the CH340 driver installed. Indeed, you can find the driver in “Device Manager” using the Windows OS system. Alternatively, you can install the driver manually if you don’t have it.
5. Go to the Arduino IDE software on your computer. Then, open the software’s example code by clicking File> Examples>01.Basics>Blink.

Example code opens in Arduino IDE.
Alternatively, you can use the code below in your software’s sketch area.
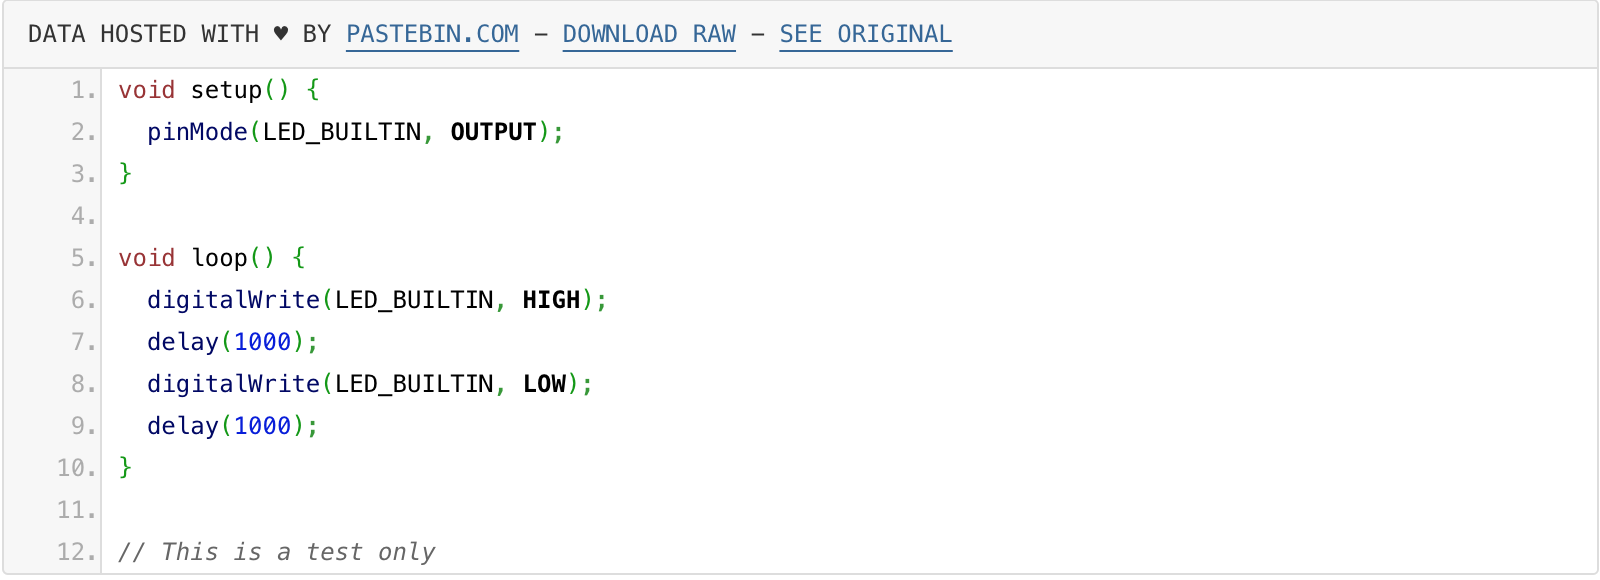
Code in Arduino IDE Sketch
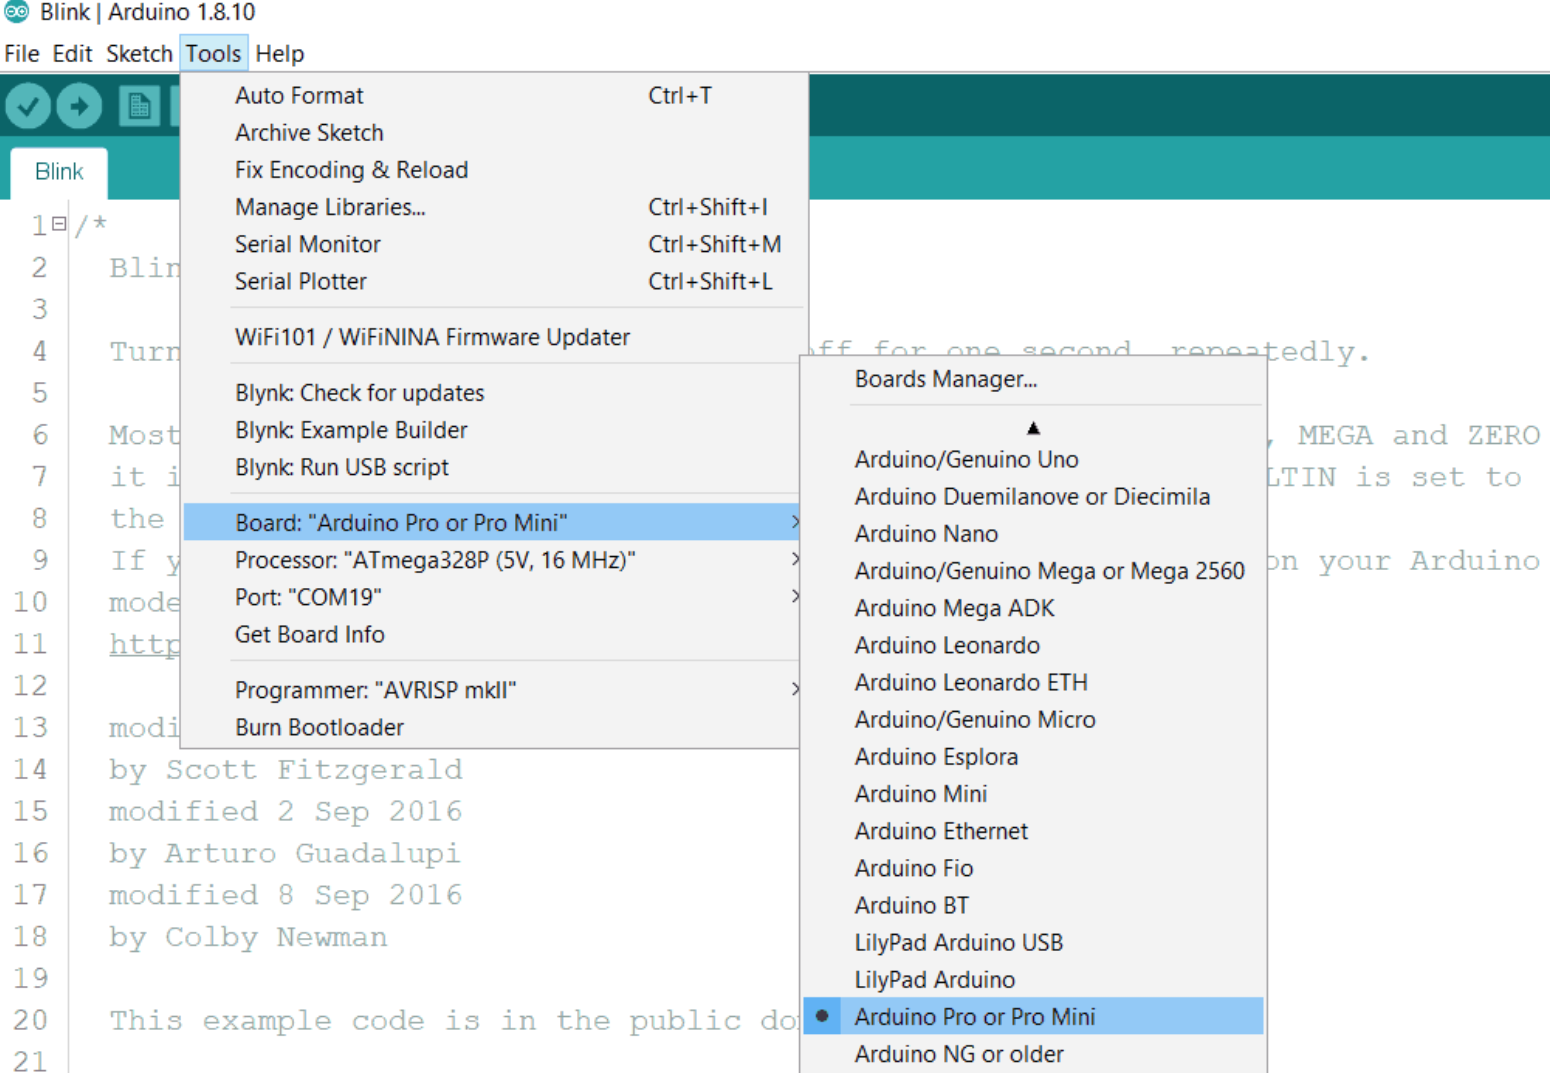
6. Confirm that your Arduino IDE will program the board at Tools>Board>Arduino pro. Then, upload the test program.
7. Select the COM port in Arduino IDE at Tools>Port>COMx. You can also confirm that the Device Manager’s port section has the same COM number.
The COM Port in Arduino IDE
8. After the configuration steps, upload the “Blink program” into the Arduino Pro Mini. Afterward, test the program with the Upload function.
9. Press and hold down the Arduino Pro Mini’s Reset button while uploading. Then, release the button when you see the green bar progress and two lines of feedback messages.

The Arduino IDE compilation process
Also, you’ll see a flash from the CH340G Module’s LED to confirm the program has finished uploading. The LED on the Arduino Pro Mini board should also blink.
An important point to note: the CH340G doesn’t have a DTR output pin. And that’s the reason why you have to press and hold the reset button on the board during programming. But you can skip this step if you use a module with a DTR pin.
How to Install the CH340G Driver
Linux/Windows
If you’re using a Windows or Linux computer, the USB to UART is ideal. And that’s because the device works seamlessly with the serial application program in the Windows operating system. In other words, you don’t need to download the drivers. Instead, use the following steps:
1. Use a USB cable to plug in the USB serial adapter.
2. Watch out for the connection. Then, go to Device Manager to look for “USB-Serial CH340 (COM9).” If you can’t find the device, download the driver.

Device Manager Showing Installed CH340G drivers
Mac OS
1. Install the driver.
2. Go to Applications and select Utilities. Then click on the Terminal program.
3. Input the command:

4. Type your password.
5. Go to the computer’s menu and click restart.
That said, you can leave developer mode to recover your settings. That way, it helps to redefine the boot-arg to your initial stages.

Applications of the CH340G
- For producing MODEM liaison signals
- Upgrading a common serial to a USB BUS
- Interfacing appliances and microcontrollers
Examples of CH340G
1. The USB RS232 Adapter. This adapter works as an external level adapter for MAX213 and CH340G.
2. Optically isolated USB to UART adapter. This device offers optically isolated outputs and inputs with four optoisolators. Also, you can add two 74LVC1G06. These devices are optional, but they help input pins get adequate current.
Final Words
The CH340G Serial Interface Module is an excellent and versatile variant of the CH340 Interface. Also, the Module is compatible with various hardware. And it’s pretty similar to the CH340C, except that the CH340G lacks a crystal oscillator.
In addition, it’s pretty easy to install the drivers whether you’re using a Windows, Linux, or Mac computer.
So, do you still have questions or suggestions on this topic? Please feel free to contact us.


