Contents
What Is a Volume Control Circuit?

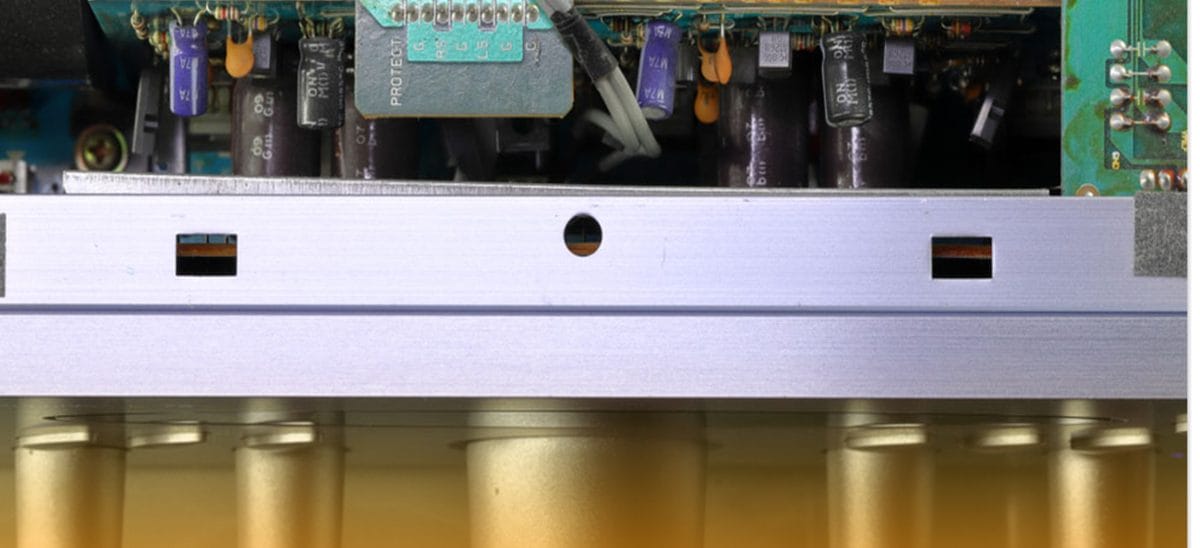
Analog Audio circuit board system of audio amplifier
An audio control circuit allows you to change the volume on a speaker system. These circuits come built-in on most radios and receivers. In addition to volume control, many will allow you to turn off the speaker altogether.

The variable resistor
You can add external volume control to any speaker you like. If you don’t connect the input device or the speaker to some kind of audio amplifier, chances are you won’t get much sound from the device. If your speaker is powered, it will amplify the sound for you.
How Does a Volume Control Work?
That’s easy – you turn the knob to the left, and it turns your system down, turn it right, and it turns up. However, if you’re looking for a more technical answer, that will take a little longer to explain.
The volume knob works as a variable resistor. It increases and decreases resistance from electrical signals when you turn it in a direction. When you turn the volume down, you increase the resistance, allowing fewer volts to get to the speaker. Reducing the volts makes the speaker quieter.
Turning it up reduces resistance and allows more volts to get to the speaker, making the system louder.
The process can get a little more complex when you connect an audio amplifier to the speaker or device, but overall, the volume control still comes down to how many volts get to specific parts of the system.
DIY Volume Control Circuit
Making a DIY external volume control circuit can be a very simple and straightforward task. You can choose how difficult you want the project to be by connecting to fewer or more sources. Below, we’ll go through the general steps to create your DIY volume control circuit.
What You Need
- Audio Taper Potentiometer

- Speaker either powered or connected to an amp
- 2 x 3.5mm stereo audio jack
- 2 x 3.5 audio cords
- Enclosure
- Knob

- Soldering Tools

- Wire Stripers

- Extra audio wire
- Extra electrical wire
You can also add other inputs depending on the actual application of the system and the audio equipment. The enclosure and the knob are special equipment, but they can make the setup look more professional.
Installation
Step 1: Design your wire diagram
For most situations, you can make an elementary diagram that only involves the volume control, the output, and the source. You can also decide to add more options, inputs, and outputs if you want to connect other types of devices.
You can create or download wiring schematic options.
Step 2: Make sure everything fits
Place your inputs, potentiometer, and outputs, and make sure they all fit in your enclosure with enough room for the connecting wires.
Step 3: Wire your system according to your diagram
Make sure that you follow the steps you have planned for the basic wiring. You will connect the input signal and output signal to the potentiometer so that you can change the volume with the nob.
This step will require soldering the wires and take extensive time, especially if you are new to wiring.
Step 4: Test it out
Put the knob on and connect the input to your speaker system to test the electrical circuit. Play something off the input. Usually, you will want to keep the input turned all the way up and control the sound through your new unit fully.
If there is a problem, you can use a digital voltage meter to ensure every component gets a signal. If something isn’t, you may only have to make a successful repair on that connection. It can help make troubleshooting easier.
Step 5 Finishing touches
If you want to add a knob or an enclosure, this is the step to do all that. Now that you know it works, you can make it pretty.
How Do You Wire a Potentiometer for Volume Control?
A potentiometer or pot is a variable resistor and the central part of your volume control circuit. There are two kinds of pots: linear and logarithmic. For almost every sound application, you will use a logarithmic pot because humans perceive volume logarithmically.
When you pick a pot, you will notice three terminals on one side. The terminal on the far left is the ground. The middle is for the input device (where the sound comes from). The right terminal is for the sound output (a.k.a. the speaker).
You will need to solder all of these terminals. If you have a wiring issue and get the input and output backward, the knob will work in the opposite direction. It will get louder when you turn it down. So, it’s important you wire these correctly – but it’s crucial that you connect a ground wire to the terminal on the far left.
Final Thoughts
In the modern era, wiring your sound control is becoming a lost art. So many devices come with the sound control knob built in that many people don’t bother changing it.
However, the change is easy, and you can make almost any system more convenient to use when you control the placement of the external control. By picking the location, you can make your system look elegant and still be able to control it fully. Additionally, using high-end materials will ensure the best audio quality that the device has to offer.
If you run into any questions, contact us for more information.