The Arduino board is one of the most popular microcontrollers due to its versatility. Often, many people opt for the Arduino Uno, but where fitting in a small size is necessary, this version is not feasible. Instead, Arduino Pro Mini vs Nano is a handy alternative.
We’ll explore the features of these two at length.
Contents
Pin Descriptions of Arduino pro mini vs. nano
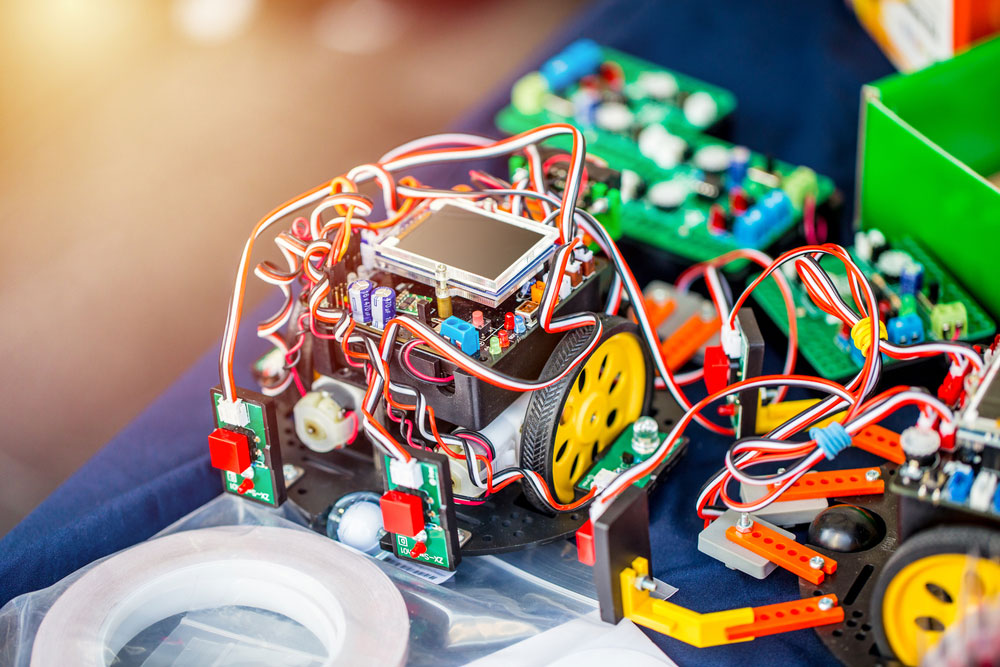
Fig 1: A car robot toy made using an Arduino board
Arduino Pro Mini Pinout
The microcontroller features 14 digital input/output pins whose functions are as follows:
- Pin 0 and Pin 1 are UART pins/ serial pins for serial communication or receiving and transmitting TTL serial data, respectively.
- Next, we have Pin 2 and 3 that function as external interrupts. Triggering these pins prompts an interrupt.
- We have Pins 3, 5, 6, 9, 10, and 11. You use these pins with the analogWrite function to give an 8-bit PWM output.
- Also, there is Pin 10 (Slave Select), Pin 11 (Master Output/ Slave Input), Pin 12 (Master Input/ Slave Output), and Pin 13 (Serial Clock). These are imperative in supporting SPI communication.
- Further, we have Pin 13, which features a built-in LED. The LED goes on when the pin is high and off when the pin is low.
- In addition, there’s Pin I2C which enables I2C communication.
- Moreover, we have the Data Terminal Ready (DTR) pin for resetting the board and inputting the bootloader for the Arduino pro mini programming.
- Lastly, there’s a RESET pin for setting the microcontroller.
Arduino Nano Pinout
| Pin Type | Pin Function |
| Power pins – Vin, 3.3V, 5V, GND | Vin is the input voltage pin connecting to an external power source of 7V to 12V. Next, we have the 5V for supplying a regulated power supply voltage. Also, there’s the 3.3V pin that receives minimum voltage from the voltage regulator. Lastly, GND is the board’s, Ground Pin. |
| Reset Pin/ Reset Button. | It is useful in resetting the microcontroller. |
| Pins A0 to A7 or Analog Voltage Pins. | They maintain the board’s analog input voltage between 0V and 5V. |
| Pins D0 to D13/ I/O Pins. | These are the digital pins. |
| Serial Communication Pins (RX and TX). | They are useful in receiving and transmission of the board’s TTL serial data. |
| Pin 2 and Pin 3 (External Interrupts). | These are essential in initiating an interrupt |
| Pins 3, 5, 6, 9, and 11 (PWM Pins). | The pins support 8-bit PWM output. |
| Pins 10,11,12 and 13. | They provide SPI communication support. |
| Pin 13 (Inbuilt LED) | It switches the LED ON and OFF depending on the board’s condition. |
| AREF | It provides a reference voltage to the board |
| Pin A4 and A5. | They support TWI communication. |
What are the Differences between Arduino Pro Mini vs Nano?
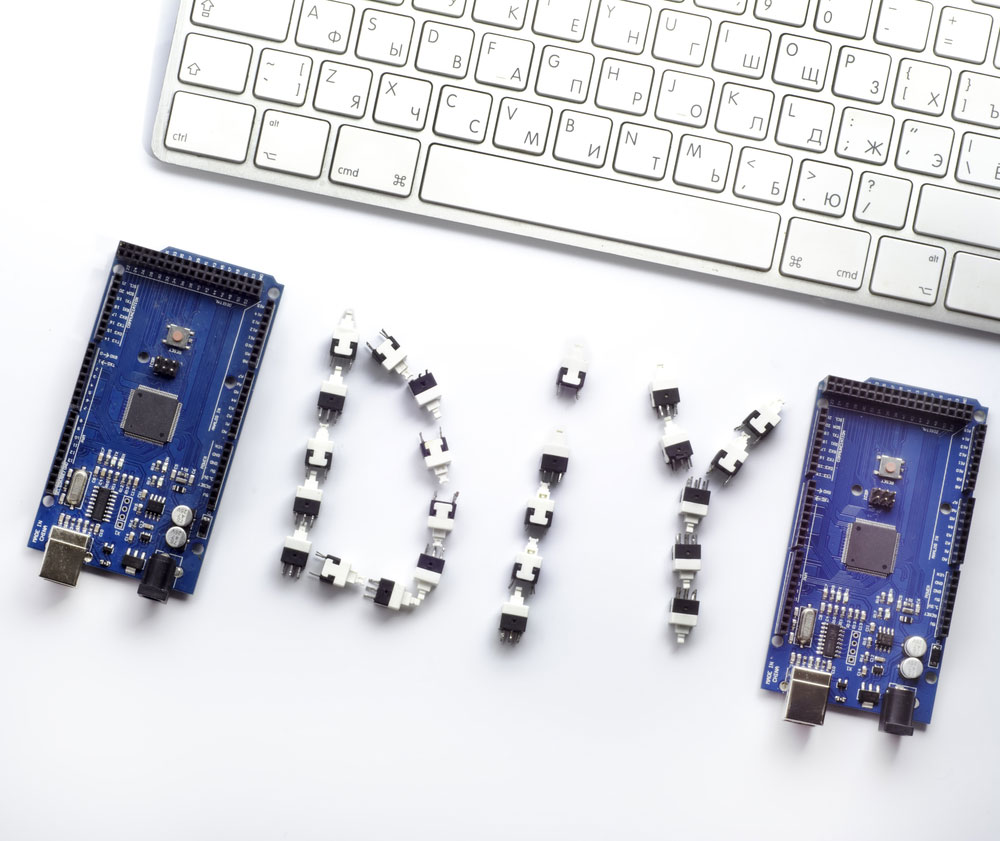
Fig 2: Both boards are useful in DIY projects
| Features | Arduino Nano | Arduino Mini |
| Processor | ATMega328P microcontroller | ATMega328P and ATMega168P microcontroller |
| Input/Operating voltage | Operating Voltage- 7V to 9VInput Voltage- 5V | Same as Arduino Nano |
| Speed of CPU | 16 MHz processor speed | 16 MHz processor speed |
| Input/Output Analog | Analog Input pins count – 6 No analog output Pins | Analog Input count- 8 No analog output pins |
| Digital IO/PWM | Total Pins- 14PWM Pins- 6 | Total Pins- 14PWM Pins- 6 |
| EEPROM (KB) | 1 KB | 1 KB |
| SRAM (KB) | 2 KB | 1 KB and 2 KB |
| Flash | 32 KB internal flash memory | 16 KB and 32 KB internal flash memory |
| USB Support | Has a USB support (Micro-USB Connector), and FTDI forms the USB connection | It lacks an external USB connection |

Which Arduino Board is Better?
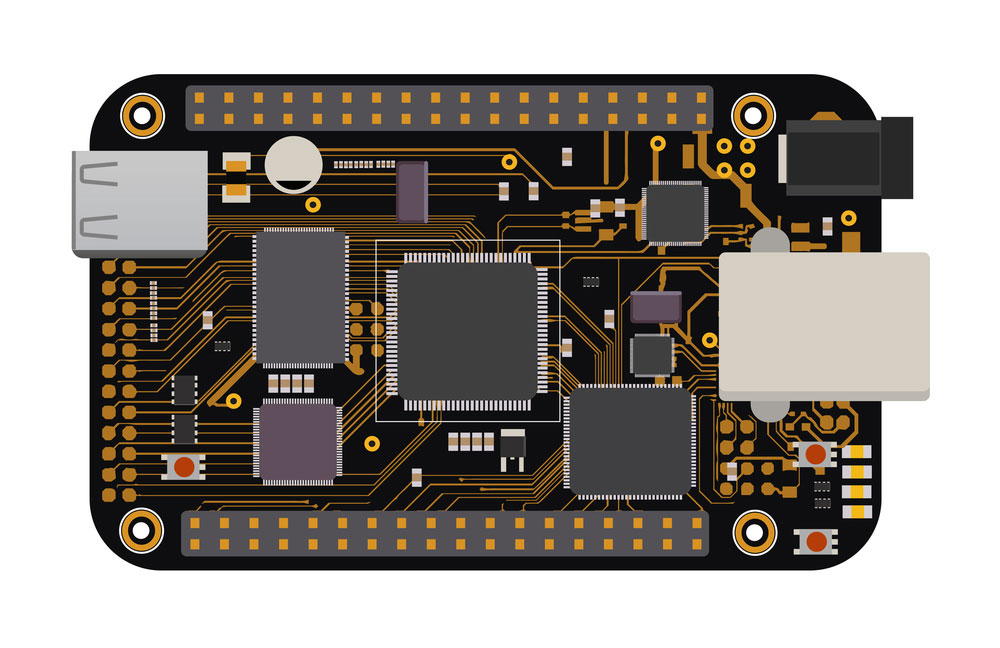
Fig 3: An Arduino board sketch
Both boards run on Arduino software and thus can perform in equal measure. However, the Nano is better for applications requiring fitting in a solderless breadboard since it’s small and has other additional features.
Moreover, the NANO has superior RAM to the Micro version. But, for less advanced projects, you can settle for the pro mini.
Conclusion
The above boards are useful for advanced users and simple DIY projects. We hope that we have explicitly covered the two modules. However, for further queries, communicate with us.


