Are you looking for unique projects to build with your Arduino? Then, you can make an Arduino speaker. The Arduino speaker is a musical project you can use to play different sounds. Also, if you’re new to Arduino projects, this is the perfect project for you.
In truth, the Arduino speaker project only requires two components to build, making it one of the most uncomplicated Arduino circuits.
So, in this Arduino speaker tutorial, we’ll introduce you to how an Arduino speaker works and how to build and program one.
Are you ready? Let’s begin!
Contents
How does the Arduino Speaker Work?
As we mentioned earlier, you can create many sound applications with Arduino speakers. A great example includes musical car reverse horns that play various songs. And you can change the sound of the speaker by uploading a new program.
But how exactly does it work?
The Arduino generates tones of frequencies and plays them via speakers. Interestingly, the different tone variations (pitch) mix with the correct timings (rhythms) to create music.
For sound to play through the speaker, the Arduino generates an output signal and transmits it via its digital pin 3. Then, the speaker connected to the pin will play the generated sound.
No doubt, you can play various songs with easy programming. Also, the Arduino program uses the Tone() function to generate sounds.
The program can generate a square wave of frequencies on one digital pin. Plus, you can set a duration for this frequency.
But, if you don’t set the duration, the program will generate the square wave until you activate the noTone() function.
The Basics of Using the Tone() Function
The tone() function works with two values, including the pin you’ll use on the Arduino and the frequency you specify in hertz.
Frequencies are unsigned integers with values anywhere between 0 and 65,535. But the frequency for human ears should be anywhere between 2000 to 5000.
Here’s an example of a simple code for testing the tone() function:

Also, you can do some experimenting by changing the second values in tone() to 100, 1000, 10000, 650000 and watch the effect it has on the output sound. So, the higher the value, the higher the pitch your speaker would generate.
How to Build an Arduino Speaker
Before we go into how to build an Arduino speaker, let’s look at the components you need for this project:
- Arduino board
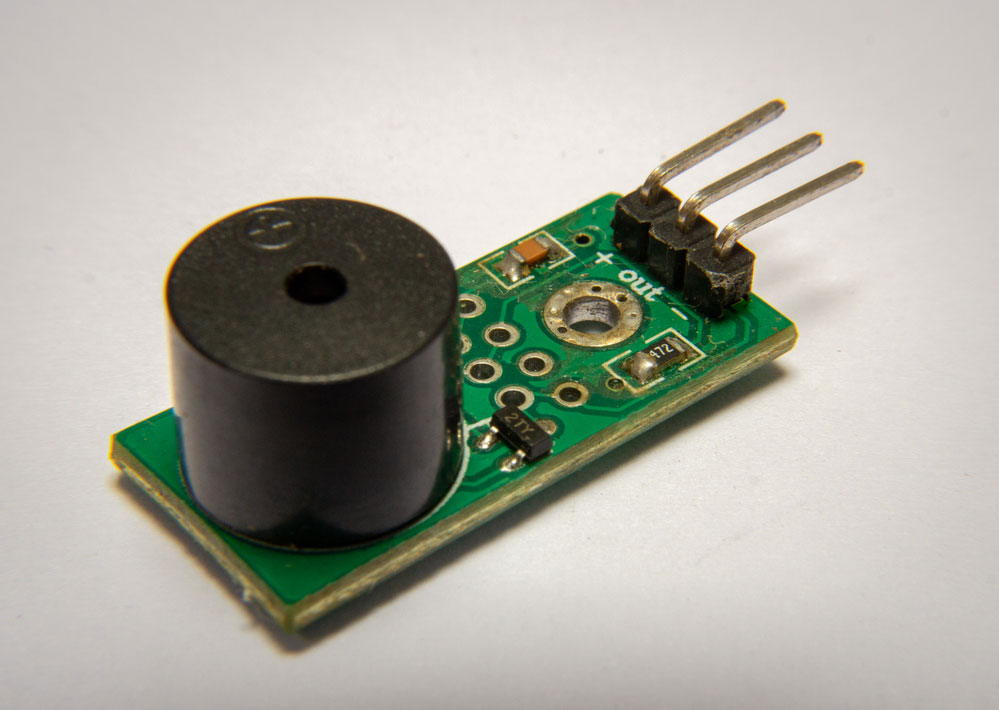
- Piezo buzzer or Speakers
- Connecting wires

Steps
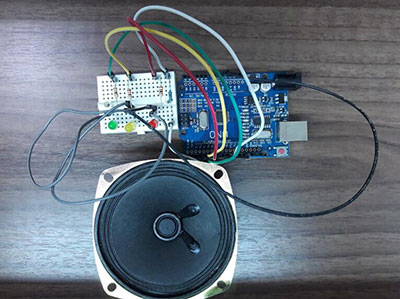
Building an Arduino speaker is easy. All you have to do is connect your piezo buzzer or speaker to Arduino’s pin 3. While one wire connects the speaker to pin 3, the other connects it to the ground pin.
After constructing your Arduino speaker, upload the following code to your Arduino UNO:

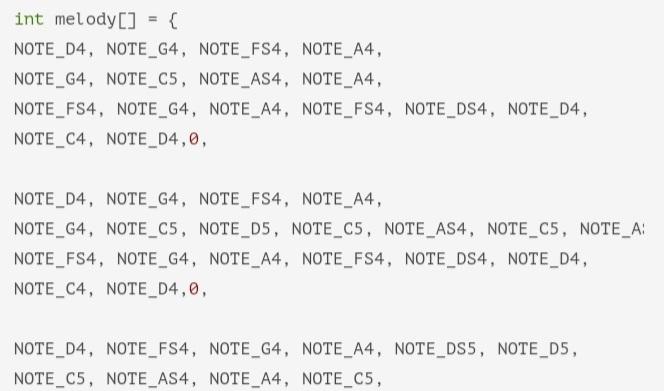
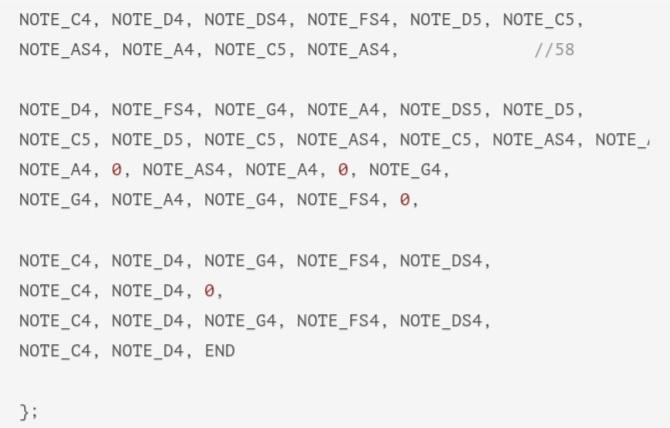


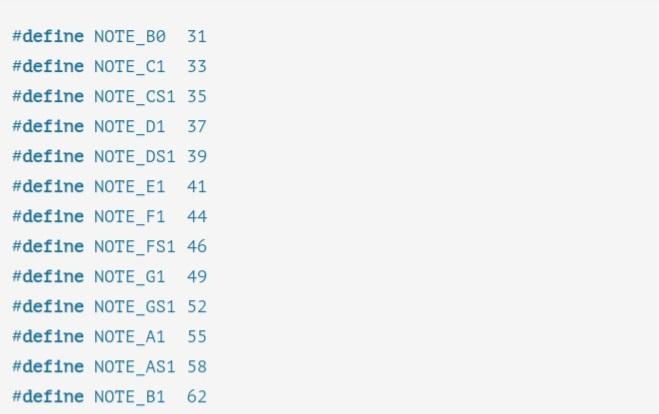
Then, it’s time to create a pitch.h file. Pitches. H file is an extra file that includes all the pitch values for music notes. For example, C_NOTE FS4 is F sharp, and NOTE_C4 represents Middle C.
With the pitch file, you can write the name of the note instead of writing frequencies in the tone() function. Interestingly, Brett Hagman was the original writer of the pitch file, making it easier to add sounds when using the tone() process.
To create the file, type in “Ctrl+Shift+N” or “Cmd+Shift+N” for Mac and input the following code:


Testing Your Arduino Speaker
Once you upload your principal to the Arduino speaker, you should hear the song in the code play. You can also view output tone frequencies by opening your serial monitor.

How to Make an Arduino Piezo Speaker using a Breadboard

Circuit design
Here’s what you’ll need for this project:
- Arduino board
- Piezo speaker
- Solderless breadboard
- 100-ohm resistor
- Two jumper wires
Steps
- First, set up your buzzer on your breadboard so that its leads stay in separate rows.
- Connect the positive lead (usually the red wire or the wire with the + sign) to digital pin 8 of the Arduino.
- Connect the negative lead to the ohm resistor before connecting it to the ground pin.
How to Make a Beat on Arduino Speakers
It’s possible to add delays between your tones to make beats. You can use the duration in milliseconds with the wait () function to create unique moments.
Since the tone() function uses one of the built-in timers on the Arduino, you can use 500 milliseconds as the third value in the tone() function.
If followed with a delay of 1000 milliseconds, you’ll create a 500-millisecond delay. Now, the program doesn’t add up the time together. Instead, it starts the duration and pauses at the same time. Hence, by the time the tone runs for 500 milliseconds, you’ll get 500 milliseconds to delay leaving. In other words, you will get 500 milliseconds of sound and 500 milliseconds of silence.
Creating a beat on an Arduino speaker can be a complex process. But once you get used to it, you’ll be able to create unique sounds effectively.
Limitations When Using Tone() Function
Let’s look at some of the drawbacks you can experience when using tone() to generate sounds.
- The tone() function cannot work on two separate pins at once. For instance, if you have two individual speakers and you connect them to two different pins. Both speakers cannot play simultaneously. Instead, they can only play one at a time because of the tone() function.
Moreover, if you want to use the tone() function on another pin, you’ll have to deactivate the function on the last pin with the noTone() function.
- Also, you can’t use the tone() with the analogWrite() function on pins 3 and 11. You’ll only get some undesirable results. These functions are incompatible because they feature the same built-in timer for pins 3 or 11. However, you can try this to hear the kind of noises it generates.
- The lowest tone value you can generate with the tone() function is 31 HZ. Moreover, you can input 31 and other lower values into the function, but you won’t get a good output representation.
Last Words
An Arduino speaker is one of the easiest Arduino projects anyone can make. The process only involves one additional component (unless you’re using a breadboard) to build the project entirely.
Best of all, the Arduino speaker can generate various sounds according to how you program the circuit. The Arduino speaker also uses the tone() function to create sounds. At the same time, it has its limitations. But, it’s still one of the best codes to generate sounds on an Arduino speaker.
Do you have any questions? Don’t hesitate to ask, and we’ll be happy to help.


