Are you looking for an available module to develop a sellable product that fits into a standard SODIMM connector? Then, a compute module is what you need.
With this board, you can go small for your end application—which isn’t possible with the standard Raspberry Pi boards.
Want to learn more about this board? This article will explain the compute module and how you can use the device. Also, it will answer a few questions you need to get started.
Let’s begin.
Contents
- 1 What Is a Compute Module?
- 2 What Is the Use of the Compute Module?
- 3 What Are the Benefits of the Compute Module?
- 4 Specifications of the Raspberry Pi Compute Module 4
- 5 The Compute Module 4 IO Board
- 6 Differences Between Raspberry Compute Module 4, Raspberry Pi 3, and 4
- 7 Raspberry Pi Compute Module Projects
- 8 Does the Compute Module have Wi-Fi?
- 9 Closing Words
What Is a Compute Module?
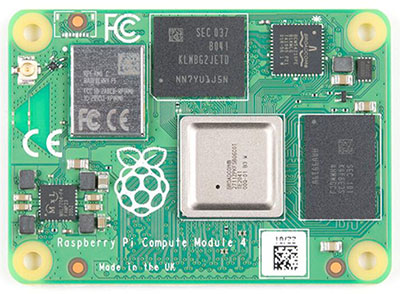
A computing module is the more flexible version factor used for industrial appliances. This device possesses a 4GB Pi SD card and Raspberry Pi guts.
The compute module and Pi Zero look quite similar and have comparable smaller form factors structurally. But in reality, both modules are different.
The compute module has two high-speed and high-density 100-pin mezzanine connectors that you can easily pair with any preferred carrier board. So, you can create your PCB with the compute module. Hence, you’ll get the hardware and final package that fits your application.
What Is the Use of the Compute Module?
Since the compute module is ideal for embedded systems and industrial uses, you can use it for process automation. The module also works for other applications like thin clients and digital signage. Also, the module offers increased performance because it uses the same processor as the Raspberry Pi 4.
Raspberry Pi single-board computer
Other uses of this module include:
- Industrial computers and controllers
- IoT devices
- Home automation
- Cluster computing
- Handheld devices

Radio transceiver handheld devices
What Are the Benefits of the Compute Module?
1. The compute module is available to use for product development.
2. A small board allows design engineers to have tight-end applications.
3. The Raspberry Pi compute module features an onboard eMMC.
4. The small form factor board supports the following IO interfaces:
- NAND interface (SMI) – (1)
- Two-lane DSI Display interface (up to 1Gbps per lane) – (1)
- DPI (Parallel RGB Display) – (1)
- Four-lane DSI Display interface (up to 1Gbps per lane) – (1)
- GPIO – (48)
- I2C – (2)
- Two-lane CSI Display interface (up to 1Gbps per lane) – (1)
- HDMI 1.3a – (1)
HDMI cable
- UART – (2)
UART cable
- SPI – (2)
- Four-lane CSI Display interface (up to 1Gbps per lane) – (1)
- USB2 HOST / OTG – (1)

USB cable
- SDIO / SD – (2)
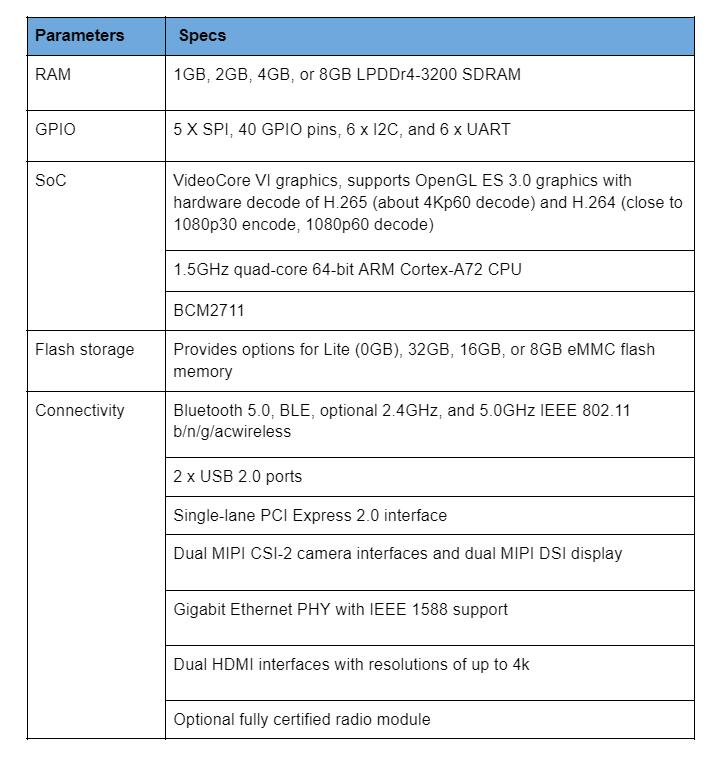
Specifications of the Raspberry Pi Compute Module 4

The Compute Module 4 IO Board
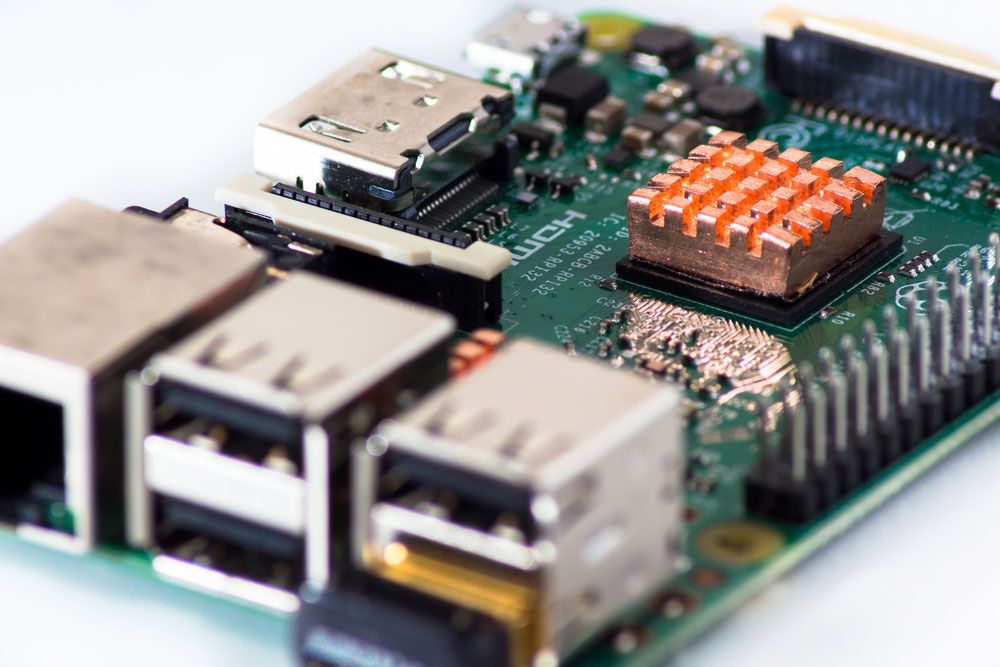
It’s impossible to use the compute module without adding a carrier board. The compute module 4 IO board works perfectly for the calculate module development. The carrier board offers adequate connections to work with the compute module 4.
When you look at the IO board, you’ll notice some connectors for Raspberry Pi cameras. But before connecting, you need to get a smaller camera flex cable. You can use two official displays simultaneously by adding a smaller line.

Camera flex cable
You’ll also find the Raspberry Pi 40-pin GPIO in a similar layout as a standard Raspberry Pi. You can easily use add-on boards and HATs alongside the PoE HAT.
On the side of the board are two USB 2.0 ports, double full-size HDMI ports, and Gigabit Ethernet. Also, you can connect the IO board to a PC for flashing the eMMC with a single micro USB port close to the USB ports.
With this board, you can get a quality 12V DC power supply thanks to the single DC input at the far right of the module. Also, you’ll see a breakout where you can add external USB ports. Indeed, you’ll find the micro SD card slot beside the space close to the micro USB port.
Also, the module has two connectors at the top right: J20 and J17. The J20 connector is for the external power supply, while J17 is for connecting the PC fan. In addition, this IO board features a PCle Gen 2×1 slot. So, you can connect compatible devices like PCle SSDs.
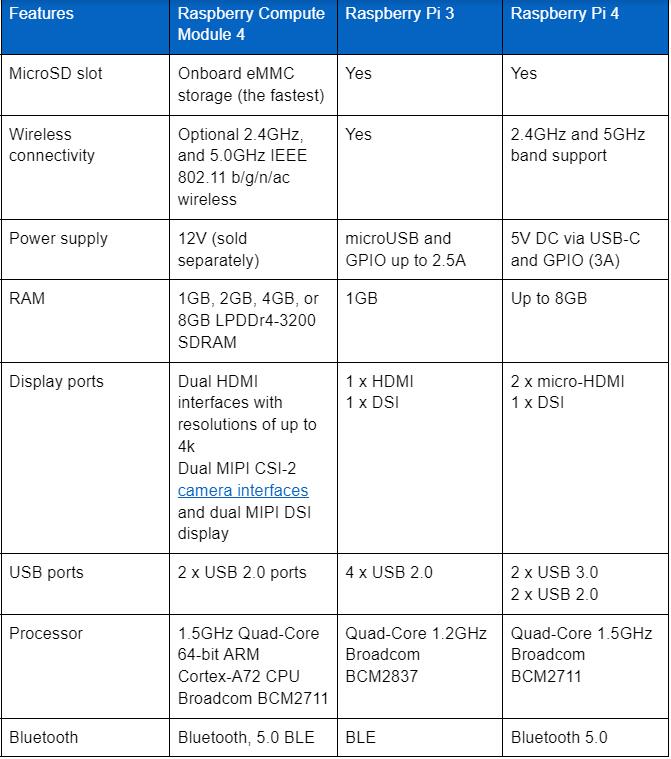
Differences Between Raspberry Compute Module 4, Raspberry Pi 3, and 4
Raspberry Pi 3 comes with its Quad-Core 1.2GHz Broadcom BCM2837 64-bit CPU. And it’s effective for a variety of tasks.
On the other hand, Raspberry Pi 4 is an upgrade that also features chips from Broadcom.
But Raspberry Pi 4 has a faster performance compared to Raspberry Pi 3. Also, the Raspberry Pi 4 is ideal if you want enhanced computing power for your task.
Here’s a table that highlights the difference between these boards:
Raspberry Pi Compute Module Projects
Raspberry Pi Home Security System
Building this project is a good way to have a simple solution that saves you the cost of getting an expensive smart security system.
Materials Needed
- Twilio software
- AWS S3 software
- Raspberry Pi camera module V2
You can get the full tutorial for this project here.
Creating a Raspberry Pi Computer
You can build your personal computer thanks to the Raspberry comput modules 4. With this computer, you can edit photos & videos and power two 4k screens. Also, the laptop has Bluetooth 5.0 connectivity and two USB 3.0 ports.
Materials Needed
A Raspberry Pi 4 desktop kit that has the following:
- Mini wireless keyboard and touchpad mouse
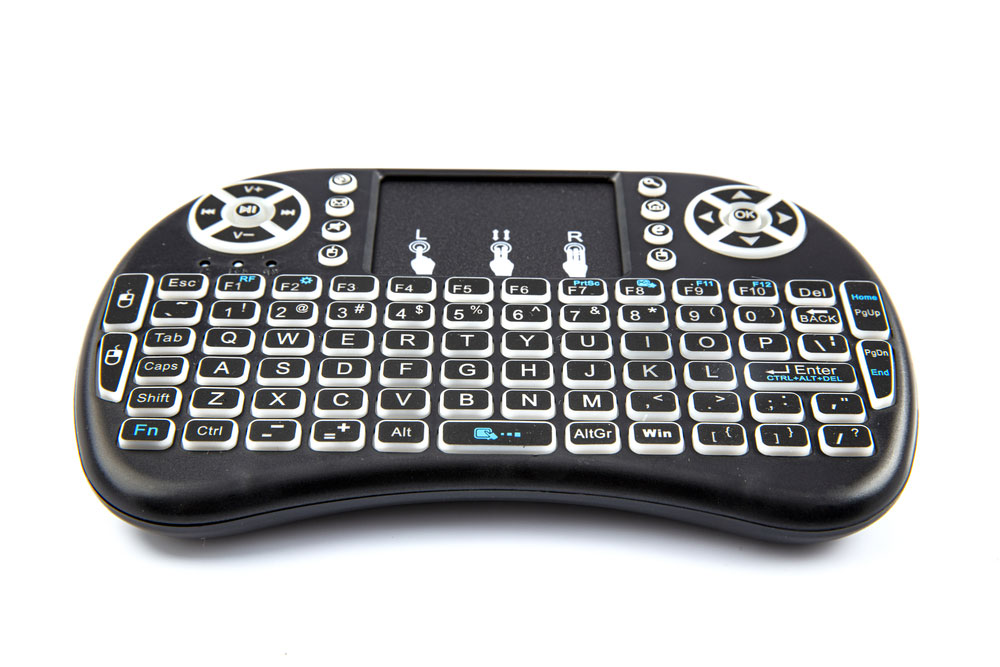
Mini wireless keyboard
- MicroSD card with a 32GB card reader (class 10)
- Raspberry Pi 4 computer model B 4GB
- Micro HDMI to standard HDMI male cable – 1m
- Wall adapter power supply (5VDC 3A Type-C)

Wall adapter power supply Type-C
- Cat6 ethernet cable – 1m
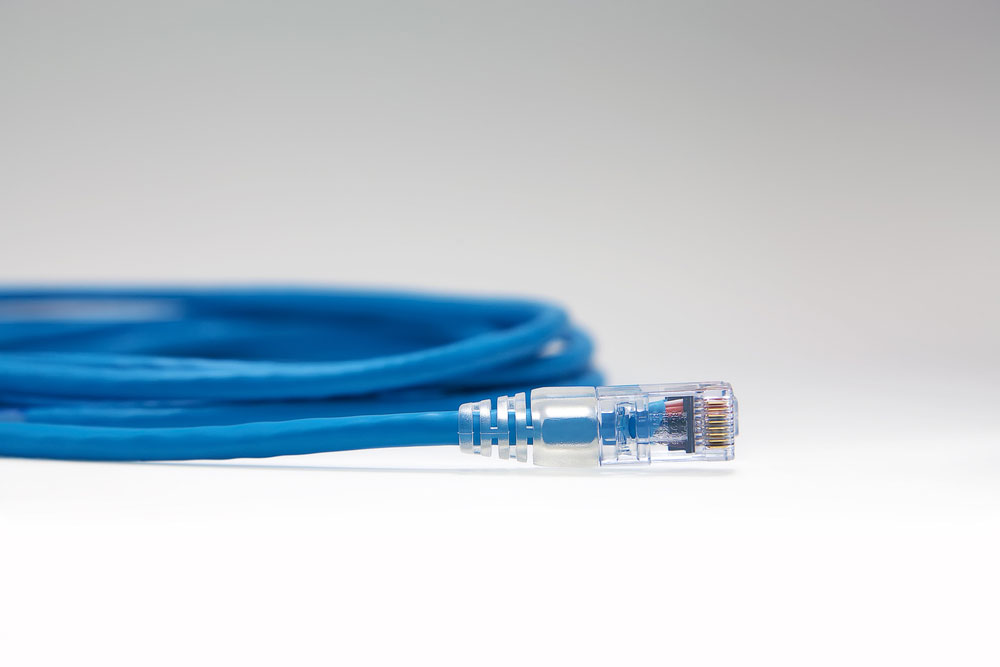
Cat6 ethernet cable
- ABS H-type black case for Raspberry Pi 4
Does the Compute Module have Wi-Fi?
The compute modules lack provision for Wi-Fi, unlike most Raspberry Pi SBC boards. But you can connect the module over USB, SPI, or SDIO.
Closing Words
The compute module is a wise investment if you want a small form factor that allows you to embed the power of Pi 4. Alternatively, you can go for it if you plan to enter the Pi’s PCle interface directly.
What do you think about this module? Do you have questions or suggestions on the topic? Please feel free to reach us.


