Contents
What is an RFID Reader?

RFID Chip 2
An RFID reader uses radio wave frequencies to detect and communicate with RFID tags. Both RFID readers and RFID tags are essential aspects of RFID technology, and you can’t have one without the other.
So, RFID tags contain information that you can read with an RFID reader. You can find RFID tags as theft prevention stickers on supermarket products, key chains, plastic cards like ATM cards and credit cards, and even under the skin of pets.
On the other hand, we have stationary RFID readers that stay in fixed positions, like on walls and desks. We have mobile RFID readers that are flexible enough to allow you to read RFID tags and communicate with an intelligent device or host computer.
Here’s where things get interesting.
You can find RFID in almost all consumer-grade technology, like mobile phones, toll booths, and even pet tracking chips. Also, RFID was once for the military only, and now, everyone can use this technology to read and identify RFID tags.
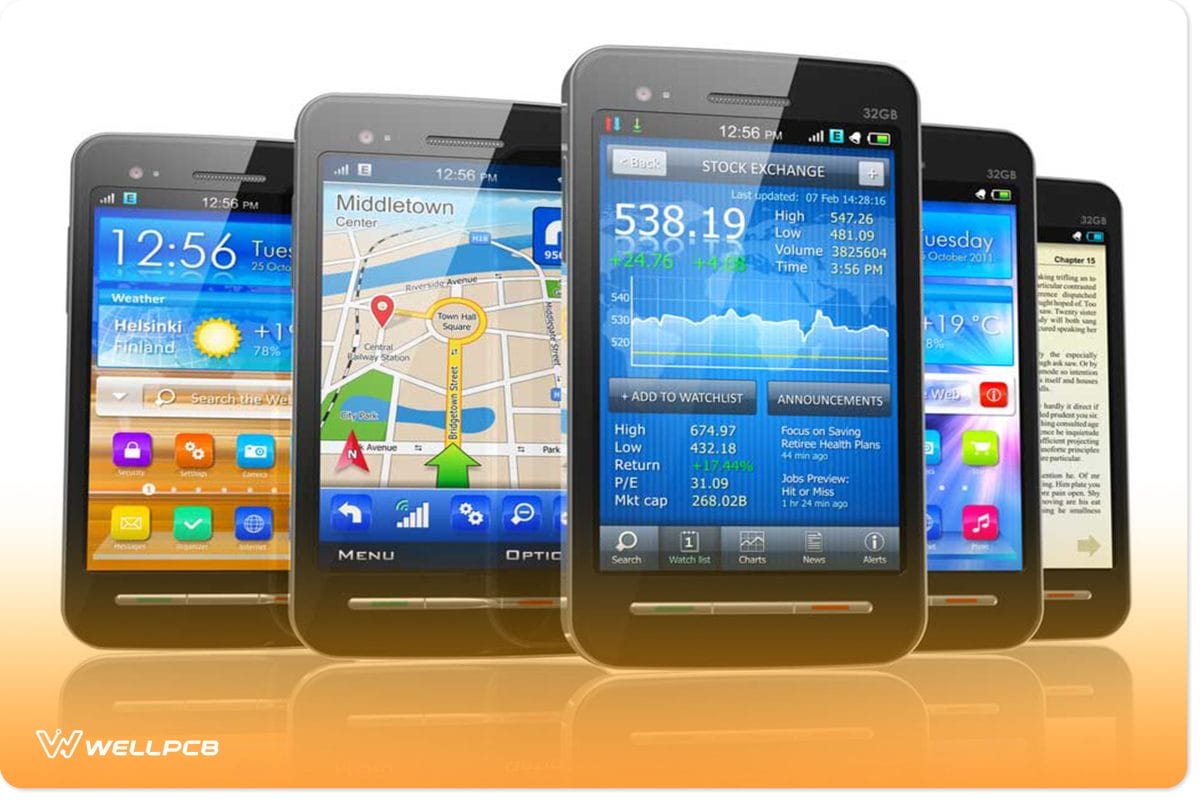
Mobile Phones
Furthermore, we have two types of RFID, which are passive and active RFID.
Passive RFID
Systems with passive RFID use an antenna and circuit that holds a code. However, these RFID systems don’t have power sources. Passive RFID tags only activate when you send a signal from your high-powered RFID receiver.
First, the reader sends a low-frequency which wakes up the reader antenna of the passive RFID tag and turns on the connected circuit.
Then, the tag would use a different frequency to send a coded message back to the receiver, thus completing the process.
The range of a passive RFID system is 1 to 30 meters long. However, it depends on the transmitted frequency.
So, if you want to track an item’s location, you’d need a lot of RFID readers.
Additionally, passive RFID tags don’t rely on batteries. Hence, they’ll last forever, and it also makes them less complex.
Passive RFID readers don’t send only low-frequency signals; they also have a variety of frequencies. However, the ones commonly used are:
- Ultra-high frequencies – transmits an 865 MHz frequency with a range of approximately 30 meters
- Low-frequencies – transmits a 125 kHz frequency with a range of about a few centimeters
- High frequencies – transmits a 13.65 MHz frequency with a one-meter range
Though they have short frequency ranges, Passive RFID readers still work in many applications because of how affordable they are and their ability to work virtually forever.
Active RFID Readers
Active is a more powerful RFID reader that needs a power source to send its codes. These RFID systems transmit over ranges longer than the passive RFID, and some can even reach a few hundred meters. The standard operating frequency of an active RFID is about 433 MHz or 915 MHz.
Active RFIDs have two types, which are beacons and transponders.
Beacons can send signals with no need for activation from the reader. However, this feature dramatically affects the battery life of beacon tags.
Moreover, transponders are like the opposites of beacons. They work more like passive RFID systems and require the reader to send a signal before sending its code.
Unlike passive RFID, active RFIDs can last up to five years, depending on the battery capacity. Also, you can replace the batteries of some tags while others use permanent batteries.
Note: Both passive and active RFIDs have writable and read-only tags. For read-only tags, you can’t modify the data coded in the title. In contrast, writable tags allow you to select the data the label should contain.
How Does RFID Work?
The RFID reader and RFID tag both work differently. Some RFID readers require you to connect them to the electrical network. However, RFID tags are different.
The typical RFID stickers you can find on products in supermarkets or RFID-based access control cards don’t use any form of power supply to operate.
What they use is the principle of induction. Thus, these tags are passive.
So, to power the chip or sticker, you’ll have to remove the electromagnetic field that allows the flow of electrons through the tag’s antenna.
When the chip powers up, it’ll transmit the encoded information through radio frequencies. You can call this process backscattering.
Finally, the RFID reader detects and translates the backscatter and sends the interpreted data to a microcontroller (like Arduino) or a computer. This way, you’ll be able to read the encoded message on the tag.
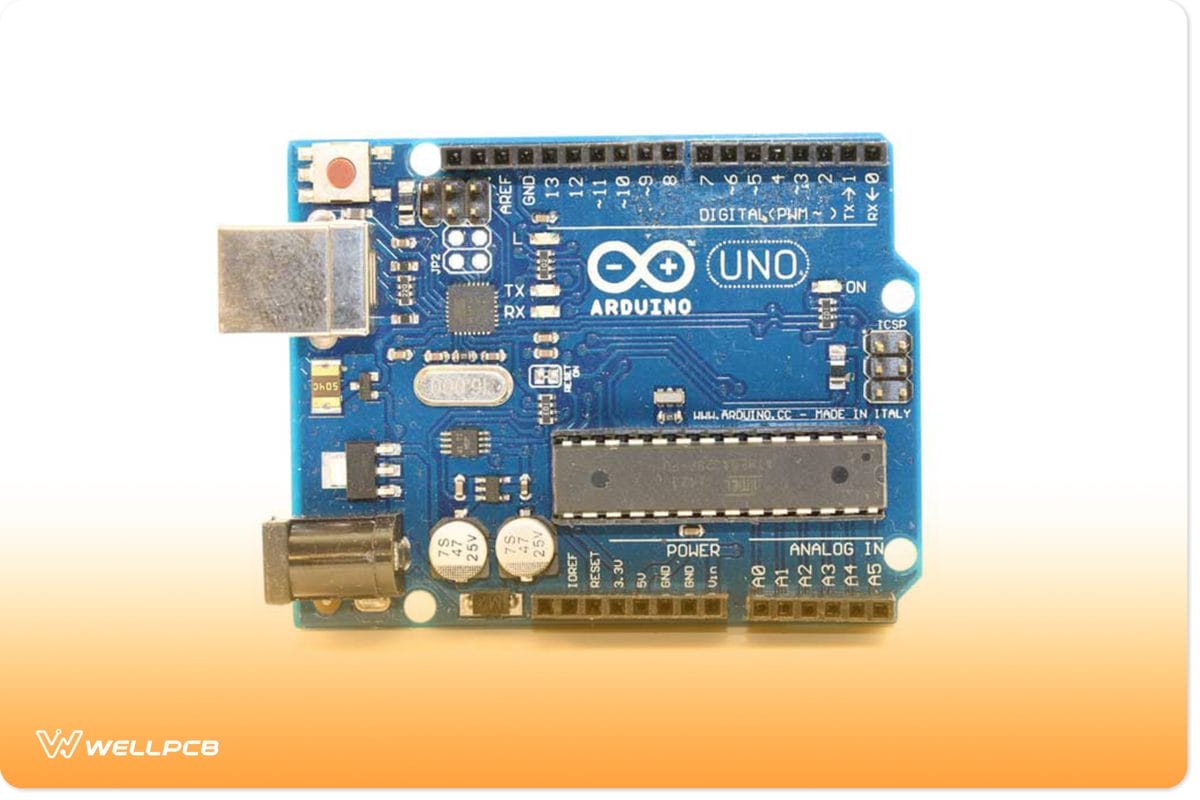
Arduino Board
How to Make an RFID Reader
Now, let’s look at how to build an easy RFID circuit without Arduino.
RFID Card Reader without Arduino
Here’s an easy RFID circuit you can build without using Arduino. This circuit has two parts, which include the transmitter and the receiver. Thus, when you place the transmitter close to the receiver, it should trigger a buzzer.
Also, in this project, we’ll learn how to make the transmitter and receiver. Here are the circuit diagrams:
Components Required
Here are the components you need for this project:
- LM324 Comparator IC (1)
- 3.5V Buzzer (1)
- 5mm LED (1)
LEDs
- BC484 NPN transistor (1)
- 2N2222 NPN transistor (1)
- 33pF Variable Capacitor (1)
- Veroboard (2)
- 3V coin cell (1)
- Soldering wire (1)
- Jumper wires
- 82K, 1K,2.2M, 100K resistors (5)
- 45W-65W soldering iron (1)
- 9V DC battery with clip (1)
- 1N4148 Zener Diodes (1)
- 3 meters 25/16 gauge enameled copper wire (1)
- Pushbutton (1)
LM324 Comparator IC
Here is the pinout diagram for the LM324 comparator IC:
Steps for Building the RFID Transmitter
Now, here are the steps you should follow to build this RFID transmitter:
Step 1
Always make sure your components are ready before starting any project.
Step 2
Get one Vero board and solder your BF494 NPN transistor to the board. After that, connect an 82K ohm resistor to the transistor’s base and solder the connection.
Step 3
Next, place the 10pF and 82pF capacitors parallel to the 82k resistor and solder the connections. Also, connect the 1k resistor in series with the 82pF capacitor and solder.
Step 4
Take your 25 gauge copper wire and make a six-turn coil. Next, connect one end to the transistor’s collector and the other end to the 27pF capacitor. Don’t forget to solder.
Step 5
Finally, connect your pushbutton and the antenna coil cell to the Veroboard and solder the connections.
Steps for Building the RFID Receiver
Here are the steps for building the RFID receiver:
Step 1
Place the LM324 comparator IC on the Veroboard and connect a 100uF capacitor between IC’s pin 11 (-ve) and pin 4 (-ve). Also, solder the 2.2M Ohm resistor between pin one and pin two and connect a 100k resistor between pin two and pin 3.
Step 2
Next, connect your 33pF variable capacitor between pin two and pin three and solder a 10pF capacitor in series with the 33pF capacitor.
Step 3
Take your LED and connect the +ve pin to the comparator’s pin 1. Also, click the LED –ve terminal to the base of the 2n2222 transistor with your 1k resistor.
Step 4
Next, connect the 5V buzzer –ve terminal to the transistor’s collector and the +ve terminal to the 1N4148 Zener diode’s +ve terminal. Also, attach a 25 gauge copper wire coil between the transistor’s emitter and the 10pF capacitor.
Step 5
Finally, take your battery and connect the positive terminal to pin four and the negative terminal to pin 11. Now, you can turn on the circuit and test if it works.
Applications
Some applications of the RFID receiver:
- Detect stolen or fraudulent products

Anti-Theft
- Works for school and office attendance management
- Works for inventory tracking
Inventory Tracking
Wrapping Up
As I mentioned earlier, RFID systems have access to various frequencies within the radio spectrum. Also, the frequencies in the radio spectrum are between the infrared and the ELF (Extremely Low Frequency).
Radio Frequencies
However, it’s worth mentioning that radio waves in the radio spectrum don’t have the same behavior at all frequencies. Thus, it would help if you chose a frequency that fits the application you have in mind.
Based on this, we have three RFID systems, which include LF (Low Frequency) systems, HF (High Frequency) systems, and UHF (Ultra High Frequency) active systems.
Well, that wraps up this article. Let us know if you have questions, and we’ll be happy to help.