A soldering iron is a must-have when it comes to building a circuit. That’s because it allows you to bond a component onto the board, forming a connection. You can also utilize it for other purposes, with each application requiring a specific temperature. These electrical tools contain a unique additive mixture that helps with bonding. Additionally, three different soldering iron types exist on the market today. At WellPCB, we aim to put you on the right track. After reading this article, you will gain a better understanding of a soldering iron’s capabilities. So let’s get started!
Contents
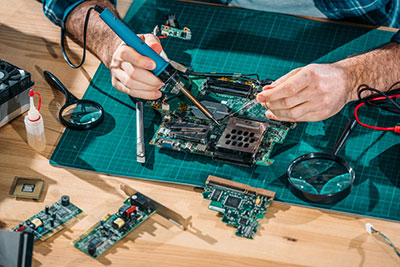
DIY Solder Iron– What Is Soldering Iron?

(Soldering iron)
A portable soldering iron allows anyone developing a project to join two various metal-type pieces together. This happens through the electronically heated solder tip, which allows bonding to occur through the melting solder process. Soft soldering contains metal alloy fillers that melt at temperatures below 400 °C. Furthermore, three main soldering types exist lead-based solder, lead-free solder, and flux core solder.
These compact, easily controlled, and affordable tools present useful applications for creating jewelry, electronics, at-home projects, vehicle repair, etc. Electronic experts or casual hobbyists commonly utilize these devices to integrate an electronic component onto a circuit board.
DIY Solder Iron– How Does a Soldering Lron Work?
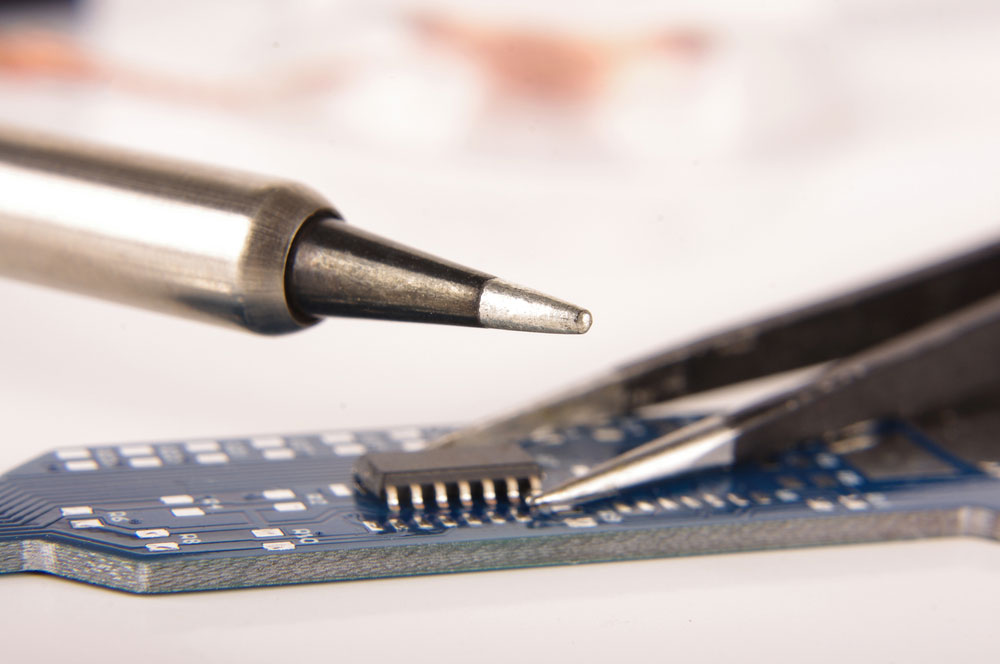
(Solder tip on a soldering iron)
Soldering irons feature an insulated handle and iron tip electrically heated to 430°C. The heating process occurs when an electric current flows through the resistive heating element’s power cord or batteries. Then, the solder melts, allowing it to flow through the tip. From there, it cools, bonding two workpieces together. For example, this can bond an electronic component to a PCB. You can also remove solder with a solder wick. Some may run on a power supply. If you want more soldering time, ensure the battery provides high capacity.

How to use a soldering tool
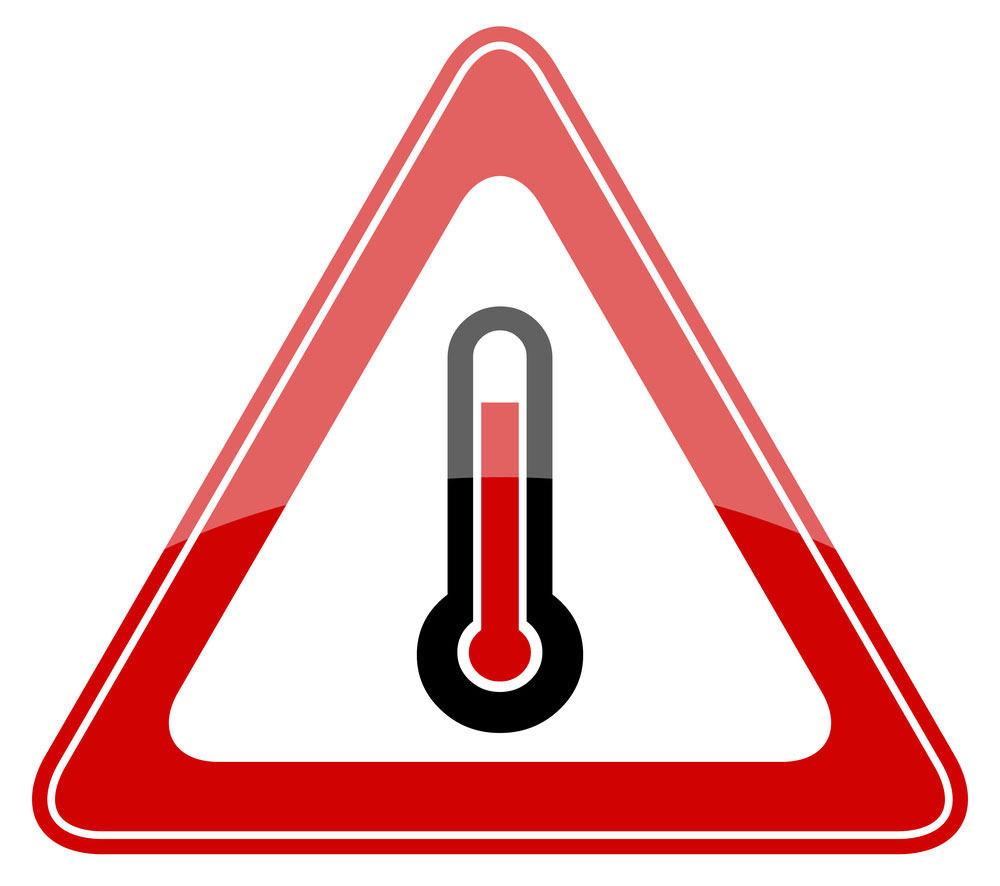
(A very high temperature helps with bonding)
First, you will need the correct temperature value for your project. Ultimately, this relies on two indicators: bonding components and solder type. We recommend applying a temperature that will not damage the materials via burning. For example, if the project calls for a temperature of 190 °C, then you must set the iron to 190 °C.
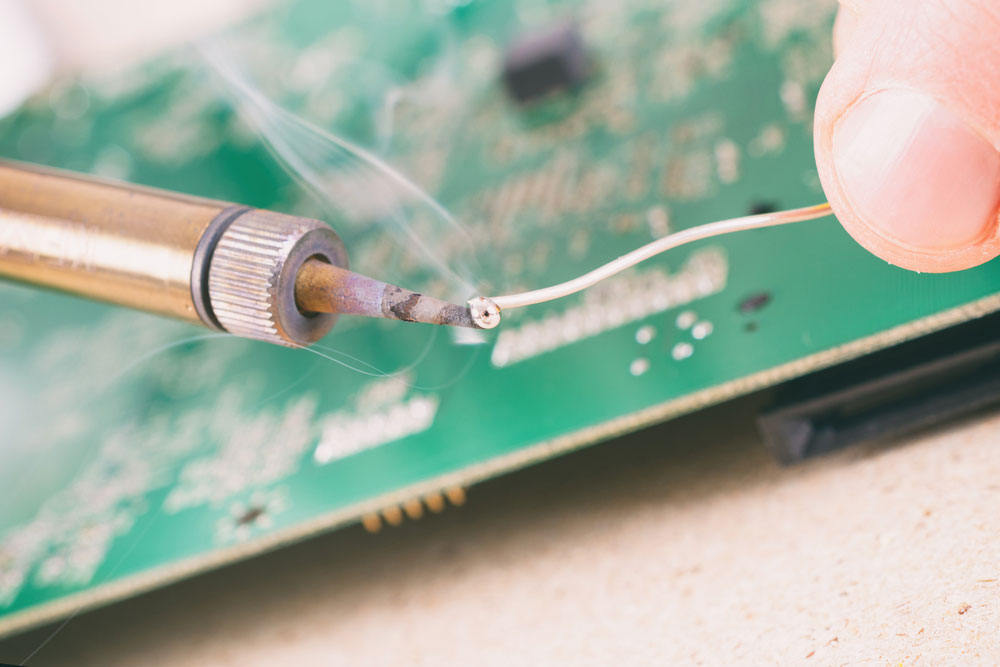
(Applying solder on components)
After the iron reaches that temperature, hold it in one hand with the solder in your other hand. Next, position the iron between the areas where both components will join. This will apply heat to the parts instead of the solder. Afterward, make the solder touch each heated component at the gaps where they will bond together. Once they heat up to the appropriate temperature, the solder will melt and flow into the gaps. Next, apply the solder on each piece until the right amount melts.
You will need to let the solder joint cool down. Then, ensure it secures in place by gently wiggling the component to ensure a strong connection. A decent solder joint will provide shiny, uniform, and smooth qualities.
DIY Solder Iron– How to Make a Simple Soldering Iron
You will need the following components to create a portable soldering iron:
- 8 mm solid copper enameled copper rod – 1x
- 1 mm copper wiring – 1x
- 32 AWG nichrome wires – 1x
- Heat-resistant wire sleeves – 1x
- 12V/7Ah lead-acid DC battery – 1x
- 4 mm power drill – 1x
- Push-button switch – 1x
- Wooden handle – 1x
- Cut file – 1x
- Alligator clips with leads – 2x
- Super glue – 1x
Step One:
First, grind the 8mm solid copper rod terminal until it forms a drilled cylindrical shape. Then, grab the heat-resistant wire sleeves and wrap them around 1/3rd of the copper rod. Ensure you leave the drill end exposed.
Step Two:

(Use a power drill to create a hole)
Next, grab a piece of cylindrical wood and drill an 8mm-sized hole in the middle with a 2cm depth. With a nose plier, securely place the copper rod inside the drilled hole.
Step Three:
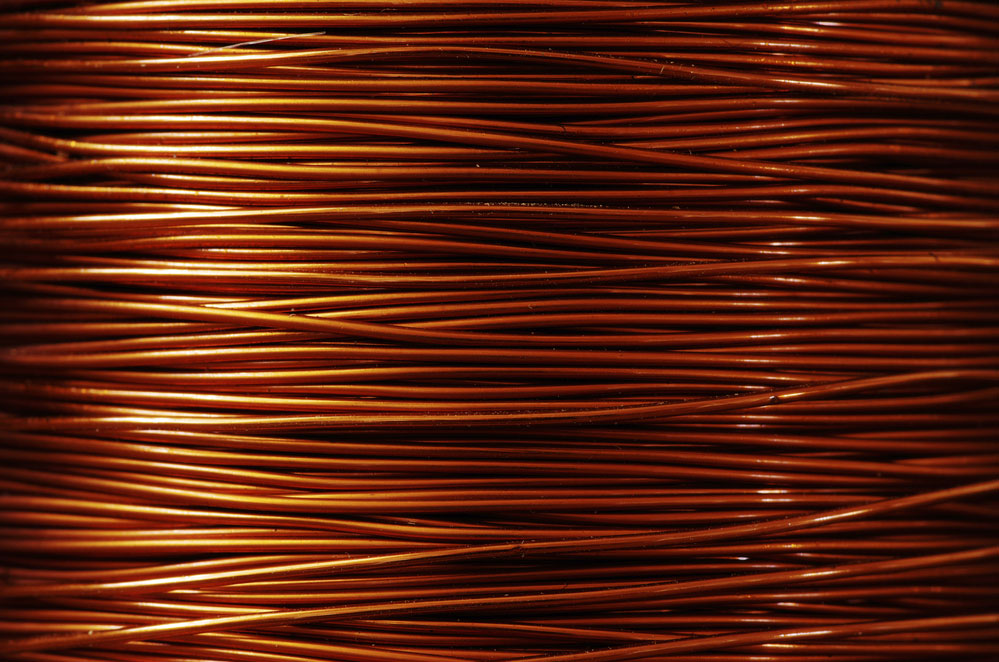
(Image showing wires)
Loop a 35cm piece of nichrome wire alongside the heat-resistant wire sleeves. Use 1mm thick solid copper wiring to tie each end together.
Step Four:
Next, affix the on/off switch’s positive terminal to the battery clip’s positive end. Meanwhile, the switch’s negative terminal connects to the copper wire. With super glue, stick the on/off push button switch to the handle.
Step Five:
Bind up the battery clip’s negative end to the copper wire’s opposite end.
Step Six:
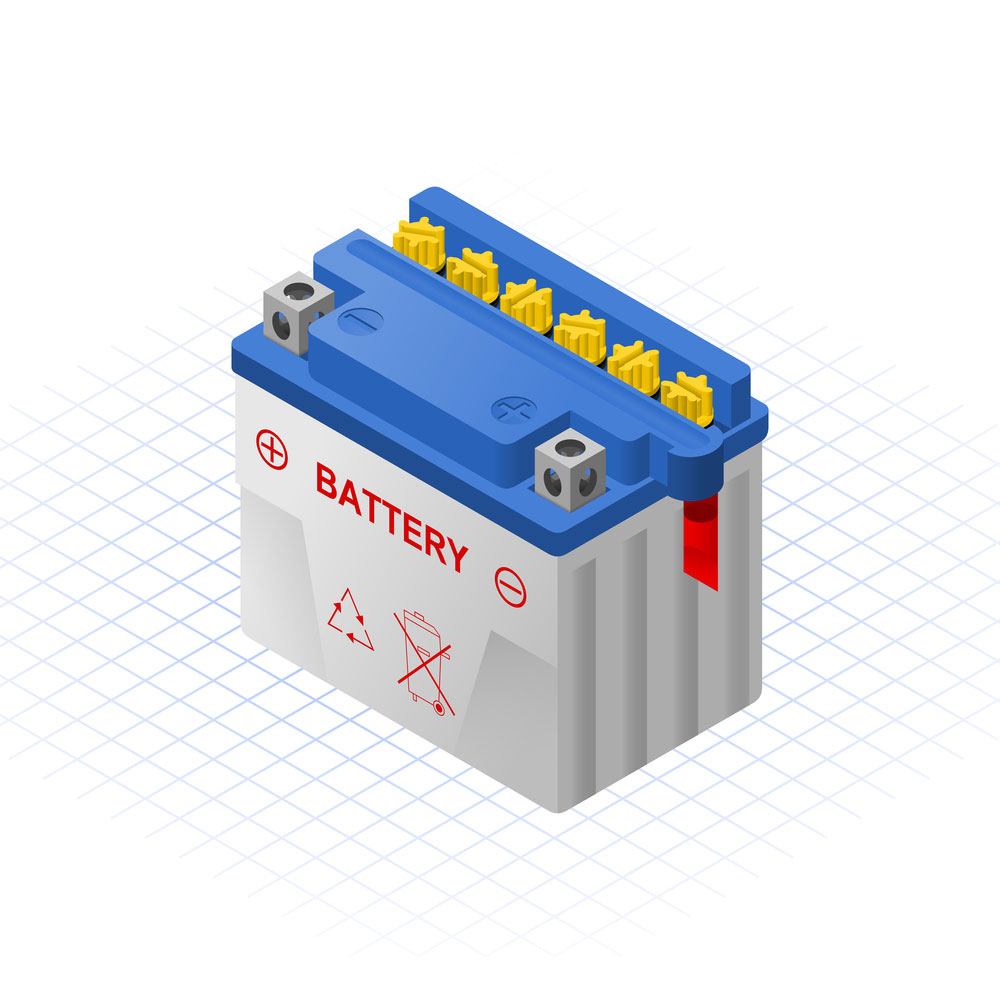
(Image showing a battery)
Attach the alligator battery clips to the 12V lead-acid DC battery and press the switch button to activate the circuit. The soldering iron’s tip will emit smoke the first few times, a normal process. This occurs because of the copper enamel’s burning effect. Wait one minute for the information to cool down, then envelope solder wire over the tip.
Step Seven:
Lastly, perform a test to ensure the soldering iron works properly.
DIY Solder Iron–Working principle:
After the circuit powers up, the Nichrome coil’s temperature will increase. Because it forms chromium oxide, the nichrome wire can sustain extremely high temperatures without sustaining damage. The copper wire then causes the intense heat, which reaches 430°C, to become thermally conductive. In effect, this sets the soldering iron’s tip to the necessary temperature.
Summary
Overall, a soldering station provides one main benefit: bonding components on a PCB. Such a device operates through an electric current, causing it to heat up to high temperatures. Afterward, the user can apply the solder onto the components they wish to bond together. Overall, it comes in three different types, lead-based solder, lead-free solder, and flux core solder. Each one of these provides different features with its unique design. Therefore, a soldering iron is ideal for many applications such as jewelry making, joining components, and at-home projects.
Do you have any questions regarding a soldering iron? Feel free to contact us!


