Any etching solution for PCB goes a long way for copper removal to help you get that final design on your board.
Moreover, everything must be up to par to ensure a smoother process.
But first, you must figure out some important factors before diving into etching because they ultimately affect the entire procedure.
Let’s look deeper at this topic and see how it comes together.
Contents
Defining PCB Etching
Generally, PCB etching just means removing copper on a printed circuit board through a chemical solution.
Doing so gives it unique patterns you normally see on circuits.
Designers will produce a circuit board layout to ensure everything meets specific requirements.
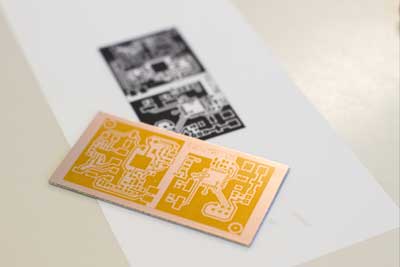
They then apply that image atop a PCB via photolithography so that the etching is done based on the design.
Chemical Solutions For PCB Etching
Printed circuit board.
You can use many solutions during the etch to create the best possible topography.
These have proven useful for that purpose.
6401 Solder Stripper
If you need to remove tin, lead, or tin/lead off the board, use this acid-based Stripper.
It has a copper inhibitor system designed to lessen etching on the base as you strip away the metals.
6109 Lacquer
You should consider using the lacquer if there’s a risk of oxidization.
This quick-drying resin protects all your electronic components and PCB against that effect.
It also retains the surface and adds a resin coating suitable for many rosin base flux types.
6810 Resist Stripper
A resist stripper helps you take off any silk screen printing inks or soluble dry films on a circuit board.
It doesn’t have any organic solvents, making it safe. You can use it in spray equipment and dip tanks.
1932 Nickel Cleaner
You’ll want to use nickel cleaner to make any nickel alloy and nickel-plated surface solderable again.
Submerging it in this solution for up to 20 seconds at 70°F cleanses off any tarnish.
Be sure to spray it with hot water before immersing it in hot or cold water.
150 MG Copper Etchant
This etchant allows you to etch copper on PCBs as they undergo bulk production.
It contains large quantities of ammoniac chemicals. This solution has submerging or spray applications.
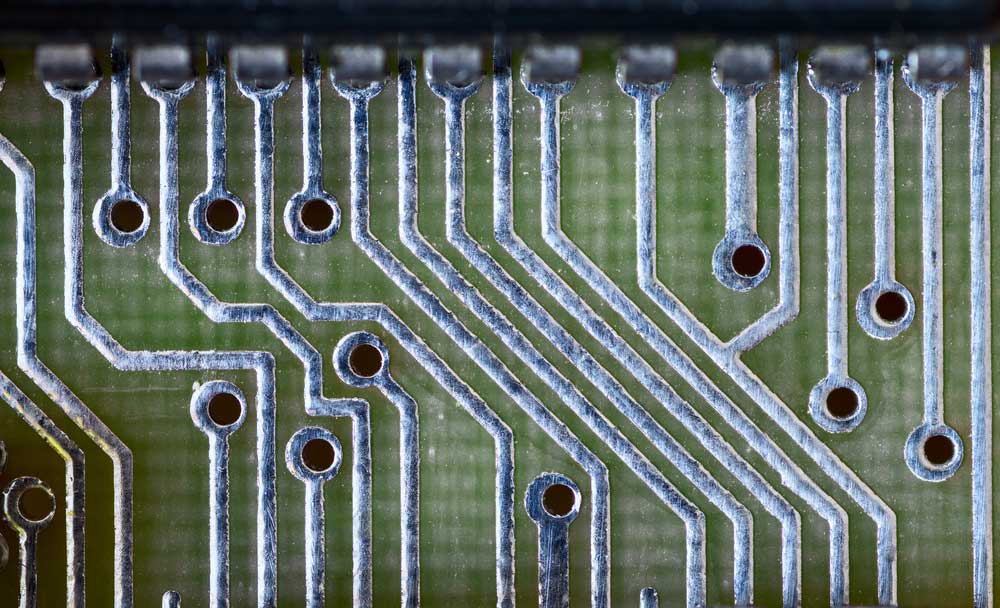
What Should You Look Into Before Etching?

The back part of a PCB.
Before you etch your PCB, you’ll need to consider the direction, rate, and selectivity. These are crucial to carry out that task perfectly.
Etching Direction
You’ll need to choose either the isotropic or anisotropic etching direction. These generally provide you with etch rate controllability.
Isotropic
Wet etching uses the isotropic technique, which has a consistent etch rate.
However, you’ll have a hard time managing the etch rate.
Anisotropic
Copper on the PCB gets removed in a specific direction through this method.
You’ll typically rely on anisotropic when carrying out the dry etching.
It also offers more control of the etch rate.
Etching Selectivity
You can think of etching selectivity as the etch rates ratio of varying materials by a specific solution. This means the etchant selects one material over the other for removal.
However, the etchant chemistry, composition, materials’ structure, pressure, and temperature affect the selectivity.

Dry Etching Vs. Wet Etching
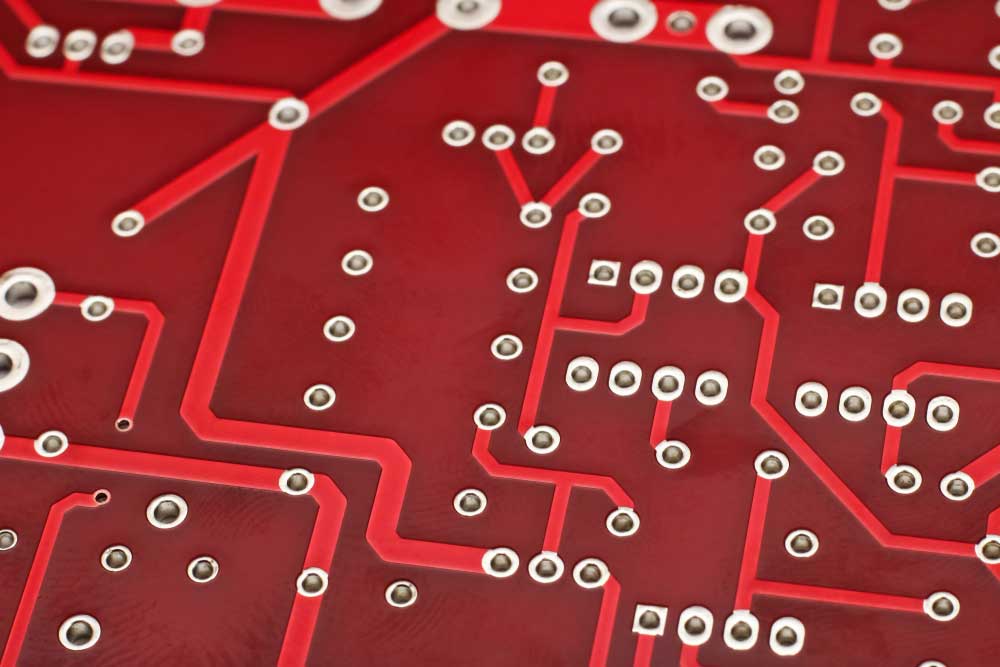
Close-up of a circuit board.
These two methods differ in their etching approach, speed, and precision. So if you choose one over the other, you should note what they offer.
| Dry | Wet |
| Very precise | Not as precise |
| Dry etching uses a safe approach since it relies on harmless chemicals | This method is unsafe because it requires toxic chemicals |
| Plasma | Relies on liquid |
| Anisotropic | Isotropic |
| Dry etching has higher costs. You must use special equipment. | Less costly to perform wet etching. It generally involves using standard equipment. |
| Worse etch rate (lower) | Better etch rate (higher) |
| It doesn’t need a lot of maintenance since you won’t modify the hardware very often | More maintenance since you’ll be throwing away and refilling chemicals |
| Slower | Faster |
| Results in a tidier workspace | This leads to a cluttered workspace |
| The gaseous phase has chemicals | The liquid phase has chemicals |
Step-By-Step Guide For PCB Etching
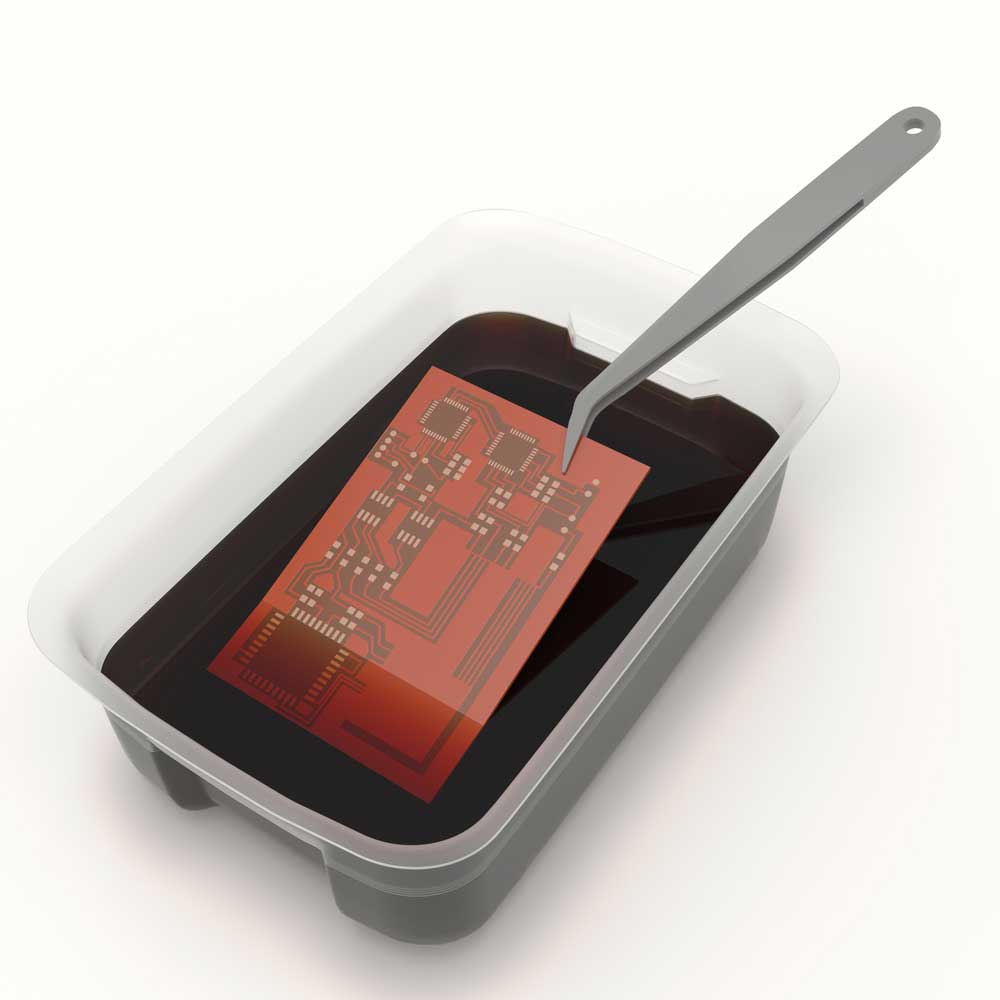
PCB is undergoing chemical etching.
Did you know you can etch your PCB in any environment? The short guide below will pull you in the right direction if you want to try it out.
Step One:
Start by cleaning your printed circuit board until it’s clear of dirt. Afterward, place a photoresist film over the parts you plan to keep the copper in place.
You will need to choose either the wet or dry etching method next. If you choose the chemical route, use a spray or brush to coat the board.
Step Two:
Run the PCB through the water when the etching finishes. This will help you take off leftover etchant remaining on the board.
Step Three:
After drying your circuit board, you can finally see the finished product by removing the photoresist film.
Then, cleanse it off again with rubbing alcohol.
Step Four:
Correct circuit patterns and review your PCB for breaks, cracks, or other issues.
Lastly, protect the PCB’s copper traces by adding a solder mask.
Summary
You can finally finish your circuit board now that the etching is under your command.
Once done, it must undergo stripping to eliminate any tin or lead on the PCB’s surface.
Then, feel free to test the circuit with a multimeter before using it in the intended manner.
Do you have any questions on this topic? Feel free to contact us!