Since its introduction in the market in 2012, the Raspberry has had numerous upgrades to its preceding models; the pi3 is a great gadget. For electronics enthusiasts, the pi3 is an affordable, single-board computer that is easy to assemble and use for all your DIY projects. This article will be an excellent tutorial for setting up your Pi3 starter kit, all you need, and all the possible connections to have a functional Pi3.
Contents
How do You Connect the PI3 Starter Kit?
Materials Required
To complete your raspberry Pi3 setup, you need several external components. A mouse, monitor, and keyboard are essential to achieve a functional design. Quality HDMI cables will enable you to connect the HDMI end of the pi3 Raspberry to the monitor and connect to the power supply. Once you have everything in order, it is time to assemble it.
- Place the pi3’s PCB onto the base of its enclosure and snap it into position.
- Fit the side casings as well while making room for the card slot
- Connect the ribbon cable to the pi3 console
- Attach the ribbon cable to the wedge with Pin 1 facing towards the FTDI adapter
- Lodge the wedge into the breadboard
- Connect FTDI connector to the corresponding label on board
- Attach the end to a monitor
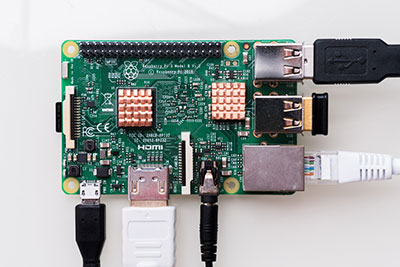
(A board with all components in place)
Getting the OS
To begin with, the microSD card that comes with the pi gadgets has an operating system in it already. But there are also chances that the OS might be corrupt and have issues loading up correctly. So, getting a new copy of the operating system shouldn’t be that much of a challenging task.
It is essential first to format the MicroSD Card that contains the corrupted OS, and then go to Raspberry’s official website and download the Raspberry OS. Once you have successfully downloaded the OS, you will be ready to install it.
The first Boot
Before you connect the power supply to your console, it is essential to confirm the following things.
- The micro SD card is lodged perfectly.
- The monitor is powered, and the HDMI cable is connected correctly
- The mouse and keyboard are also connected correctly
- The whole setup is securely placed on the desk and not easy to topple over
If your setup checks all these boxes, you could then begin to power up your pi3 Raspberry.
Though, the installation is a pretty straightforward process. Once you power up, a color grade chart should appear, this should indicate that you now have your device booted, but you need to install the Raspberry OS on the micro SD card. Just press next, accept terms and conditions, and you will be good to go.
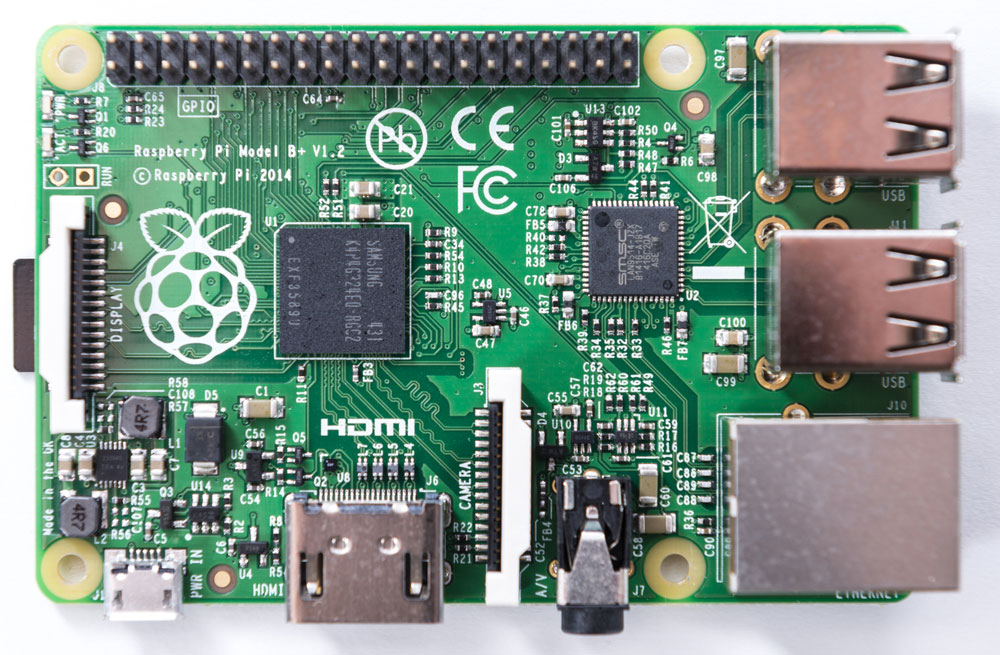
(The raspberry pi3)

Raspberry Pi 3 vs. Raspberry Pi 4
It is understandable that the pi4 is the most recent version of the raspberry single-board computers, but does it mean it is the fastest model? We will differentiate the two computers based on memory, performance, connectivity, and other support functions to get a clear picture.
Memory
The raspberry pi3 comes with a 1GB allocated random access memory, which is a decent amount of memory if you do not heavily need it. The pi4, on the other hand, comes with memory allocations ranging from 1GB, 2GB, 4 GB, and 8GB, which comes in handy where the pi3 doesn’t work in terms of capacity. It is also important to note that as the memory capacity increases, so do the prices.
Performance
Even though both computers feature chips from Broadcom, the pi4 features a more robust processor that offers higher performance. The pi4 comes with the 1.5GHz Quad-core cortex A-72 Broadcom BCM2711 64 bit CPU.
Its predecessor, the pi3, has the 1.2GHz 64-bit quad-core processor BCM2837. The pi4’s processor is the most recent and powerful compared to the two processors.
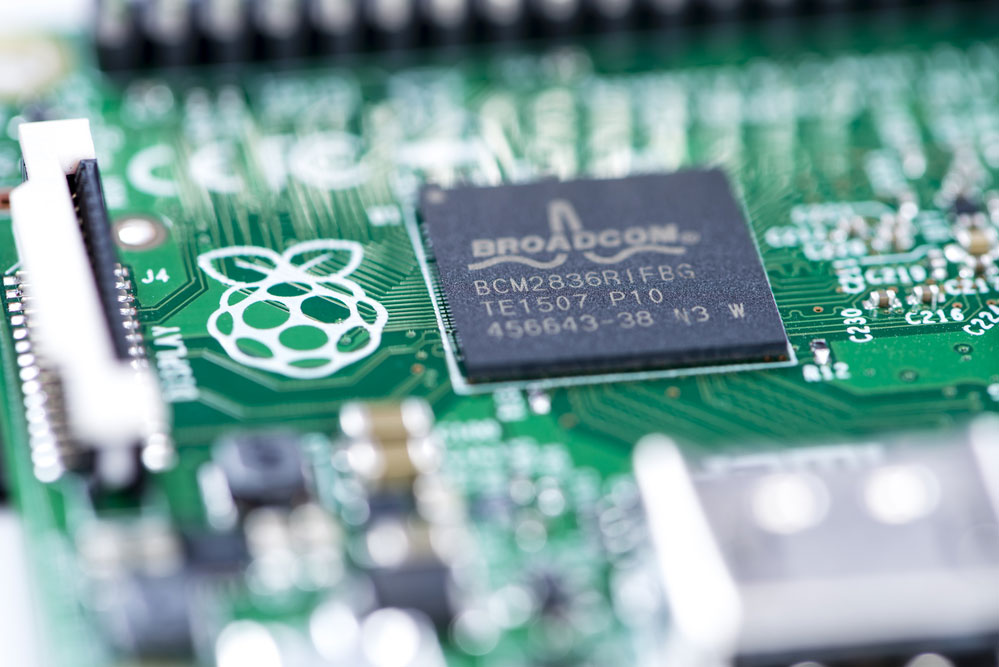
(the processor of the pi3)
Connectivity
The two computers share a similarity in the 40 pins extended GPIO header. They both have Bluetooth connectivity and an internet port for internet connections when it comes to connectivity.
The pi3 has only two USB 2.0 ports. The pi4 packs USB3.0 and USB 2.0 ports. It means data transfer with the USB 3.0 is faster on the pi4. Also, the pi4 has a USB-C port.
Conclusion
When it comes to the pi3, it is essential to do primary research before buying. Also, you can determine which device best suits your project in terms of performance. You also need to ensure that you have a ready monitor, HDMI cable, keyboard, and mouse before you power up your device.
In case of any trouble trying to decide which is your best bet, or help of any sort, feel free to reach out, and we are always glad to help.


