GPIO pins are a primary characteristic of all types of Raspberry Pi microcontrollers. Their input is especially significant in expanding the functionality of the single board computer (SBC). Let’s explore the Pi GPIO pins at length while also showing how to program them with Python language in this Raspberry Pi GPIO tutorial.
Contents
What is GPIO, and How does it work?
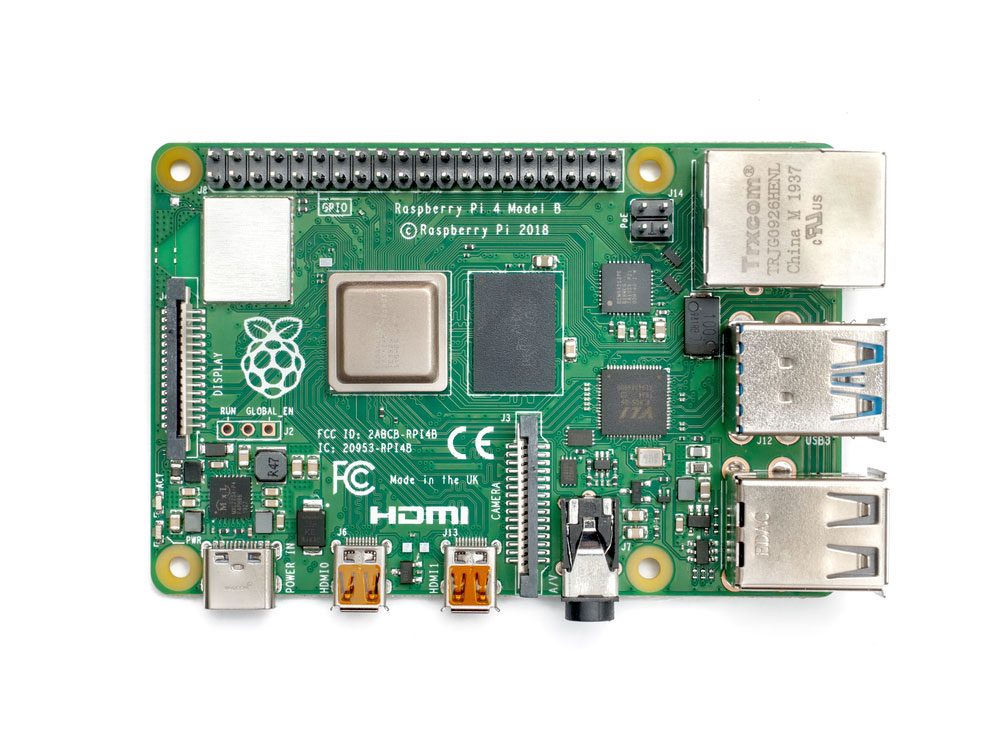
Figure 1: GPIO Pins
General Purpose Input Output (GPIO) represents the interface common in Raspberry Pi microcontrollers and SBCs. They are the input and output pin terminals of the Raspberry Pi zero and other Raspberry modules.
Thus, it is through these pins that we can connect electronic components such as infrared transmitters and motors. In addition, the rows of holes in any version of Raspbian are handy in receiving data from external physical components. These include switches and sensor modules.
First, you must get the hardware setup right to ensure the pins function as required. Next, you also need to make software configurations for any type of Pi model to facilitate the working of the pins.
Explaining the Raspberry Pi GPIO Pinout
Figure 2: A Raspberry Pi Microcontroller
For Raspberry Pi B+, Raspberry Pi Zero, or any microcontroller with a Raspberry Pi OS, you’ll find a 40-pin header.
Nonetheless, the physical computing of the earlier Raspberry Pi versions was different. E.g., the Raspberry Pi Model B featured 26 pins.
Noteworthy, all the 40 GPIO pins in Raspberry Pi’s OS have their respective functions. Thus, during your initial setup, it’s imperative to get the functions right.
Here’s a detailed elucidation of the different pin modes. 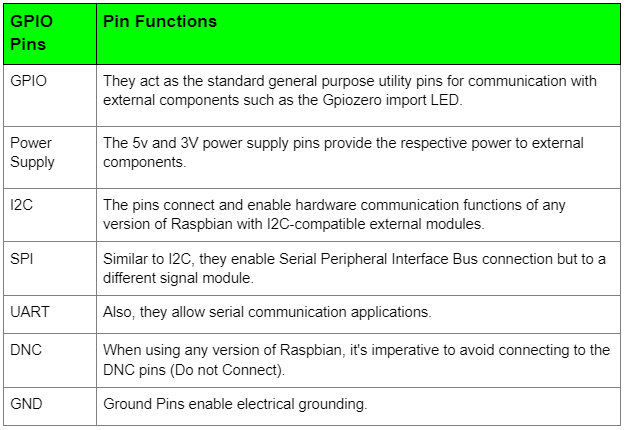
How to program Raspberry Pi GPIO Pins with Python?

Figure 3: Illustrating the Python Coding Concept
Our GPIO tutorial will now explore how to control hardware components via software run into the Pi via the GPIO pins.
Hardware Setup
Preferably, a Pi Wedge is the breakout kit required to set up the hardware for this Pi GPIO Tutorial. However, if absent, male-to-female jumper wires will be handy in aiding you in making the connections to the available breadboard mates.
You will also need the following components:
- Breadboard and Breadboard rails
- Male jumper wire and female jumper wires
- Pull-Up Resistor (internal pull-up)and Pull-Down Resistor
- A 330-ohm resistor
- Passive Infrared light or LED
Python Gpiozero API library
You’ll require this library to control the Raspberry Pi’s input and output pins in python. You don’t have to visit the Python-Projects Directory to understand how it works, as most Pi components are defined in the library.
How to Setup Python (RPi.GPIO) API
Figure 4: Python Language Concept
If you go for the Raspbian Operating system, you don’t need to download the Python GPIO library since it’s already available by default. Nonetheless, if you’re not on the Raspbian option, you must use specific commands to install it on other programming languages.
Once you’ve installed the Raspbian operating system, import it via running the import path of Gpiozero Import. The import time is not long, and once it’s over, you can proceed to the next step.
Note: Your OP does not necessarily need to be in the Raspbian option to install python. The Raspbian operating system gives you a straightforward path to setting up the Python library.
Python Setup
Primarily, you’ll need an RPi.GPIO module for this cool project. As earlier highlighted, with Python (RPi.GPIO) API, you don’t have to download any files to activate the working of the GPIO pins.
Setup steps
First, run the statement below:

Next, you must select the ideal pin numbering system you intend to use in this cool project. You may choose from any of the following numbering schemes:
- Broadcom chip-specific PINs (BCM mode).
- Board numbering scheme
Then, set up a Pin Mode. Running the command below will facilitate the pin mode setup process.


Raspberry Pi GPIO Projects
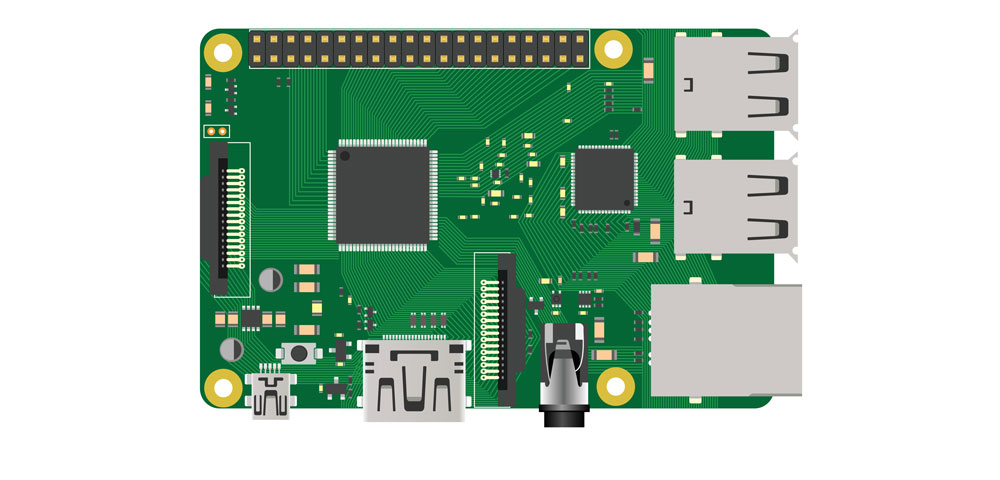
Figure 5: Raspberry Pi
Now that you know the hardware and software configurations, with a Raspi-Config Tool, you can do any of the following cool projects. All you need is to understand the Pi GPIO tutorial highlighted above, and you’re good to go in various physical computing projects.
Possible Pi GPIO Tutorial projects:
- Raspberry Pi Infrared motion sensors/ motion event detectors
- Raspberry Pi Motion Detector Alarm
- Raspberry Pi Imager projects
Conclusion
That’s all on setting up GPIO header pins with various external components and connections to various inputs. The pin header rows (GPIO pins) make the Raspberry Pi zero an amazing computing device. For further enquires on this essential tool, contact us at any time.


