Are you an engineer looking to build a project that allows you to share your files wirelessly on any device in your home? If yes, a Raspberry Pi NAS server is what you need.
In truth, a network-attached device is your go-to if you want to keep your digital life neat and organized. However, the costs of getting one can be burdensome.
Luckily, we have a solution! You can easily make one with a Raspberry Pi.
This article will show you how to build a Raspberry Pi NAS server circuit.
Let’s begin!
Contents
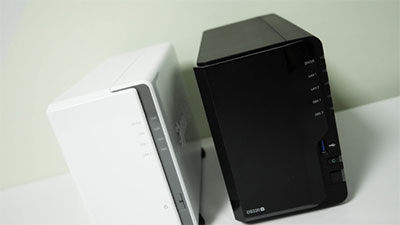
What is a NAS?
A NAS or network-attached storage is similar to what you can get with cloud storage.
Indeed, cloud storage allows you to upload your files to the internet. Moreover, with the device, you can access your files from any connected device, notwithstanding the location.
Now, a NAS offers something similar. Rather than access your files from anywhere worldwide (with an internet connection, of course), you can only access them anywhere in your home network.
Feels like a bit of a letdown? Not at all! You can easily share your files across your home devices with network-attached storage.
Imagine storing your movies and watching them from different Kodi boxes or creating backups from your PC. You can even use the NAS as a BitTorrent box to seed your files non-stop.
Although it’s possible to do this with your PC, a NAS requires lower power. Plus, it can run all day and all night, even when you’re not using your PC.
How to Build a Raspberry Pi NAS?
Before building your Raspberry Pi-based NAS, you must know the storage you’ll need. External USB disks are usually faster and offer more storage than SSDs. So, let’s build.
Components You Need
- Raspberry Pi
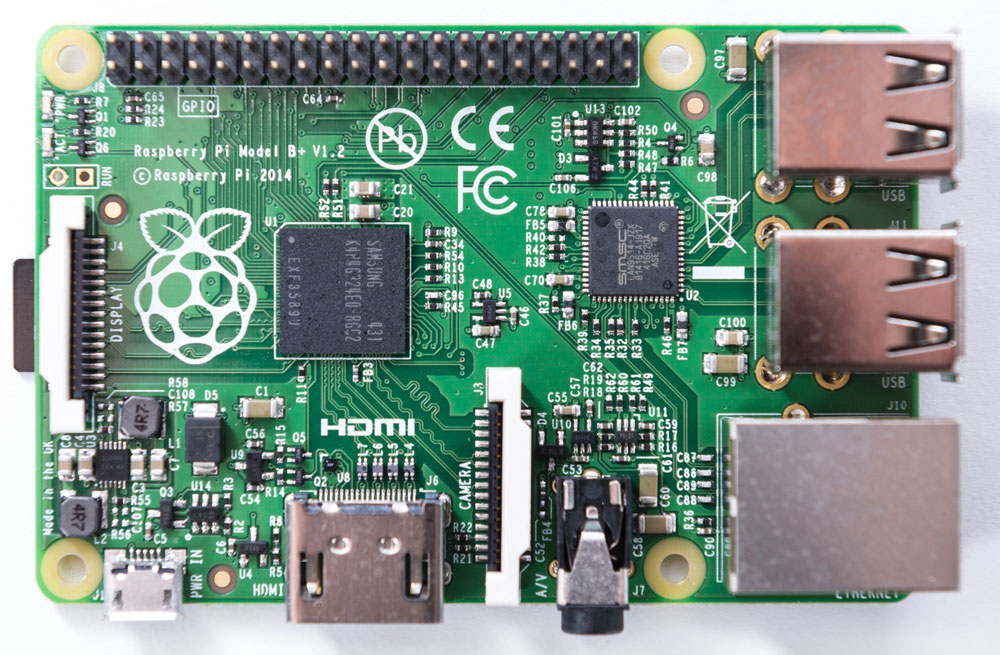
Raspberry Pi
- Monitor

Monitor
- Keyboard

Keyboard
- Mouse

Mouse
- External USB disks

External USB disks
- Power supply
- NAS case (Optional. Get this to avoid your project looking like many different disks and wires.
Steps
Here are the steps you need to follow to build this project:
Step 1: Installing Your Operating System
First, you must install the right operating system to transform your Pi into a storage network. Now, there are operating systems that specialize in making Pi-based NAS devices. But we’ll be using the easiest; Raspbian or Raspberry OS.
The Raspbian OS is simple, flexible, and can share files over a network. Hence, start this project by installing the Raspberry software. We won’t go into details on how to install the Raspbian OS. However, if you don’t know how to go about it, you can go here to learn how to get it done.
Step 2: Connect Your Pi to Your Network
There are two ways to connect your Pi to your network. First, you connect it via Ethernet. We recommend using Ethernet for high file transfer speeds. If you can use Ethernet, WIFI will suffice.
Note: if you’re booting your Raspberry Pi for the first time, ensure you set a password and update your software. After connecting your storage to Pi’s USB port. Also, remember that we’ll be doing most of the work on the Terminal software.
Step 3: Unmount Your Drive
Next, you’ll need to erase the drive you’re using if there are any files on it. If these files are essential, consider transferring them elsewhere first for safekeeping. After your files are safe, head over to the terminal window and input the following command:
Sudo fdisk -l
The above command helps you see all the disks connected to your Raspberry Pi.
After seeing all your drives, please choose the one you’ll use to store your files and know its path. Noting the way of your dream is essential! So, you don’t erase the wrong drive.
With that out, it’s time to unmount your drive. For the Raspbian interface, click the eject button to unmount. On the other hand, if you’re using Terminal instead of SSH, here’s the command you should run:
umount /drive path (in our case umount /dev/sda1)
If your drive has a lot of partitions, you’ll need to run several other commands to erase the drive. For example, umount /dev/sda2, and umount /dev/sda3.
Plus, you’ll also need to erase your drive for Linus use. Hence, run the following command:
Sudo parted /device path
The above command will activate a wizard named Parted. With this wizard, you can make new partitions on your drive. First, run this command:
mklabel gpt
Next, press “Enter” for each answer in the wizard. For instance, if the wizard prompts you to erase, input y and press enter. Then you can run this command:
mkpart
DriveName
ext4
0%
100%
Quit
Note: the above example is just an example. You can customize it with the name of your drive and the size and number of partitions you want for your disk. You can use these commands for your project if you’re an essential user.
Step 4: Drive Partitioning
Now that you’ve got your partitions, it’s time to format them. If your drive path is /dev/sda, then your new partition path would be /dev/sda1, and so on. Use this command:
Sudo makes.ext4 /dev/sda1
Next, when the terminal asks you to proceed, press y and Enter. Then, run this code:
sudo e2label /dev/sda1 DriveName
It might take a few minutes to format, especially if you have a drive with ample storage. When the formatting is complete, reboot your Pi with this command:
Sudo shutdown -r now
When your Pi starts up again, run one last command to gain permission to write new files to the drive:
sudo chown -R pi /media/pi/DriveName
Step 5: Sharing Your Drive
The next step is sharing your drive with your network. When you do this, you’ll be able to access your files from any of your home devices. Again, we’ll use the Samba tool for this purpose.
Unfortunately, Raspbian doesn’t have Samba as a default program. So, you’ll have to install it yourself. You can do that with these commands:
{sudo apt update
sudo apt upgrade
sudo apt install samba samba-common}
Choose yes when the installer asks if you want to change “smb. conf” to use WINS settings from DHCP. Next, you’ll edit the configuration with the following code:
sudo nano /etc/samba/smb.conf
Next, scroll to the bottom of the command-line text editor with your arrow keys and some text that look like this:
Also, use a password for your Samba to easily find your files on other devices. Do this with the following commands:
Sudo surpassed -a pi
After writing the command, restart the Samba with the following command:
Sudo system restart smbd

FAQs
Is Raspberry Pi Fast Enough for NAS?
While the Pi-NAS may not give you the best performance, it is fast enough to handle NAS applications—especially if you want to build a project or test out a NAS device.
Does a Raspberry Pi Make a Good Server?
Yes. Raspberry can make a good server since it’s a powerful mini-computer that works for various applications.
Final Words
After finishing the steps, you should have a perfectly running Raspberry Pi NAS server device. Next, try accessing your files to see if your new NAS works.
The Pi-NAS procedure above only covers a little of what your NAS can do. Here’s the best part. The more storage space, the more shares and drives, and more users.
Any questions related to this article? Reach out to us, and we’ll be happy to help.


