
Do you plan to convert your PI to a complete network storage solution? Then, you need to set up an OpenMediaVault Raspberry Pi.
But, before achieving that, it’s vital to note that the OpenMediaVault is the perfect NAS solution built on Debian. And it supports Raspberry Pi effectively. Also, the software allows you to change your Raspberry system to a strong NAS with in-built assistance for different services.
So, do you want to know more about the process? This article will provide the necessary details to install the OpenMediaVault to a Raspberry Pi and more.
Let’s proceed!
Contents
How to Install the OpenMediaVault to a Raspberry Pi
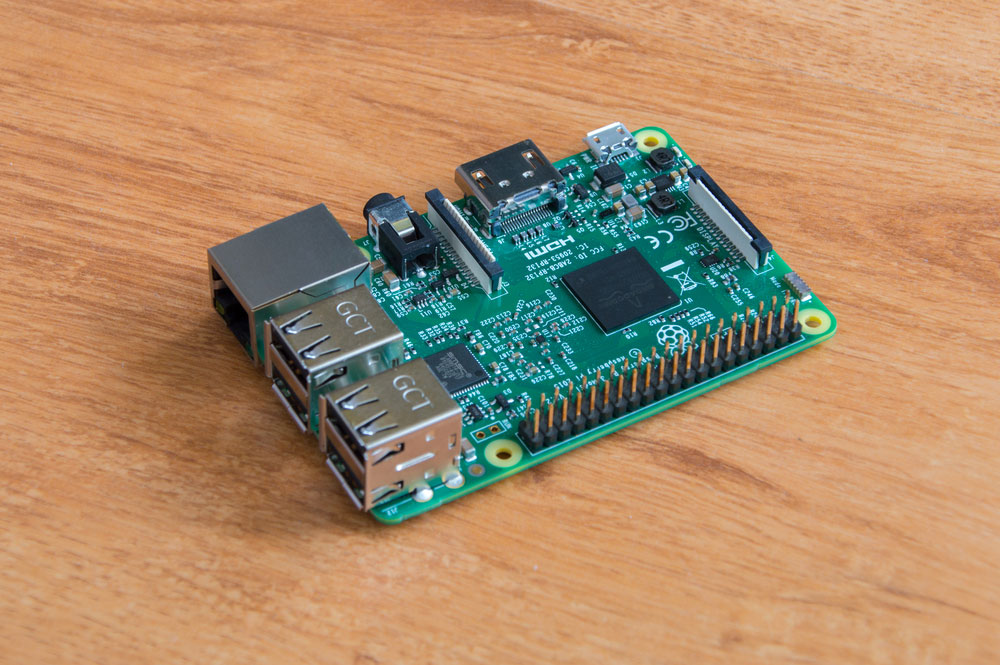
Raspberry pi single board credit card size computer
If you want your OpenMediaVault to run smoothly on Raspberry, it’s best to use Pi 2 or something more recent. But for this project, we need a Raspberry that works with improved IO features. So, we’ll use the Pi 4.
Materials Needed
- Steady power source
- Raspberry Pi 4
- Active ethernet network
- Raspberry Pi casing—optional
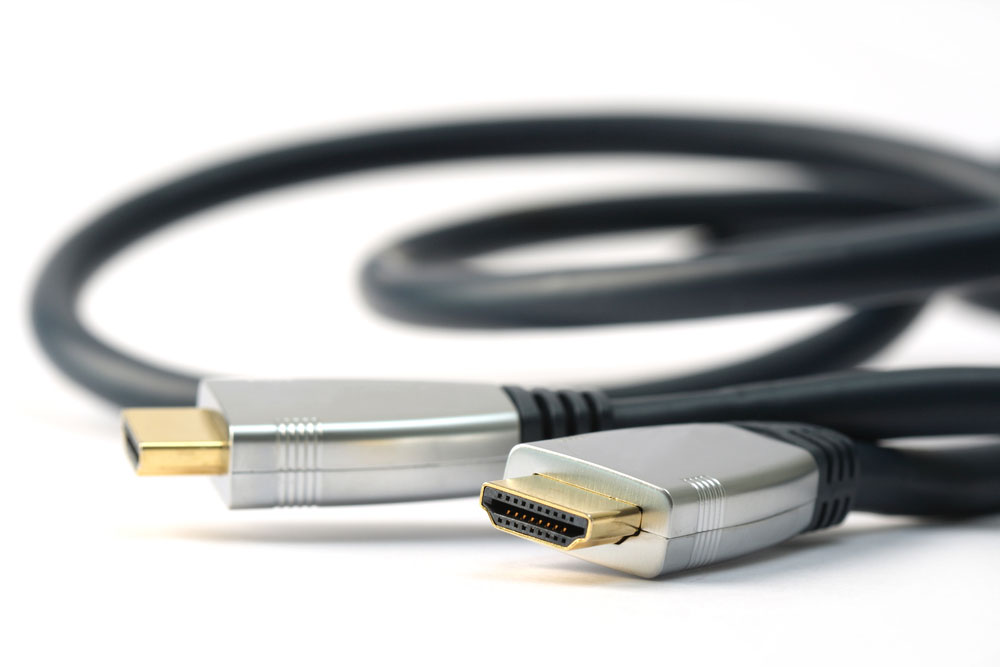
- A cable that supports micro HDMI – HDMI—optional
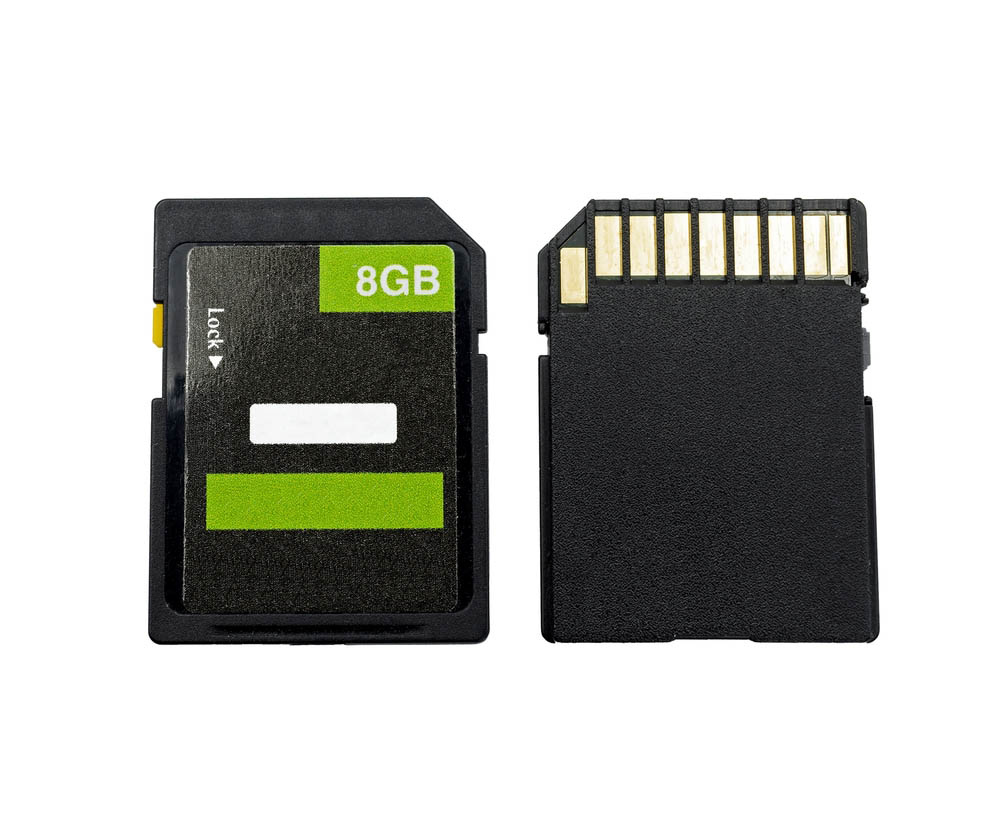
- Micro SD card with a minimum of 8GB of space
- Screen or display monitor—optional

With that in mind, it’s crucial to note that you can skip the optional items. Also, you can set up VNC access or use SSH if you’re a command-line person.
Steps
Step 1 – Raspberry Pi Installation
You can install Raspberry Pi by using the Raspbian IMG file. First, you need to download Etcher on your PC. That way, you’ll be able to verify the written data. Second, download any of the Raspbian versions. Preferably, you can go for the full version since it allows you to do other projects on the Raspbian.
Third, mount your SD card on the PC and launch Etcher. At this point, the Etcher should recognize the microSD card instantly. Then, you can select the downloaded Raspbian image files. Afterward, the Etcher will write the Raspbian on your microSD and display Flash complete.
You can remove the SD card and insert it into the Raspberry Pi. Next, ensure that all the connections are correct and power ON the Raspberry Pi. Then, the Raspberry Pi will boot directly into the Raspbian OS.
Step 2 – Activate the VNC or SSH
Either VNC or SSH system is a great addition for setting up OpenMediaVault if you aren’t going to utilize a GU display. You can enable the SSH by placing the Raspberry Pi SD card on the PC. While you’re at it, ensure that the card has the Raspbian OS. Then, navigate to your boot directory on your PC’s file manager. And create a new file:

Afterward, rename the new file without extra extensions. Linux users can open the terminal on the boot directory and issue the command:

Once everything is set up, place the SD card on the Pi and boot the system. With this, the Pi should connect to your Wi-Fi network automatically. So, you can log in to your route to get SSH access. Also, you’ll see your Raspberry Pi’s assigned IP address.
Alternatively, you can install the VNC server on Raspberry Pi by logging in remotely via SSH. You can do this by executing the command:

Next, update the Raspberry Pi by executing the commands below after getting a successful SSH connection.

Use the COM prompt below to enable VNC. Then, connect over VNC.

Step 3 – Install the OpenMediaVault 5 on Raspberry Pi
Once you have an excellent SSH connection, install OpenMediaVault. Start by executing the following commands: 
When you have a successful execution, use the COM prompt to reboot your Pi: 
Then, you can download the installation script for OpenMediaVault 5 with the following command: 
After successfully installing, the Pi reboots instantly on its own. Peradventure the Pi fails to do so, use the following COM prompt to reload it manually.

Step 4 – Access the Control Panel of the OpenMediaVault
Enter the IP address for the Raspberry Pi on your web browser to access the OpenMediaVault control panel. But if you can’t identify the assigned Raspberry Pi IP, type the following COM prompt:

Type in the credentials below:
USN: “admin”
PW: “openmediavault”
With this, you should be able to access the control panel of the Raspberry admin panel.
Step 5 – Proceed to Modify the Preselected Password
You can modify the preselected password by clicking “System” -> “General Settings” -> “Web Administrator Password.” Then, input the new strong password credentials and “Save.”
At this point, you can apply new changes by logging out of the control panel and returning with the most recent password to effect the changes.
Step 6 – Create a Fresh Filesystem
Set up your NAS by creating a folder you can share on your storage media. For instance, you can connect a 32GB or 16GB USB HD to the Raspberry Pi. So, you can add a new file system by checking for the control menu’s “File System” and clicking it, as seen below.
Then, click the “Mount” toggle after selecting the desired storage media. Afterward, you see this notification: “Configuration has changed.”
To effect the recent changes, you should do the following; click “Apply.” Then, OpenMediaVault should naturally approve the new modifications. At this point, check the progress tab to find notifications of the entire process.
Step 7 – Set Up a Sharable Folder
Look at the left panel and click the tab showing “Shared Folders” to create one. So, to have a freshly created shared folder click the “Add” button.
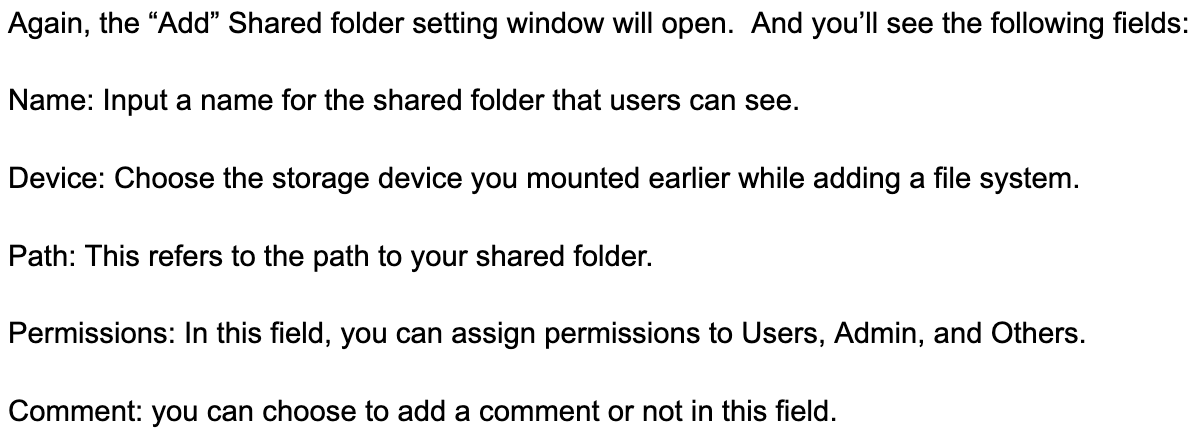
Once you finish with all the fields, click “Save.” Then, you get this notification: “Configuration has changed.” At this point, apply the changes to see your set-up running. Next, click “Apply.” At this point, you have included the “File system” and made a Shared Folder successfully.
Step 8 – Activate CIFS/SAMBA
In this step, go to the Services Menu in the control panel and choose the tab: “SMB or CIFS.” Then, under General Settings, click “Enable” in the box and “Save.” As a result, the “CIFS” & “SAMBA” will enable.
Next, click on the Shares tab from the “SMB or CIFS” menu. Then, click on the “Add” button.
Next, the “Add” Share window displays a few options. But you have to focus on the following items:

Once you input all the necessary information, click “Save.”
Also, you can click “Apply” when you see this prompt: “Configuration has changed.” This instruction is crucial because it determines if your changes go into effect or not.
Step 9 – Insert New Users to the OpenMediaVault
In this step, it’s necessary to include new users to connect and enter the Shared folder. First, go to the option that reads “Access Rights Management.” Then, select “User tab.” You’ll see a new screen appear; click Add. Then, you’ll see a window tab showing “add a user.”
With this, you can type in the necessary user details. After, you’ll find a toggle button showing “Modify Account.” You can enable it to permit users to make changes when necessary. Afterward, select “Save” after making your changes. You have configured the Pi into a Network storage solution with OpenMediaVault.

FAQs
How do I run OpenMediaVault?
First, go to Sourceforge and download the OpenMediaVault ISO file. Next, you can use the ISO image to install OpenMediaVault inti VirtualBox directly. Then, get a bootable USB stick to install the software on real hardware.
How can I access OpenMediaVault from the internet?
The safest way is to use a VPN for incoming users to protect the SMB and NFS ports. Then, port forward as necessary on your router. And have remote users connect over the VPN and access the NAS.
Final Words
There are different methods you can use to create an OpenMediaVault Raspberry PI. But the procedure in this article is straightforward and reliable, considering that it offers users high-level configs to run their NAS.
What do you think about the topic? Do you need more help with setting up this NAS solution? You contact us, and we’ll be glad to help.


