About GPS for Raspberry Pi, are you a fan of GPS applications looking for projects that combine a GPS module with a Raspberry Pi? Then, you’re reading the right article.
In truth, you can transform your Pi into a GPS receiver with easy connections and interfacing. Though it won’t stand up to the more expensive GPS receivers, it’ll give you access to GPS data.
How is this possible? This article will guide you on what you need and how to connect a GPS module and Raspberry Pi.
Contents
How do I connect my GPS to my Raspberry Pi?
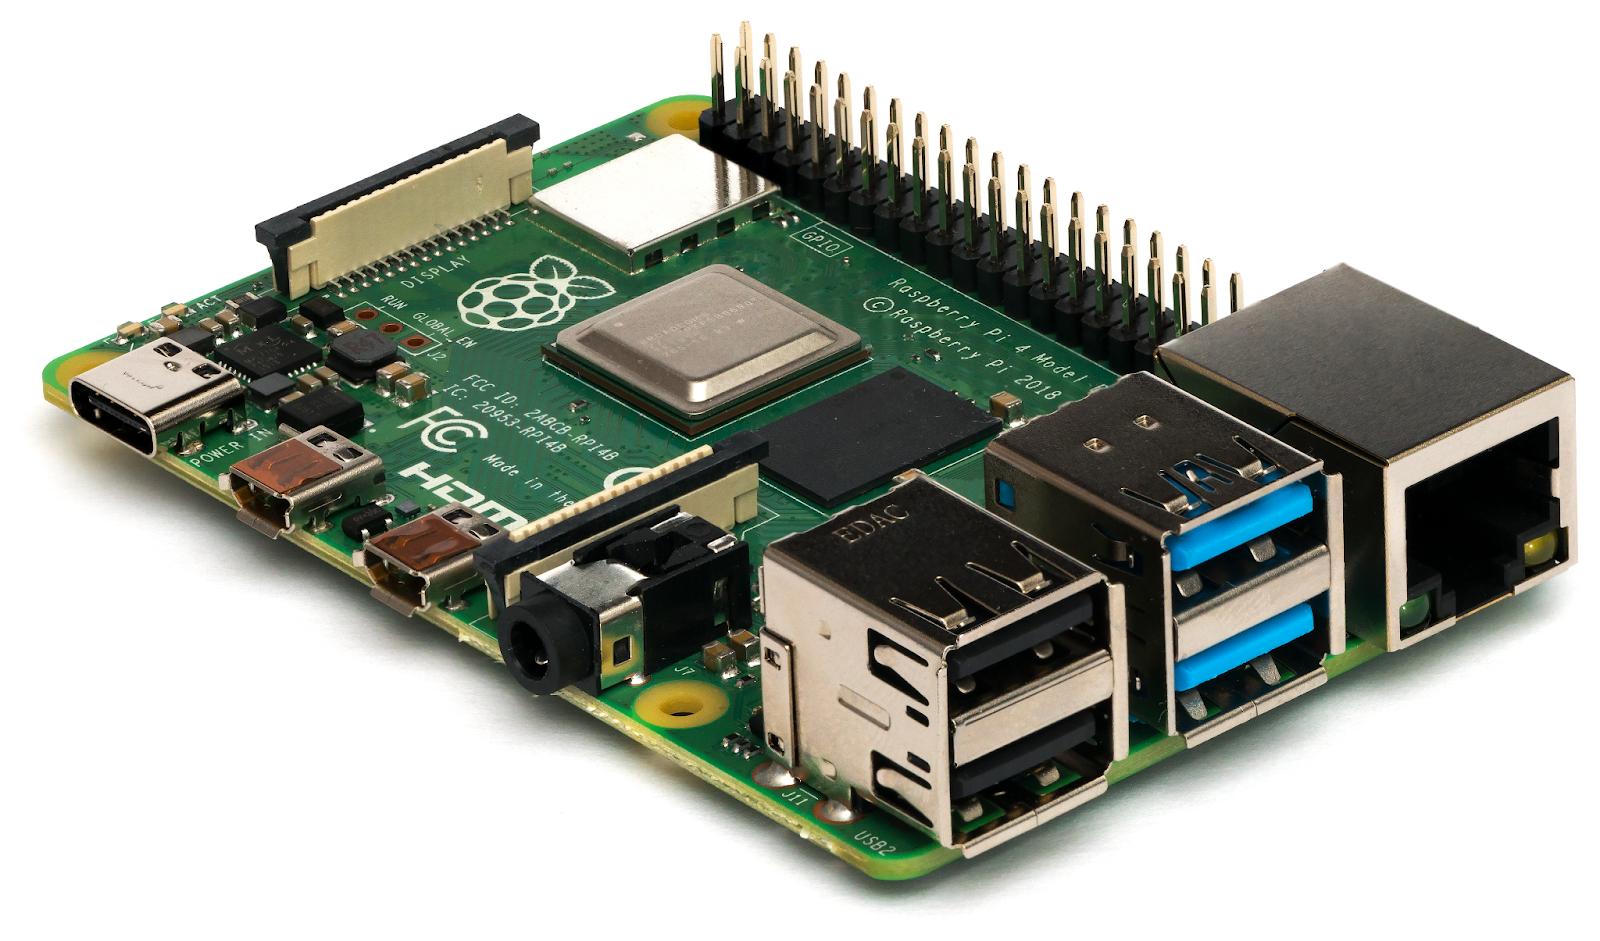
Raspberry Pi
GPS can be your go-to when you don’t have access to Wi-Fi or cellular connections. And if you use your Raspberry Pi outdoors frequently, you can access GPS without a phone or other expensive GPS receivers.
Before we get started, you’ll need a few components, including:
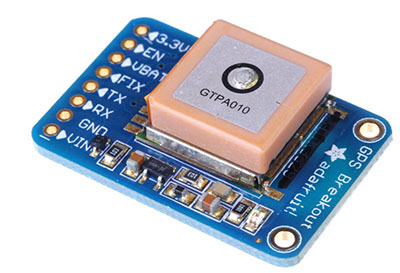
- GPS module
- Raspberry Pi
- Jumper wires
- Power bank (to make it mobile)
Here’s how to connect a GPS module to your Raspberry Pi.
Step 1: Connecting the GPS Module to Raspberry Pi
To connect a GPS module to a Rasberry Pi, you can use a simple serial connection, utilizing Raspberry Pi’s RX and TX pins.
Then, connect the module’s TX output to the Pi’s RX input and the RX input to the TX output. Afterward, merge the module’s VCC and GND pins to the Pi’s 3.3v (pin1) and Ground (pin 6).
Here’s the pinout diagram to make things easier:
Note: Ensure you only use the correct voltage for your device to prevent damage.
Step 2: Configuring Raspbian for GPS Communication
Once you’ve made your connections, it’s time to configure your Pi’s OS to enable GPS communication.
You might encounter some configuration issues with previously installed Raspbian OS. But, you can avoid these problems by using a clean installation of the operating system.
You can start your configuration by running the following command:

The screen below should pop up after the command:
Then navigate to “Interfacing Options” and select “P6 Serial”. Next, ensure you deactivate the serial login shell and keep the serial ports enabled when the prompt appears.
Back on the main menu of the configuration tool, select Finish, and restart your Raspberry Pi.
Step 3: Downloading the Necessary Software
One necessary software you’ll need for this project is “gpsd.” Interestingly, you can install gpsd with the following commands:

But what is gpsd? Simply put, it’s an interfacing daemon that works with serial GPS modules and allows various communication standards. You can use it to get test readings and verify if everything works properly.
After installing, check if your Pi is receiving GPS data from the module with the following command:

The above command outputs the data from the GPS module over the serial port. On your first test, your output should be similar to this:
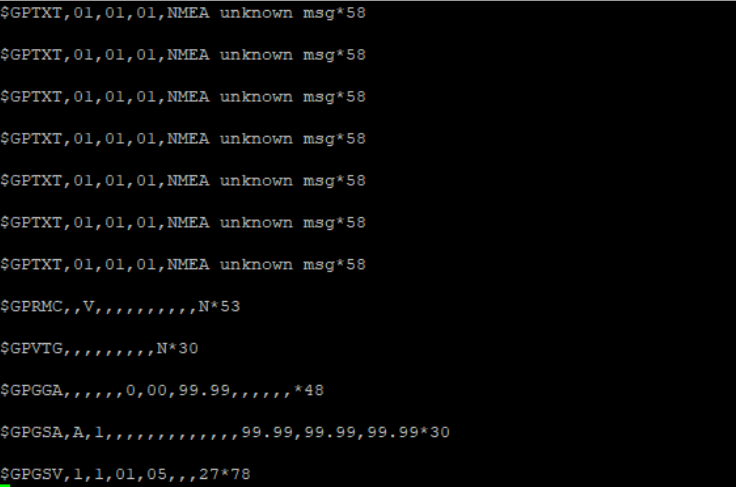
Don’t be concerned if the output looks like garbage. What’s important is that your Raspberry Pi can receive data. However, check your connections if you face problems like “no data received” or the “port closing instantly.”
Additionally, if you can’t run this command without superuser benefits, use the following command to include the pi-user in the dialout group:

Step 4: Getting Position Data
After all the testing and connections, you can now get the exact position of your Raspberry Pi. But first, you need to stop the gpsd service from running automatically in the background. Not because we don’t need it for this project but because of its incompatible default settings.
Run the following command to deactivate it:

While this command would stop the service, it won’t prevent it from starting when you boot your system. Hence, you can use the following control to disable it:

Afterward, create a new instance for your gpsd. The latest example would redirect the correct serial port data to a socket by using the following commands:

Next, you can display the GPS data with any of the following commands:

After running the bases, your first results should look incomplete. But don’t worry. It takes about 30 minutes to collect enough data to get your exact position.
However, it only happens on your first boot, especially when indoors. You can try to speed it up by directing it outdoors via your window.
Also, don’t panic if you get zero output when running caps or errors when running gpsmon. Instead, you can run this command to resolve the issue:

After running the command, you should have a smooth ride with both gpsmon and cups.
Interfacing With Python and C
Merging your GPS module to Python/C and Raspberry Pi is pretty feasible. Plus, you can use programming languages to get GPS data.
With Python, you can collect time, latitude, and longitude information from the NMEA GPGGA string you get from your GPS module. Indeed, you can also print them on a terminal and use the GPS information to get your exact position on Google Maps.
Here’s the Python program you need for this project.
Once you get your output information, you can get your location on Google Maps by calling the map’s URL link.
Then you can use this link: http://maps.google.com/?q=<latitude>,<longitude> to open the map with your location.
C(WiringPi)
We can extract and print the NMEA GPGGA string on an output window and read it with the WiringPi library written in C.
You can get the C program for this project here. The output for this program is different, and you can use it to get your location on Google maps.
If you’re interfacing with a Raspberry Pi three and above, you can use the UART serial port to connect the programs: /dev/ttyS0.
But, if you’re using Raspberry Pi 2 and below, we recommend using /dev/ttyAMA0 instead.
Raspberry Pi GPS Hat
A Pi GPS HAT allows you to add precise time and location to your Raspberry Pi. Some features of the GPS HAT include:
- It features an internal patch antenna that dishes out exceptional performance outdoors.
- It also features a +u.FL connector that allows the connection of external active antennas.
- A GPS HAT only uses a 20mA current draw.
- It features a built-in Real-Time Clock (RTC).
- It also has LEDs that blink when the GPS gets your exact location.

A GPS navigation robot is one of the many fun projects you can make with the Raspberry Pi GPS combo. The best part is that you can set GPS waypoints and control this robot with your mobile phone.
Interestingly, the robot would determine the best way to reach the desired location when setting waypoints. It can also alert you when it comes to its destination. And it’s all based on Raspberry Pi GPS.
In Closing
Connecting GPS to a Raspberry Pi opens up different project possibilities. For example, as we mentioned earlier, you can also build a navigation robot, weather station, drone tracker, or car tracking system.
GPS modules are also cheap and relatively easy to set up. No doubt, they may take a lot of time to extract enough data and can frustrate you with poor reception. But, they work exceptionally outdoors.
So, do you want to interface your GPS module with a Raspberry Pi? Do you have more questions to ask? Be sure to reach out to us.


