The PCB heatbed was developed by Josef Prusa. Thus, any other new design will always be based on this model.
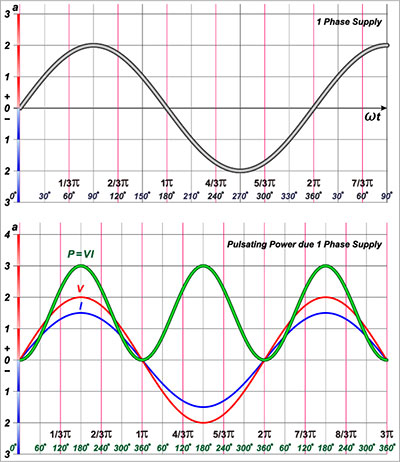
The heated works are based on the theory that when an electric current is passed through a conductor, it produces heat proportional to the number of amperes flowing through it.
Such as, a heated can be set to have as low as 120W of power or 200W depending on the needs at either 12 or 24V.
Notice that the resistance of the passionate determines the wattage that will be dissipated.
The higher the resistance, the less the current and the less the power.
However, care should be taken to control the present because it increases the chances of burning your track PCB if it exceeds certain limits.
Contents
1. How to Connect the Board
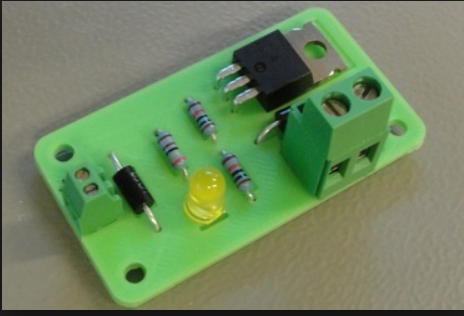
The PCB heated can be connected either way because it utilizes LED, which does not depend on polarity as long as suitable pads are used.
Using a dual power option is recommended if you want to get the desired results.
Also, ensure that the wires you use can handle the resultant current.

2. PCB Heatbed—Heating the Bed
If you are using your PCB heatbed, choosing the proper temperatures you will be comfortable with is recommended.
It would be best to experiment to determine what works for you with the varying filament transition temperature. Note that choosing the right temperature is also recommended.
Also, buying the right PCBs is critical because there are plenty of cheaper PCBs out there, but most are too thin or have irregular copper wire, making it difficult to heat the board.
A PCB insulated heatbed that can fit behind the water radiator may be a good option.

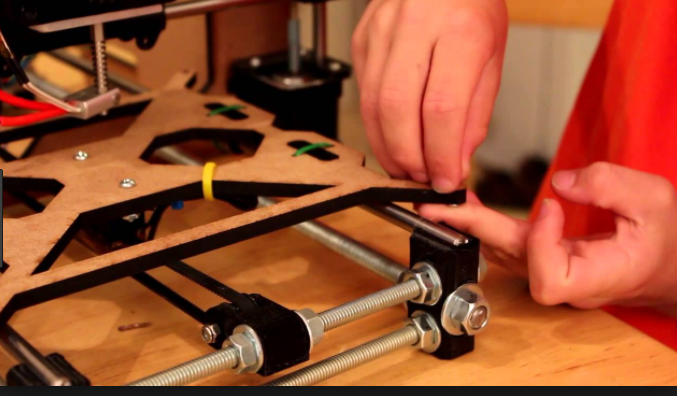
3. Mounting the PCB Heatbed
The PCB heatbed has two sides and two copper traces at the bottom and the top.
Also, modern PCB heat beds have silk on either side.
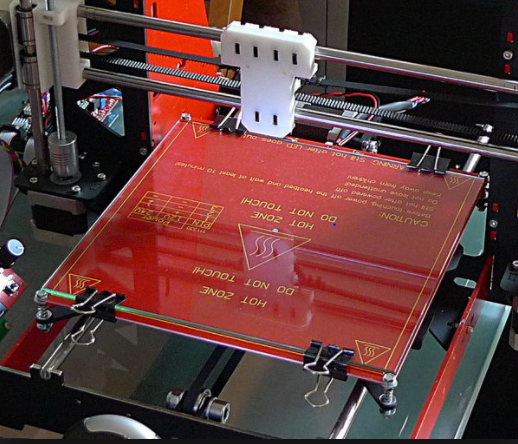
So, it is recommended that you print the surface using a piece of glass since it protects your copper traces.
However, it is essential to take some care so that the springs do not damage the glass when they collide.
Also, it is necessary to note that the collision of LED, wire connections, and resistors can lead to a crash. The current PCB heatbed has a glass that can mount the PCB heatbed.
It helps improve heat transfer to the glass, enabling the board to heat fast. Notice that using PCB with a lens helps to enhance heat transfer, allowing the PCB to warm even more quickly.

To connect the PCB, you may use LEDs only after installing the resistor. Typically, the LED is mounted in different directions to light up any LEDs, even when the polarity changes.
Heatsinks on the heated bed are recommended, especially when it gets too hot.
4. PCB Heatbed—Troubleshooting the Heatbed
Typically, the heatbed will become a source of problems, so you may need to troubleshoot it to diagnose the nature of the problem.
The power supply may be faulty if it does not turn on when powered.
Similarly, if you realize it does not attain the required temperature or takes too long to accomplish the desired temperature, you may need to call a technician to examine it.