PlatformIO dashboard
Image source: PlatformIO
Have you been doing a lot of development in Arduino and Arduino IDE? But you’re getting a bit frustrated with the limitations of Arduino when you need to do a rapid professional development? Indeed, Arduino has a simple interface that most software developers or systems engineers love. But PlatformIO shines as a highly professional tool.
Do you want to know more about this free open-source? Not to worry, this article will explain the intricacies of Platform IO. So, you’ll see what it is, the features, how to use it with Arduino programming, and more.
Let’s begin!
Contents
What is Platform.io?
Platform.io is an open-source ecosystem that uses Python programming language. As a result, Platform.io is ideal for IoT development. And it’s a cross-platform IDE with integrated debuggers that run on Linux, Windows, and Mac. Also, it features a library manager that supports MBED or Arduino with firmware updates and unit testing.
Additionally, Platform.io supports different Frameworks, Boards like EP8266, Arduino, ESP32, and platforms. Also, it features library dependencies, making Platform.io an independent entity. As a result, you can run it by simply installing Python on your computer.
Features of the Platform IO
- It has unit testing
- Built-in Terminal with PlatformIO tools like Platformio and Pio unit
- It can debug
- The platform has Remote Development
- The cross-platform code builder lacks external dependencies to a system software with:
- Over 20 frameworks
- Over 1000 embedded boards
- Above 40 development platforms
- It has numerous panes with Multi-Projects Workflow
- The themes support dark and light colors
- C/C++ intelligent code completion
- Serial port monitor
- It comes with a library manager for thousands of popular library source
- Static Code Analysis
- C/C++ Smart Code Linter for rapid professional development
How Do You Use PlatformIO IDE For Arduino Programming?
Since the PlatformIO core is in Python 2.7, install this version. Then, proceed to set up the PlatformIO IDE. The Platform IDE offers official packages (extensions, plugins) for popular text editors and IDEs.
Steps
- When you open the PlatformIO, go to the quick access on the right and click “New Project.” Second, name the project. Then, since you’re working with the Arduino framework, search and select Arduino UNO.
Arduino Uno
- Afterward, fill in the necessary details and click Finish. Consequently, your project will start collecting dependencies and other resources. You’ll get a prompt message when your project creates with the details you filled in.
- You can open your project and scroll to the PlatformIO’s home menu. There, you’ll see a list of projects. Then, you can click on “Open” on the right side of your created project to start editing.
- At first, when you open the project, it will look blank. Interestingly, you can find your current project thanks to the file explorer feature on PlatformIO. Then, click on “Open” at the top left corner.
- As a result, all the files will show as a dropdown menu. Further, select “src” and open “main. CPP” to edit the code. Afterward, your home screen will open a new tab in text editor mode where you can write the codes for your recent project.
- Additionally, you have to write a blink code for the Arduino. While you’re at it, ensure that you always add “<Arduino.h>” when writing the code. And it’s because PlatformIO can’t access Arduino libraries by default.
- Next, compile and upload the code. Then, build the sketch. Furthermore, press “Build” to upload the sketch using the “Upload” icon. So, if there are no coding errors, you’ll see a message that reads “Success.”
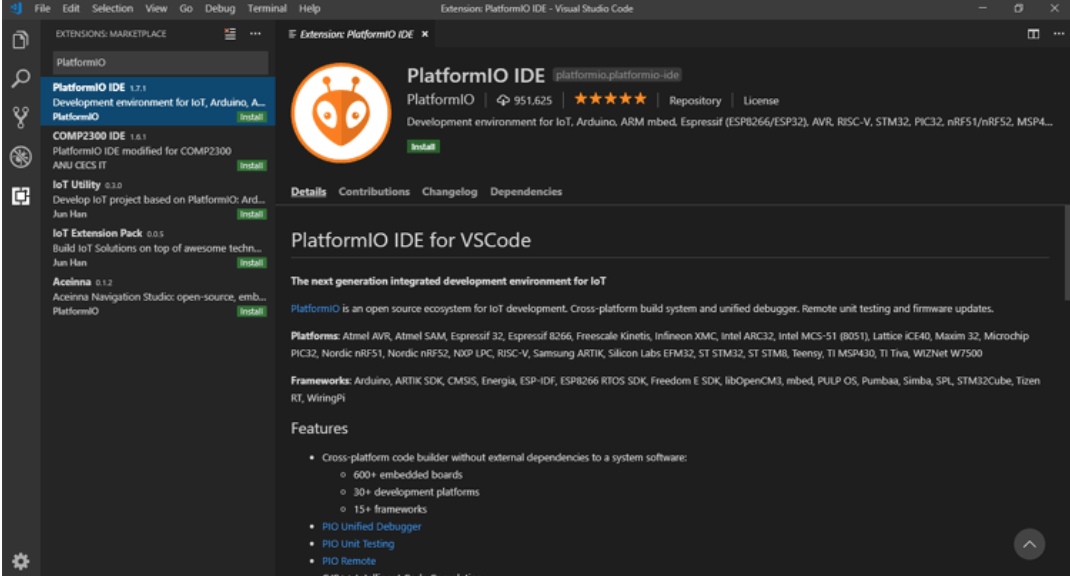
PlatformIO for VSCode
VS Code is a popular text editor that features numerous extensions. Hence, you can use it to develop various programming languages. Also, users find this text editor easy to use. Plus, it provides a better system performance with PlatformIO.
So, you can use the VS code to set up the PlatformIO to develop codes in Arduino UNO.
Steps
Step 1 – Install the VS code
Go to the official website and install Visual Studio Code. Interestingly, you’ll find easy-to-understand installation steps to follow on the website. The steps are simple as installing software on Windows OS. After finishing the installation process, you should see a welcome page with different options if the installation process was successful.
Step 2 – Install the PlatformIO with VS code Extensions
In this step, you need the VS code extensions to install PlatformIO. So, you can do this by going to the top left corner of the VS code to click on the Extensions Box Icon. Further, this icon is the fifth one in the top left corner.
So, when you click the icon, a search box will show. The search box usually appears beside where you can get extensions for programming languages like Go, JavaScript, PHP, TypeScript & Node.js, C#, etc.
Step 3 – Search for PlatformIO
Click on the extension search box and look for PlatformIO. Consequently, you’ll see the PlatformIO Icon in the search results with the name and description. Then, you can install it by clicking the icon. It’s vital to note that it may take a wains. C/C++ is an example of dependencies that Arduino development uses.
When the installation finishes, you’ll see a new interface. The interface has different navigations to help you perform tasks like importing Arduino projects, creating a new project, etc. With this, restart your VS code Editor when you install the PlatformIO. Afterward, your PlatformIO will be ready for use. Then, you can upload the Blink Program in the Arduino UNO.

Platform io Download
Here are the things you need before downloading Platform io:
- Operating system
- Linux ARMv6+
- Windows
- Mac
- FreeBSD
- Linux
- Access to Serial Ports (USB/UART)
- Linux users can install this. For Raspberry Pi users, use this.
- Windows users can confirm that the board manufacturer has the right USB driver.
- Python Interpreter: Python 3.6+ or more
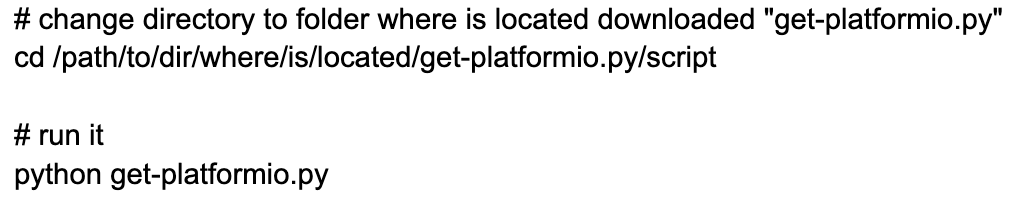
That said, install the PlatformIO with the code below for Mac and Linux OS:
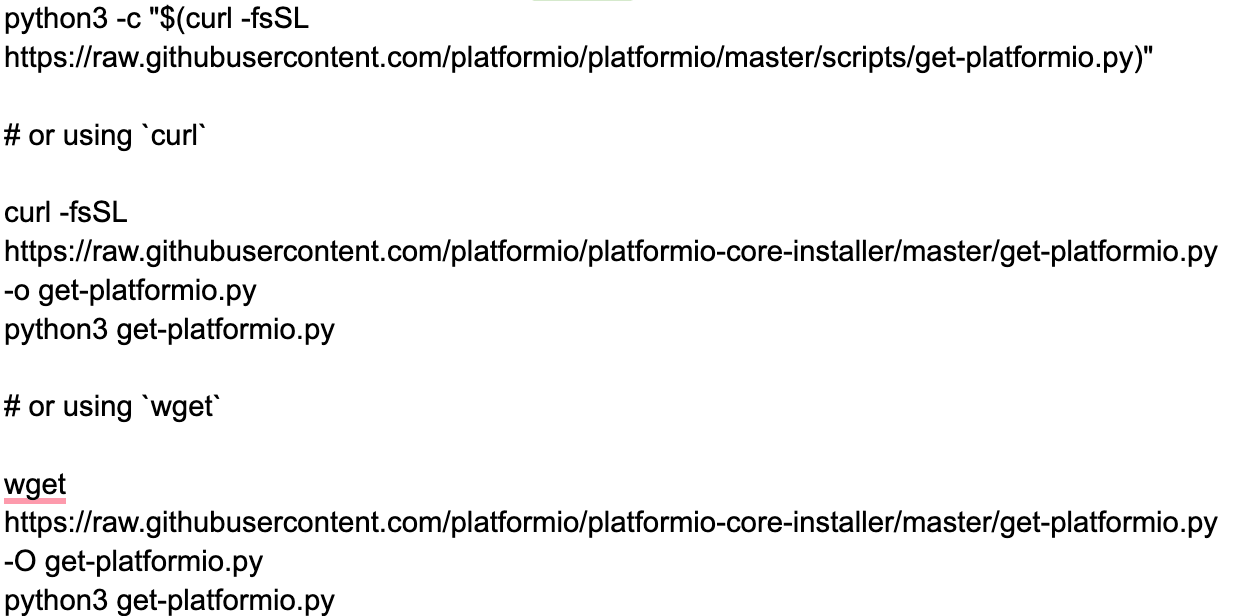
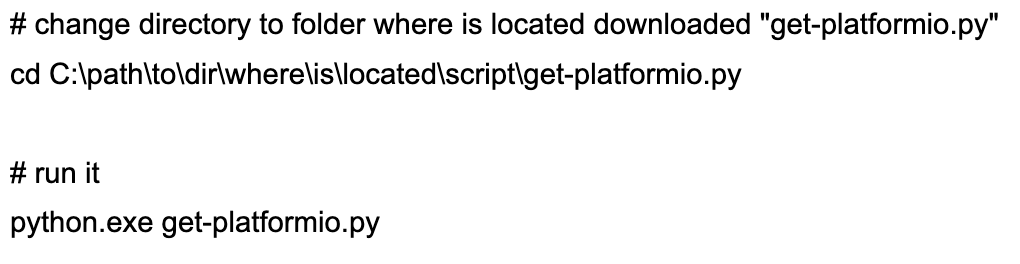
Use the code below for local download on Windows, Mac, and Linux:
On Windows OS, the code will appear like this:
Platform.io Projects
Lamp with IR remote, Atom Lite and Neopixel
Materials Needed
- Seed studio grove with universal pin connector (1)
- Soldering iron (1)

Soldering Iron
- PlatformIO IDE with VS studio
- M5Stack grove cable (1)
- RGB LED strip (1)
- IR remote control (1)
- M5Stack mini infrared emitter and receiver unit (1)
- M5Stack ATOM Lite ESP32 Development Kit (1)
Project
Get your RGB LED strip and assemble it on an Atom Lite ESP32. Using this developmental kit means the lamp has a built-in button that allows you to do two things. First, you can turn the LED strip off or on to adjust the brightness levels.

LED light strip
Connect the IR unit to the Atom Lite’s grove port. As a result, the setup will extend to the IR remote control. Further, your power supply should have an overall maximum power consumption of about 250mA. In addition, if you have over 20 LEDs on your strip, you can limit the brightness with your software.
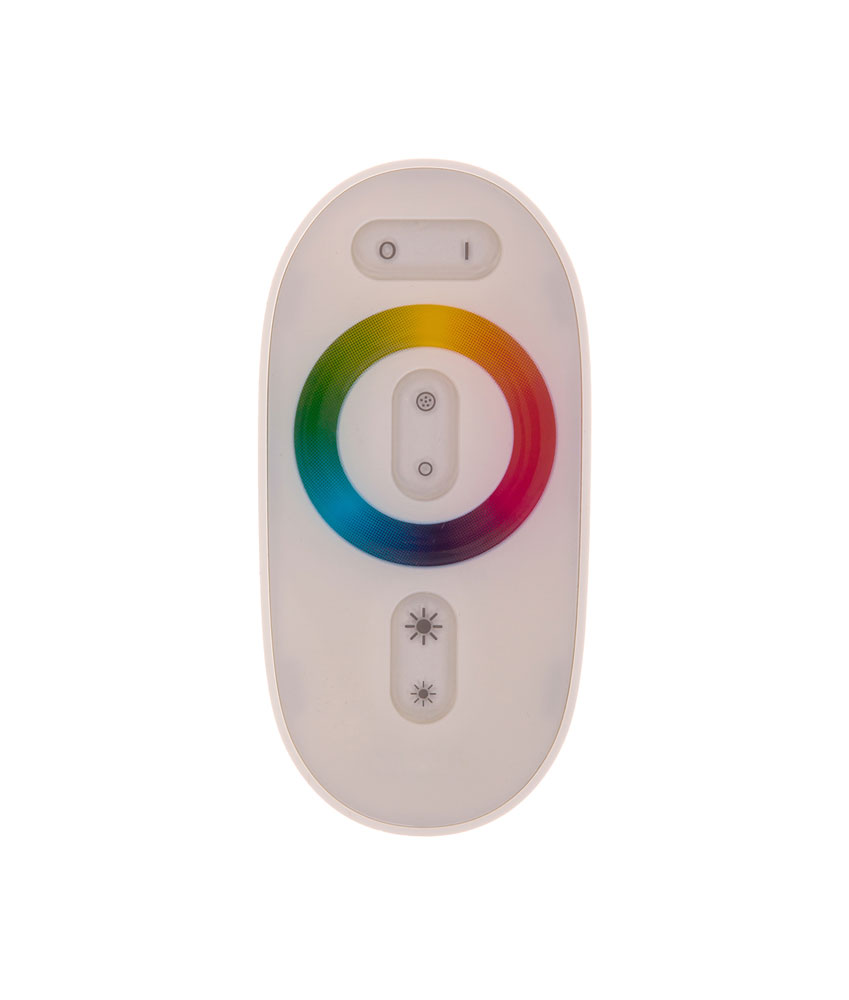
IR remote control
Then, power the LED strip through the grove port’s 5V pin. After all, the Atom lite gets power from a USB-C cable and standard 5V adapter. But you can avoid using the Atom lite as the power source of the LED strip if you plan to use more LEDs and achieve maximum brightness levels.

USB Type-C connector
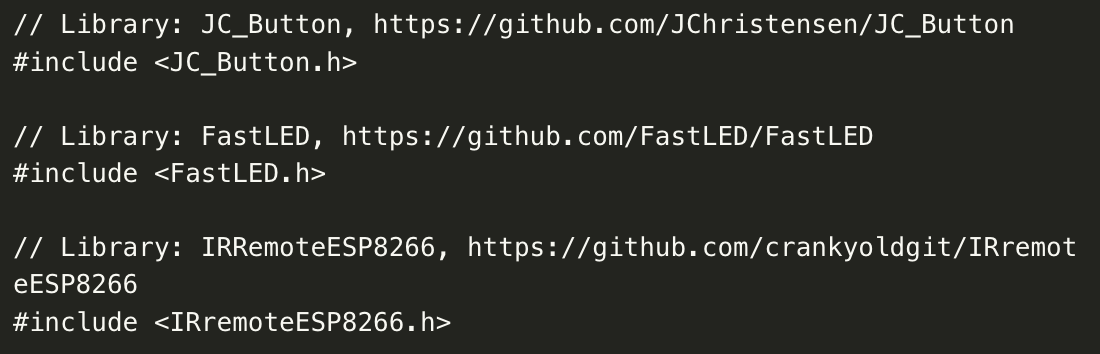
Afterward, you can set up your programming for the project in Arduino IDE. Then, you need to install the ESP32 package on the board manager. While at it, choose ESP3 Pico Kit as your target board. Also, use the Arduino IDE library manager to install these libraries: IRRemoteESP8266, JC_Button, and FastLED with the source code below.
Arduino IDE library code
Image source: Github
Also, you can use the PlatformIO library branch with the PlatformIO IDE extension for Visual Studio Code on GitHub.
Platform IO: Supported Boards
Here are a few boards supported by PlatformIO:
ASR Microelectronics ASR650x
- Heltec CubeCell-Board (HTCC-AB01)
- Module Plus (HTCC-AM02) (Heltec CubeCell-Board)
- 1/2AA Node (HTCC-AB02A) (Heltec CubeCell-Board)
- Capsule (HTCC-AC01) (Heltec CubeCell-Board)
- Board PRO (HTCC-AB03) (Heltec CubeCell-Board)
Atmel SAM
- Adafruit feather M0
- Gemma M0 (Adafruit)
- PyGamer Advance M4 (Adafruit)
- Trinket M0 (Adafruit)
- Metro M4 (Adafruit)
Freescale Kinetis
- Freescale Kinetis FRDM-KW24D512
- FRDM-KL25Z
- Freescale Kinetis FRDM-KL05Z
- SEGGER IP Switch Board
- Ethernet IoT Starter Kit
- Freescale Kinetis FRDM-K22F
Atmel AVR
- Adafruit Flora
- Adafruit Trinket 5V/16MHz
- ATmega88PB
- Alorium Sno
- Adafruit Circuit Playground Classic
FAQs
How do I open the Platform IO?
- Download your VS code, and your PlatformIO IDE will build on the terminal
- Go to the VS code Package Manager and search for the PlatformIO extension
- Install your cross-platform IDE
Is Platform IO a C++?
PlatformIO is a static code analyzer that features C/C++ as intelligent code completion and Smart Code Linter for swift, professional development.
Is PlatformIO free?
Yes. It’s free for commercial and personal use. But if you need additional support features from the PlatformIO team, you’ll pay.
Wrapping Up
Platform IO is a python based cross-platform IDE that works with the VS code to provide fast, professional development for advanced software engineers who need more advanced features than the Arduino IDE offers.
So, have you used this Development tool before? Or do you have questions on this topic? Please feel free to reach us.