Contents
What is a Remote Control Circuit?

Remote control car circuit board
A remote control circuit is a device that you can operate with a remote control from a distance. It’s wireless primarily but, in some cases, wired. You can find remote control circuits in DVD players, cable TVs, television sets, and even toys.

Car Key remote control circuit
So, when your device comes with a remote control circuit, it means you’ll have a stress-free operation. But there’s a catch. You can only operate short circuits, without errors, from short distances. You can undoubtedly control some high-grade equipment like drones from afar—but most home appliances only work when you’re within its range.
Initially, the previous generation’s remote-control circuits, like those found in early televisions, had ultrasonic tones. However, you can control more recent remote control circuits with digitally-coded pulses of infrared radiation from infrared remote controls.
With infrared technology, you can control the power, speed, and many other circuit functions. Furthermore, you can find remote controls tailored for a specific circuit or universal remotes that work for almost any remote control circuit.
How Does a Remote Control Car Work?
It’s fun to play around with a remote control car. But there’s more to it than just moving the toy around. So, here’s the magic behind how it works. Most of these devices use radio signals to function correctly. Hence, the transmitter sends these radio signals to a receiver in the car’s remote control circuit.

Man checking the function of radio signals of remote control
Once the circuit receives the transmission, it decodes and translates it into the desired action or movement. However, that’s what happens at the surface level. So, here’s what goes on inside the RC car.
First, the transmitter sends a signal to the receiver of the RC car using a specific frequency with a controller. This signal then uses the car’s battery power and includes controls like reverse, forward, right, and left.
Secondly, when you touch the controls, it causes the electrical contacts to connect and transmit a specific number of pulses. The number of electrical pulses depends on the specified actions.
Thirdly, when the car receives the pulses, it automatically knows what part to move. However, for this to happen, it needs a decent remote control circuit board and a motor. Plus, the receiver is always waiting for a signal from the transmitter. As a result, it instantly follows any of your commands.
Building a Remote Control Car
Before you build your remote car, let’s look at the essential components you need and how each one works.
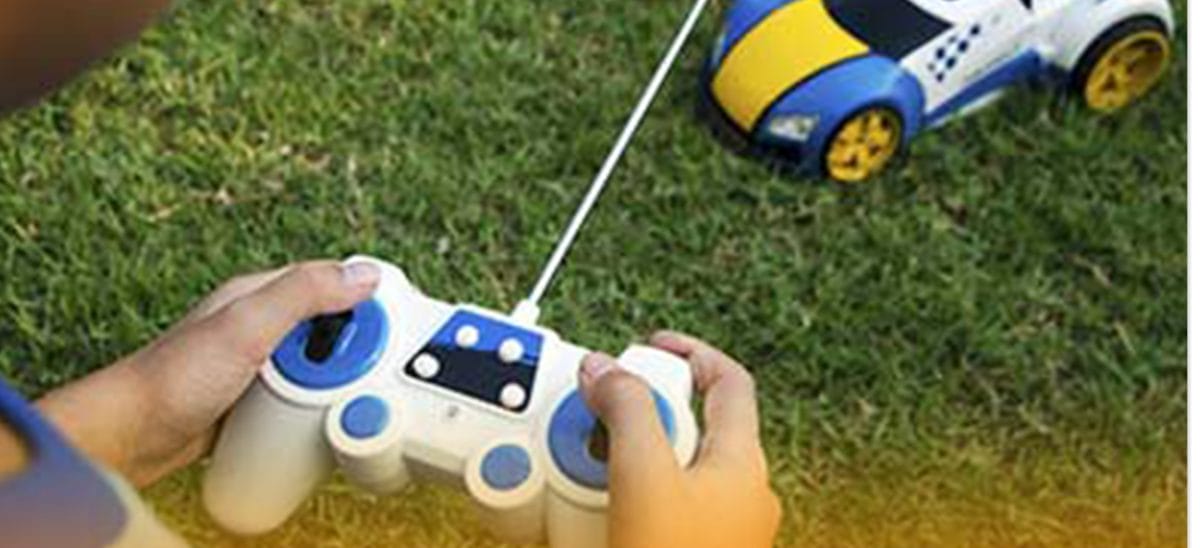
Transmitter

Man holding remote control car with a transmitter
The transmitter is like the brain of the remote control car. It’s the hand-held controller you use to send radio signals, depending on the button you press to the receiver of your RC car. Also, it’s pretty similar to regular TV remotes.
Receiver

Receiver and Transmitter on circuit board
You need a receiver to catch the signals sent from the transmitter – otherwise, the signals coming in are useless. Receivers intercept the radio signal and decode it into mechanical action. So, receivers are like antennas.
Motor

Electric motor
All the signals sent and received would be irrelevant if there’s nothing to make your RC car move. Luckily, this is where the motor comes in.
The motor is the component behind all the movements of the RC vehicle. Also, you can install multiple motors depending on your preference. If you decide to use more than one motor, set one to move the front wheels to the right or left.
While the second motor can move the rear wheels forward or backward, also, you can also find some older models that use four smaller motors to control one wheel each.
Power Source

RC car with batteries
Like regular cars need fuel for power, RC cars also need a power source to operate. A good number of available RC vehicles use batteries to provide the necessary power for electric motors, receivers, and other electrical components to work. Some RC vehicles use nitro engines that allow you to use fuel instead of batteries.
Circuit Board

Circuit board for RC car
The remote control circuit board is the heart of the RC car. It handles the translations of different signals and electrical charges between the different parts of the RC car.
Servo

Servo motor circuit on RC car
Indeed, the servo is crucial to the design of your RC car. This component helps to convert the electricity from your power source to movement. In addition, it usually operates the steering system of the remote control car. Plus, it’s a great way to move your RC car in the direction you want.
Speed Controller

DC motor speed controller
As the name implies, the component keeps the speed and RPM of the RC vehicle in check. Battery-powered RC cars use an electric speed controller (ESC), while RC cars with nitro engines use throttle servos.
Required Components
Here are the components and tools you need for building your remote control car:
- Voltage Regulator (1)
- Printed Circuit Board (2)
- 1N4001 Diode (1)
- Heat Sink (1)
- HT12E Encoder (1)
- HT12D Decoder (1)
- RF Link Transmitter 434MHz (1)
- RF Link Receiver 434MHz (1)
- 1/4W 1K Resistor (1)
- 1/4W 3.3K Resistor (1)
- L293D Half-Bridge Driver (1)
- Electrolytic Cap 16V 100uF (2)
- 5mm Green LED (2)
- 1/4W 47K Resistor (1)
- 1/4W 1 MEG Resistor (1)
- DPDT Rocker switch (2)
- 9V Battery Clip (1)
- Plastic Enclosure (1)
- Robot 3-wheel Chassis kit (1)
- SPST Rocker Switch (1)
- Solder (1)
- 9V Battery (1)
- Insulated Quick Connector Red Female (4)
- Quick Connector Red Male (4)
- Wire Stripper (1)
- Nose Plier (1)
- Diagonal Cutter (1)
- Soldering Station (1)
- Desoldering Pump (1)
- Box Cutter or Utility Knife (1)
- Lighter (1)
- Hook-Up Wires AWG22 Solid (1)
Steps
Here are the steps to create an easy DIY remote control car:
Step 1: Make Your Chassis
First, you need to build the base of your RC car, which is the chassis. You can use a chassis kit to do this.
Once your set is ready, start by tearing off the protective wrap of the fasteners and chassis. Next, put the fasteners into the four slots on the chassis as well as the rocker switch. After that, ensure to attach the wheel encoder to the motor’s side. While you’re at it, it’s crucial to confirm that the wheel encoder faces inwards (inside the RC car).
Use the screws and nuts included in the chassis kit to mount your motors to the fastener. Also, ensure the yellow part of your motor faces the front. Using the screws and nuts, attach the battery holder to the top side of the car and the caster wheel to the bottom side of the chassis.
Step 2: Build Your Receiver Circuit
Now, insert and solder all the parts of your PCB as listed below:
- Connect the HT12D to U1
- L293D to U2
- RF link receiver to U3
- 1N4001 to D1
- 50k resistor to R1
- 1k resistor to R2
- 5mm green LED to LED1
- SPST rocker switch to S1
Make sure all parts are correctly placed, and remove the excess leads of the components.
Step 3: Build a Case for Your Transmitter
Get some plastic and cut out two DPDT rocker switches with a 1 to 1 ratio. While you’re at it, use a heated utility knife to handle the task. Next, insert the switches into the enclosure and use a 5mm drill bit to make holes for your LED. Also, use a 2mm drill bit to make a hole for your antenna.
Step 4: Make Your Transmitter Circuit
Insert and solder all parts of your PCB as listed below:
- Connect: 7805 voltage regulators to U1
- HT12E encoder to U2
- RF link transmitter to U3
- 1M resistor to R1
- 1K resistor to R2
- 16V 100uF electrolytic capacitor to C1 & C2
- 5mm green LED to LED1
- SPST rocker switch to S1
- Left DPDT rocker switch to S2
- Right DPDT rocker switch to S3
Ensure that you place all parts correctly and remove all excess lead from the components.
Step 5: Final Check
Ensure that you connect the red side of your battery holder to the positive side of the PCB. Also, you should connect the black side to the negative side. Plus, it’s vital to ensure that you wire everything correctly and use a multimeter to measure your voltage pins.
Bottom Line
In summary, remote control cars are probably the most fun products to grace the market. However, there are differences in the designs of most RC cars. Nevertheless, you can control all the parts of some RC cars while limited to controlling a few parts with others.
Overall, the range is the most important thing to consider when building or buying an RC vehicle. So, a car with a wide range would make a better choice. On that note, we hope we help you get the push you need to start your projects. Please feel free to contact us if you need more information about the remote-controlled car.