
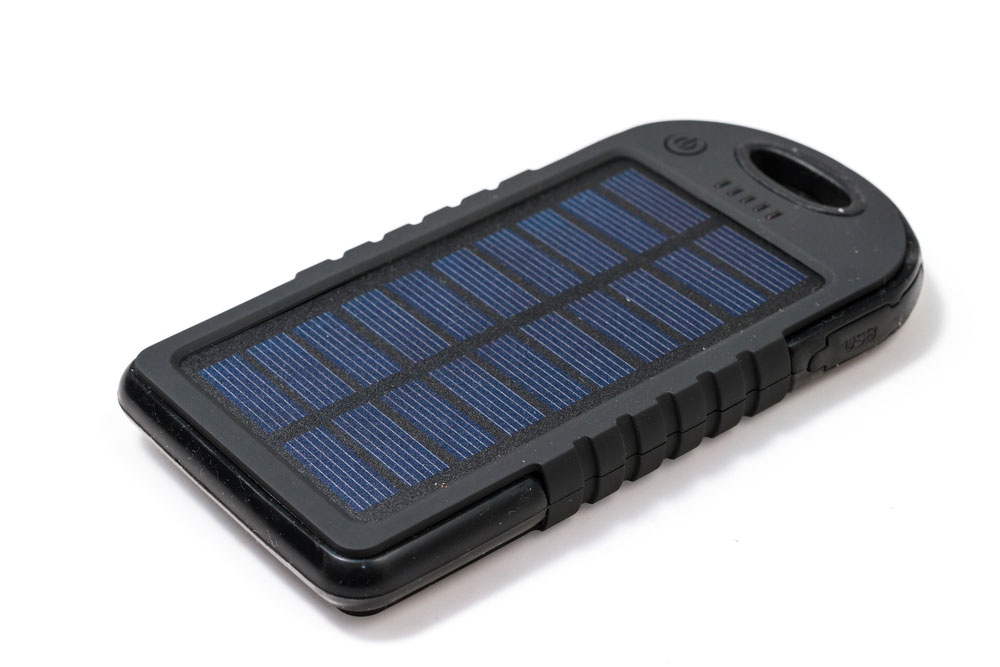
Solar panels are currently one of the most sought-after green energy since it’s powerful. Furthermore, because the panels derive energy from sunlight, the solar light is technically free. Depending on the size, its applications can vary from charging gadgets like laptops and mobile phones to science fair projects.
In today’s blog, we will be learning about the types of DIY solar projects you can achieve. Besides being cheap, they can serve you on a long-term basis.
Let’s get to it!
How do Solar Panels Work?
The two steps below give a brief description of how small solar panels work.

(mini solar panel)
- First, solar panels absorb sunlight via their photovoltaic cells. The sunlight acts as the energy source.
- Then, the absorbed energy passes on to a semiconductors device that produces an electric field turning energy into electricity. Next, the device delivers current and voltage measured and recorded in W (Watts).
Often, the solar panels might use one of the components here to get solar energy from sunlight;
- Thin-film solar panels,
- Polycrystalline silicon solar panel, or
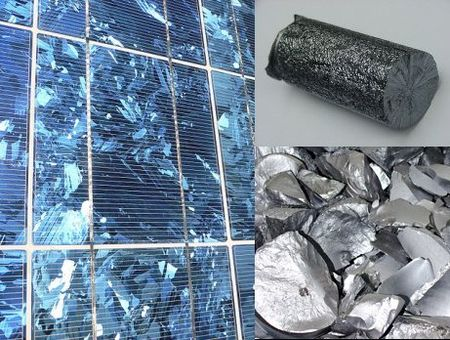
Polycrystalline silicon
Source; Wikipedia
- Monocrystalline silicon solar panel.
Polycrystalline panels have a composition of many silicon fragments that form the panel’s wafers.
Monocrystalline panels have a single continuous crystal structure. And compared to polycrystalline panels, monocrystalline panels are costly but efficient.
Thin-film panels have solar cells with light-absorbing layers. Also, they’re relatively small and light compared to any standard silicon panel.
(thin-film solar panels)

Solar Panels for Hobby Projects
If you have a small solar panel but aren’t sure what to do with it, then you are in luck. We’re going to give you DIY solar panel project ideas that you can achieve in the comfort of your home.
Powering an Arduino with a mini solar panel
Components needed
- A Li-Pol battery
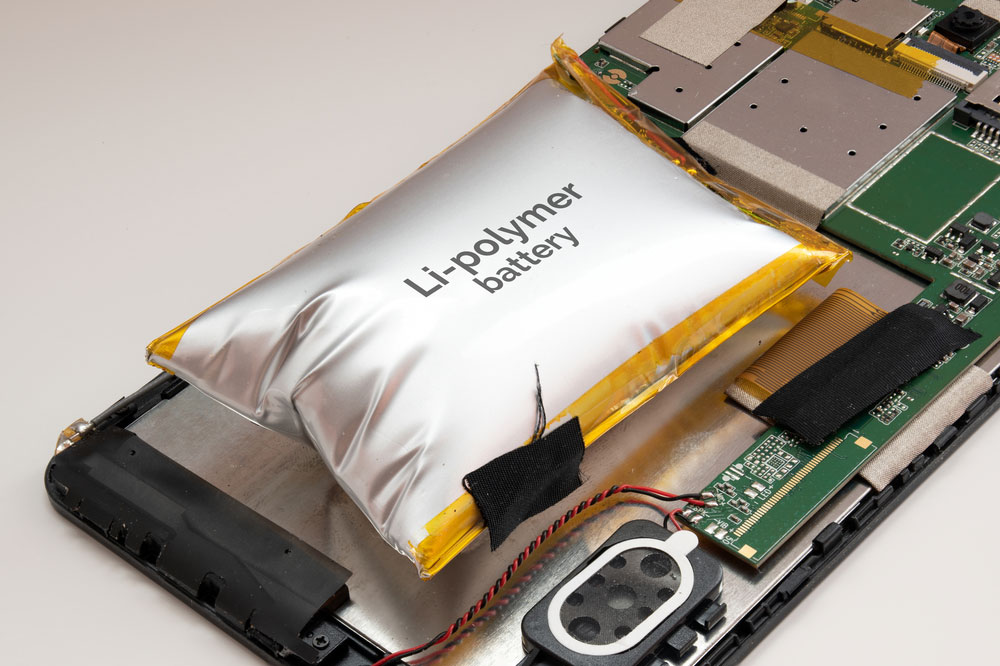
(Li-polymer battery)
- Arduino V4.2
- Solar charger shield V2.2
(solar charger)
- A solar panel could be a solar cloth or thin-film flexible solar panels
DIY instructions
- Begin with the Li-Pol battery and solar panel in their stipulated place in your solar charger shield.
- Secondly, position your tiny solar panel under filament bulbs or sunlight. Then, check if the charging light is glowing (red color).
- The battery should turn green if the battery has a full charge.
- Lastly, mount the shield on an Arduino. Powering up the solar charger shield will automatically power up the Arduino.
Solar Panels for Hobby Projects: DIY project #2
The second solar power project is a guide on effectively using a solar panel.
Solar cell and frame size
A solar cell, like a battery, has both negative and positive ends. The positive end is on the back surface, while the negative end is at the front.
(solar cell set)
You can have the solar cells in series or a parallel connection. The difference is that parallel wiring maintains the voltage but adds the current. Contrarily, a series wiring keeps the current constant while adding the voltage.
The solar cell also determines the frame size. For instance, you can 6-by-6 inch or 3-by-6-inch solar cells.
In the end, the frame size amounts to the following layout;
- 108 solar cells that generate 194 Watts,
- A voltage operation of 18V surpasses the 12V that charges 12-volt batteries. As such, a controller will set the required voltage.
- Constructing thirty panels that generate 6KW will require 3000 solar cells having a half-mile of tabbing wire.
What do you need?
- Solar glass (efficient for light transmission),
- Building tools like screwdrivers, saw, etc.,
- Solar cells (can be worth 6Kw),
- Soldering iron,
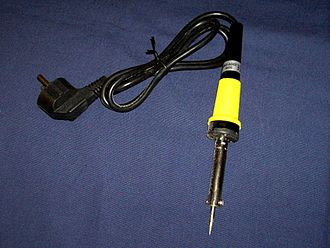
An electric soldering iron
Source; Wikipedia
- Solar panels,
- Tabbing wires,
- Aluminum frame, and
- An encapsulant.
Solar Panels for Hobby Projects: Building a framework
- First of all, avoid wooden frames and instead use long-lasting materials like aluminum frames. You can always find the aluminum material in local metal suppliers, provided it suits your DIY need and is inexpensive.
- Then, use a band saw to cut the frame into a sizeable structure. In addition, construct a jig for cutting the angles.
Note; Keep in mind the solar cells might expand. Therefore, you can have a 3/16 clearance of the glass to your frame and 1/8 in’ clearance around your cells.
- Thirdly, use scrap aluminum angle to make corner brackets. Also, drill holes and tap in 8-32 stainless steel screws.
- Next, run a silicone caulk bead on the inside edge of the assembled aluminum frame. Don’t use sulfur caulk because it might disrupt encapsulation.
- Afterward, place the solar glass in the inside caulk frame. Subsequently, add a bead of silicone caulk on the frame and glass top edges.
- Use aluminum L materials as your cross braces for additional rigidity. You can remove it after the silicone is ready to enable you to wire in your cells.
Solar Panels for Hobby Projects: Welding and connection
- A soldering iron that can withstand extreme temperatures of approximately 400°C is recommendable for heating using a chisel tip. In that way, the pre-soldered ribbon wire will efficiently stick to the solar cells.
- Slowly swipe down the ribbon wire to melt the solder for solid contact.
- Proceed by adding the tabbing wire to the fronts and applying flux to the tabbing wire and cells.
- The 1/8 inch spacing we initially talked about helps in soldering the cells together with a string. After the string winds around enough cells, place the cells in a jig and wire them from front to back.
- Finally, test the strings with a voltmeter.
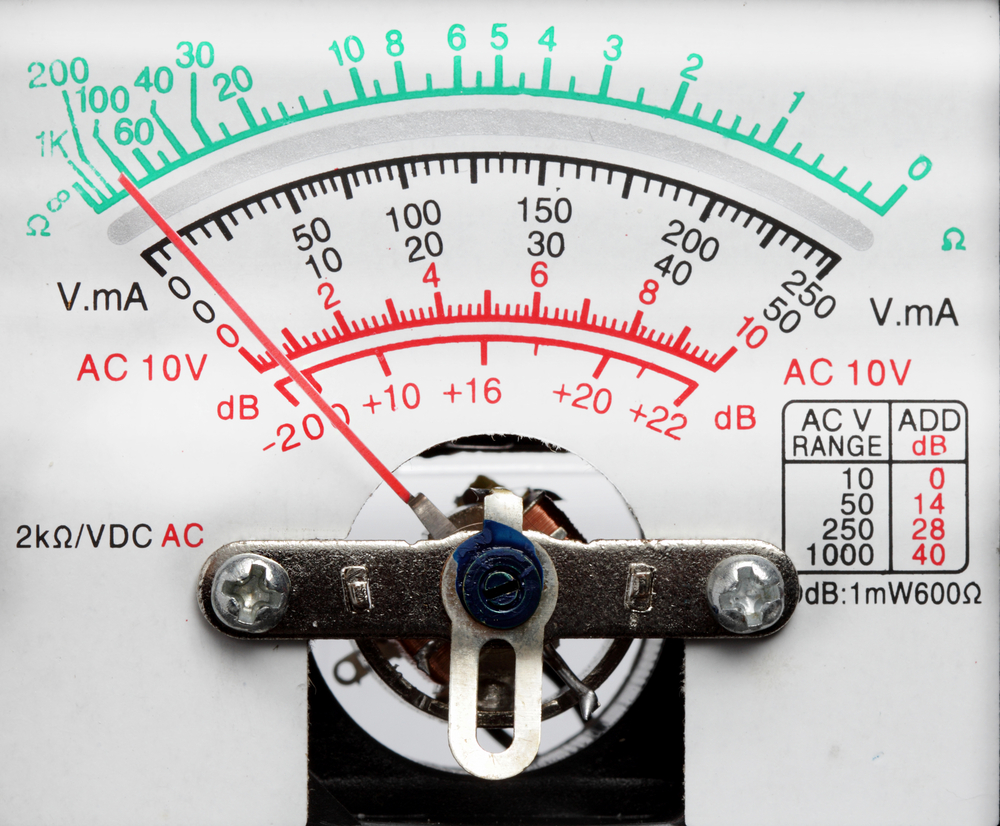
(voltmeter)
You can use an EVA film to encapsulate the solar cells.
Caution
Use these tips and tricks to make the most use of your mini solar panels.
- If there’s a transparent plastic film on your solar panel, remove it.
- Ensure the solar panel is out of reach of any water sources because water vapor forms a cloudy solar panel.
- Regularly clean the surface of the panel to remove dust or residues.
- Lastly, don’t scratch your panel.
Conclusion
Generally, solar panels contribute to a better energy source for the environment. You can use them for educational applications, e.g., science projects, camping applications, night lights, and other DIY solar projects.
If you need any clarifications on solar panels and related technology, don’t hesitate to contact us.


