Contents
Understanding Desoldering and Solder Removal

What is Desoldering?
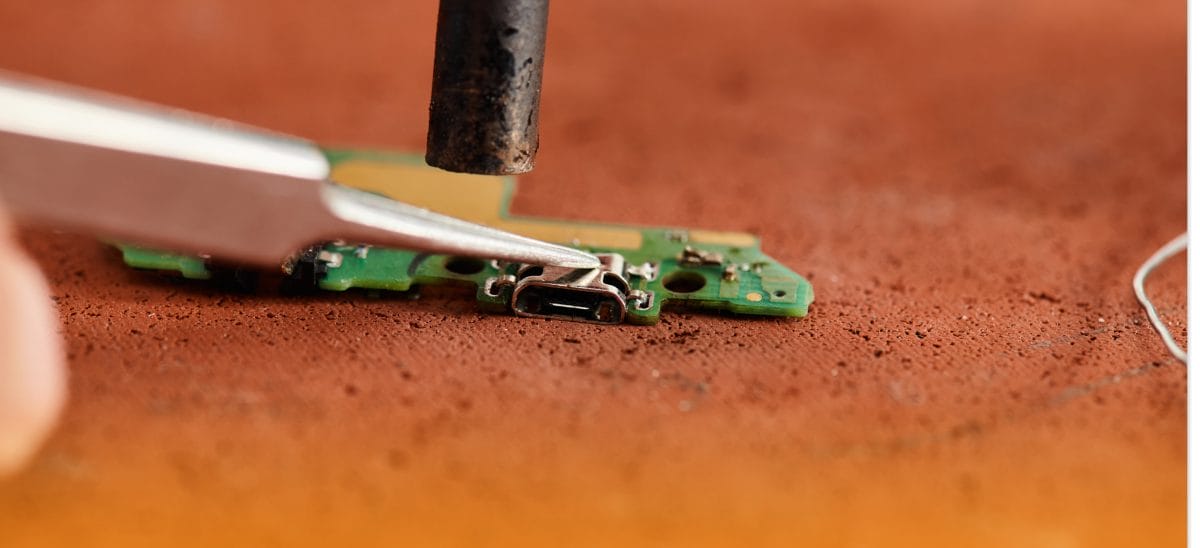
Desoldering involves removing bad, inefficient, or unwanted solder from a PCB, using special tools to melt the solder on component leads or pads. This allows technicians to repair issues—such as solder bridges or poor connections—and to remove or replace failed components while keeping the PCB intact.
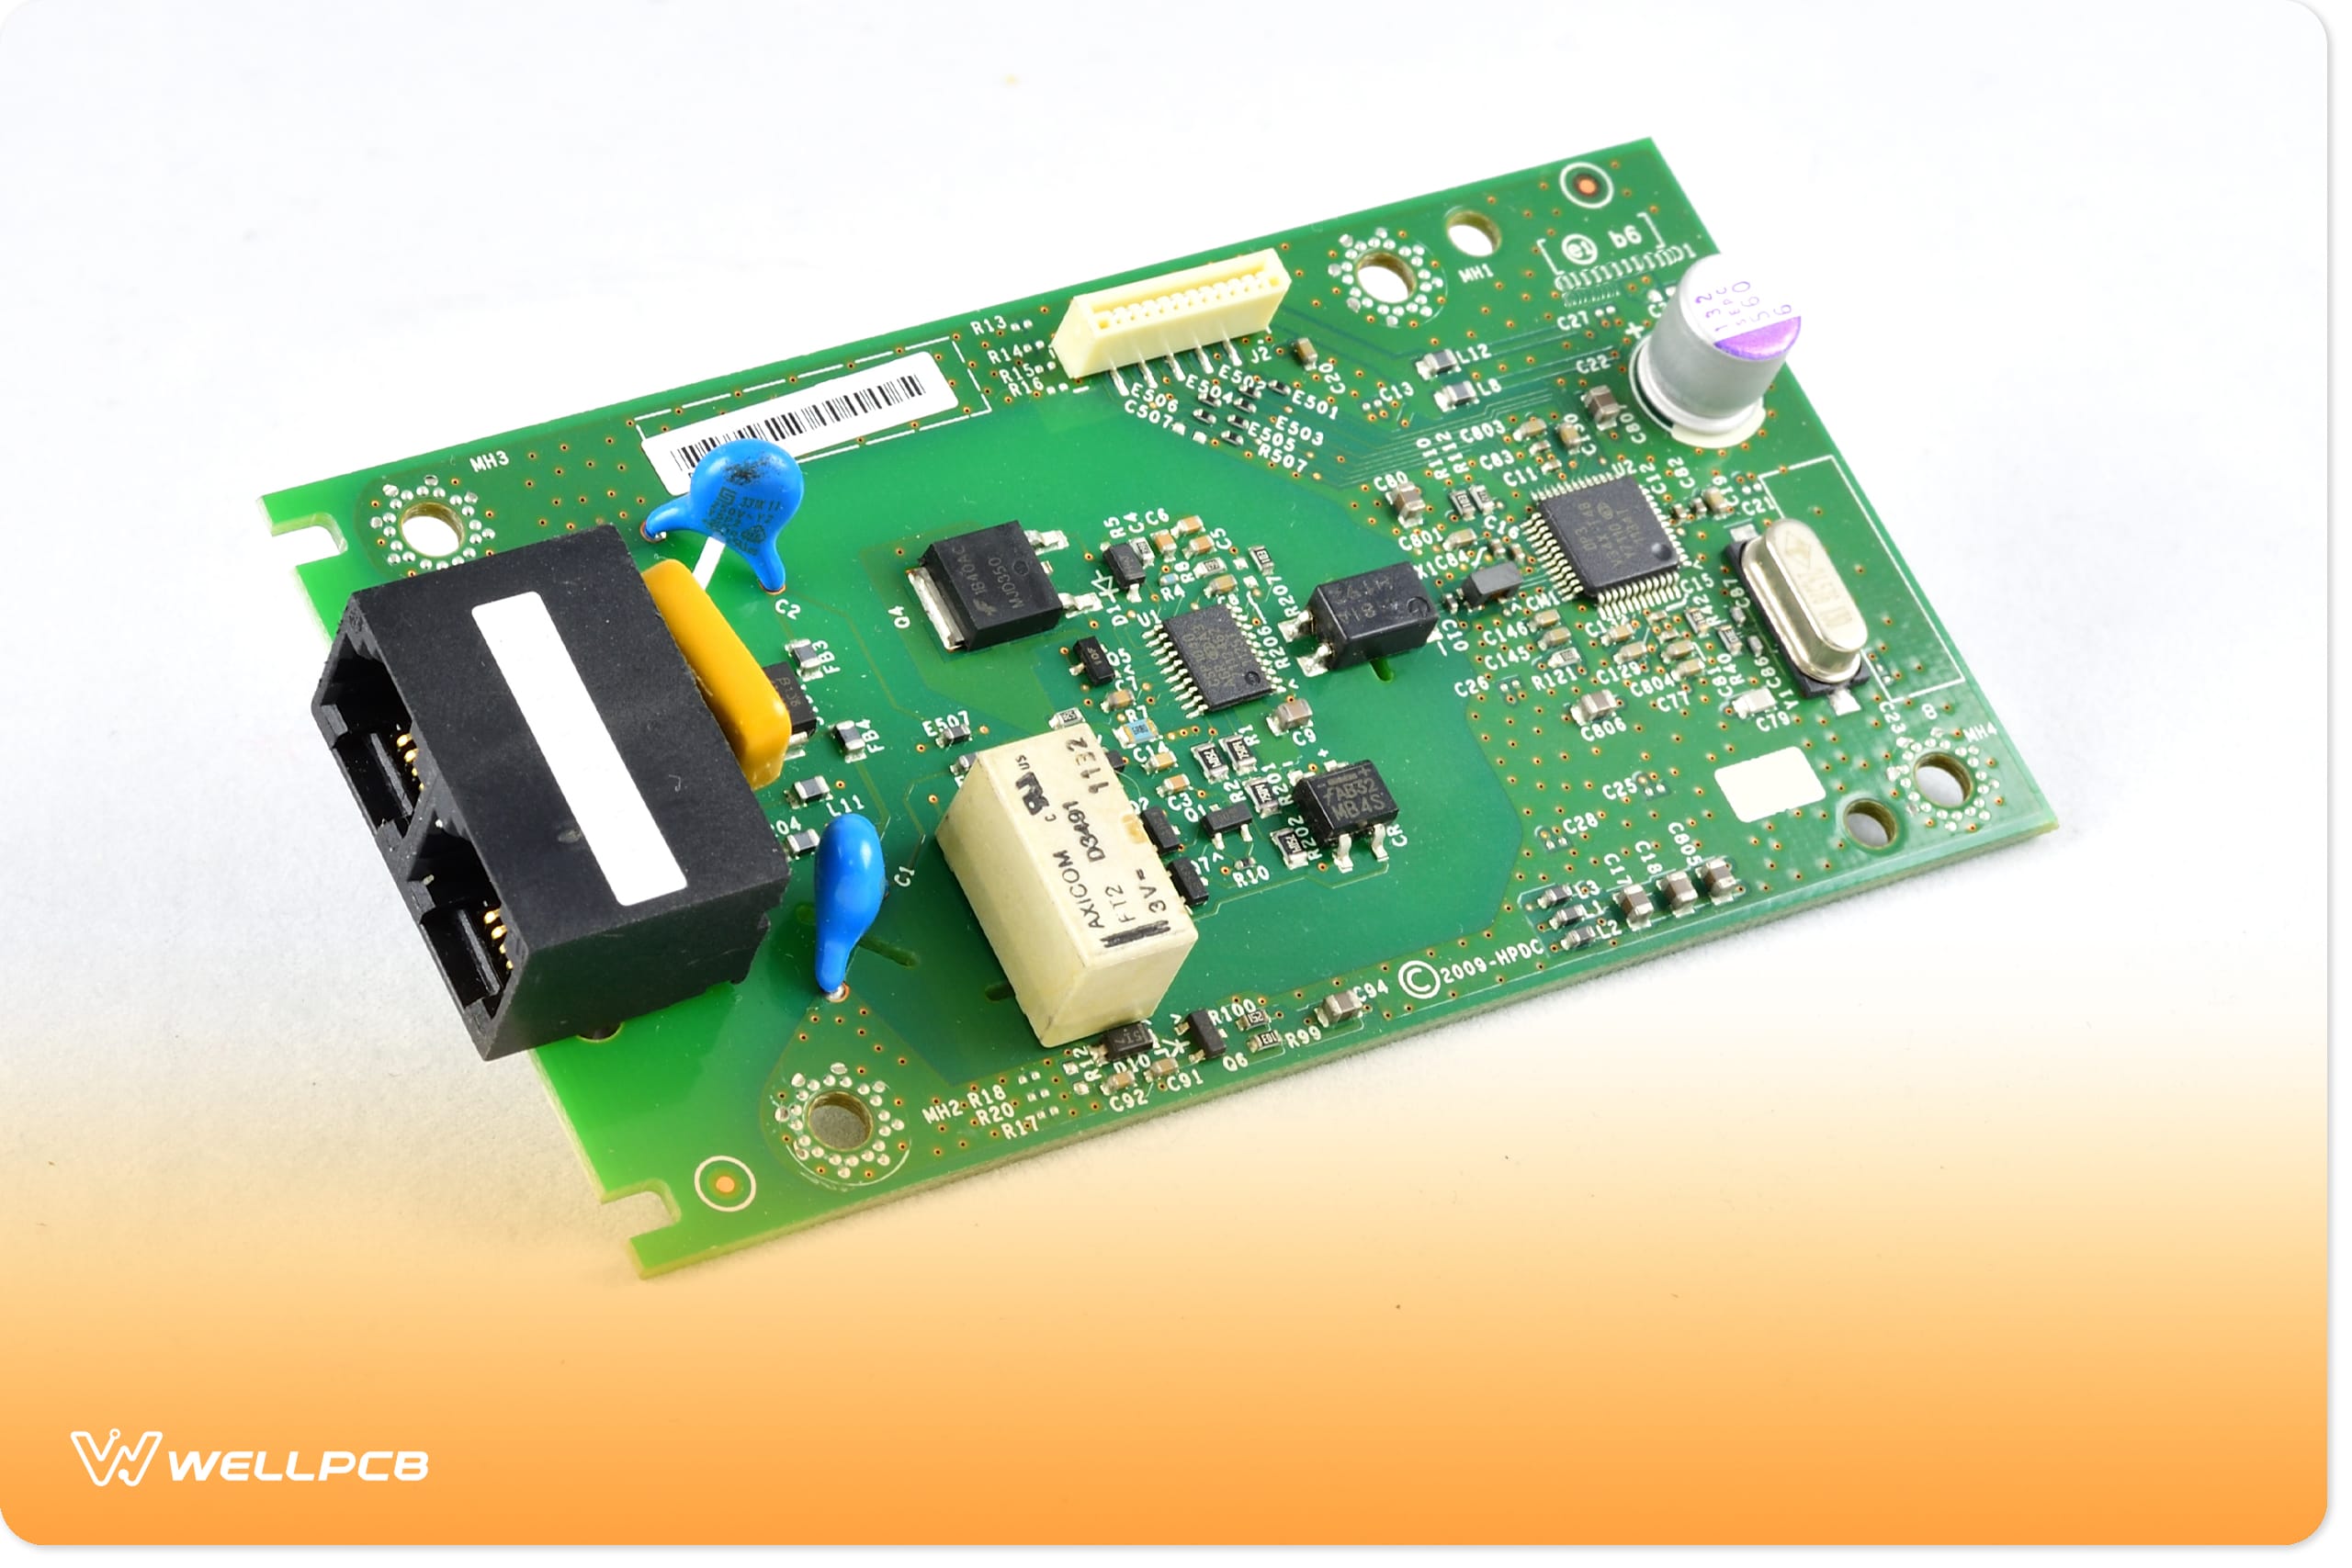
In addition to repairs, desoldering is a convenient way to modify a PCB. For instance, it allows for repositioning components to accommodate functionality upgrades, implement design improvements, free up space, correct errors, or boost performance.
Common Tools for Desoldering
Desoldering Pump
The desoldering pump (solder sucker) removes molten solder by suction. It’s ideal for solder bridges, component replacement, through-hole components, and large solder joints. However, it’s less effective for small joints or SMDs.
Desoldering Braid (Wick)
The desoldering braid, made of copper wire, absorbs melted solder when heated with a soldering iron. It’s precise and effective for small joints and tight spaces while being safer for components due to minimal heat exposure. Various widths and flux types suit different applications.
Other Tools
All-in-one solutions: These tools combine a desoldering function with a soldering iron, offering a versatile option. They often include either a desoldering bulb or a plunger, making them convenient for a variety of tasks.
Desoldering bulb: A rubber bulb that creates suction when squeezed. Upon releasing the bulb, it collects molten solder efficiently, though it’s best for basic applications.
Step-by-Step Guide to Using a Desoldering Pump

Desoldering pumps are simple to use and require minimal effort. Follow these steps to effectively remove solder using this tool.
Preparation
Start by cleaning your workstation with a microfiber cloth or compressed air to remove dust and debris. Ensure the area is well-lit so you can see the solder joints clearly. Keep your tools organized in trays or containers, ensuring easy access to your soldering iron, goggles, gloves, and desoldering pump.
Plug in the soldering iron and let it heat up to 300°C–350°C, depending on the type of solder. Once the iron has heated, apply a small amount of solder to the tip for better heat transfer and tip protection. When ready, apply the soldering iron to the solder joint and hold it in place until the solder melts into a liquid state.
Using the Pump
Before placing the pump over the molten solder, fully compress the plunger until it locks. Position the pump nozzle directly over the molten solder, ensuring it is aligned with precision. Press the button to release the plunger, creating suction that pulls the molten solder into the pump’s chamber.
Post-Desoldering
Finally, you should inspect the joint to confirm that all the solder has been removed. If any remains, repeat the process until the area is clear. Clean the desoldering pump by detaching the nozzle and clearing the chamber to ensure it is ready for future use.
Advantages and Disadvantages of Using a Desoldering Pump
A desoldering pump can be used again—even after removing solder—making it a cost-effective solution. It’s ideal for quickly removing large amounts of solder from through-hole components and is versatile enough to work in small areas and microscopic openings.
However, it struggles with tightly packed surface-mounted components, and its suction power may pose a risk of damaging delicate parts.

How to Detect and Repair Cold Solder Joints

Cold solder joints are a common problem that can disrupt circuit functionality and lead to further issues if not addressed. Repairing these faults quickly can help salvage both the component and PCB.
What is a Cold Solder Joint?
A cold solder joint forms when the solder fails to melt completely, often due to improper heating of the solder wire during the process.
It can also occur if the soldered pin or board is disturbed before the molten solder has solidified. These joints create weak or unreliable connections, compromising the circuit’s performance.
Detection Methods
Visual inspection
Cold solder joints often appear dull and form convex mounts on pins and board flex areas. They may also have a rough texture.
To spot them, use a magnifying lens to check solder joints for convex shapes or gaps that allow light to pass through the joints.
Rough or uneven solder surfaces may indicate insufficient heat application. If you’re unsure, gently tilt the component to check for detachment, which suggests a faulty joint.
Multimeter
Set your multimeter to measure resistance (Ω symbol) at 1K ohms. Connect the multimeter terminals to ensure it reads 0 ohms, indicating that the multimeter is functioning correctly. Next, connect the terminals across the solder joint.
Non-resistor components should display 0 ohms, while higher readings indicate a cold solder joint.
Switch the multimeter to continuity mode and connect the terminals across the joint. If the multimeter beeps, everything is working as intended. Anything else indicates discontinuity due to a cold solder joint.
Repairing Cold Solder Joints
Repairing a cold solder joint is relatively straightforward. Heat the joint with a soldering iron set to the appropriate temperature, and apply fresh solder as it heats.
Ensure the component and pad are properly heated so the solder flows naturally and forms a solid bond. Keep the joint stable while it cools to keep it from detaching.
Preventing Cold Solder Joints
To avoid cold solder joints, set your soldering iron to an optimal temperature for smooth, uniform solder flow. Don’t use too much heat, as this may damage the components.
Any sudden movements can lead to a weak bond or cold joint. You can also ensure strong connections by using fresh, high-quality solder with high-quality flux.
How to Remove Solder from Circuit Boards?
There are several ways to desolder your circuit board, ranging from machine-powered tools to manual methods. While most DIY projects require a desoldering pump and braid, the choice usually comes down to personal preference.
Methods for Surface-Mounted Components
Grinding and Scraping
This method is useful for precise work on fragile areas of a PCB. It’s also effective for cleaning up after the desolder process.
Use a pick, sharp knife, or scraper, and apply slight pressure on the excess solder or solder mask, carefully removing it without harming components or circuits.
Chemical Stripping
This technique involves applying a liquid chemical solvent to the solder using a brush or swab. It’s ideal for removing solder from copper plates or solder surfaces.
Protect the PCB using masking tape or other safeguards, as prolonged exposure to the solvent risks damaging the base material.
Microblasting
Microblasting is ideal for clearing solder from a large surface area. In this method, small bench-top systems propel abrasive materials through a pencil-shaped handpiece, effectively blasting away coatings. Be sure to flush the area afterward to remove debris.
Removing Solder from Through-Hole Components
Drilling
If a desoldering braid or bulb fails, a drill can remove solder from clogged PCB holes. Since many holes are 0.029 inches in diameter, always use a carbon, cobalt, or high-speed steel bit that’s sufficiently small. Oversized bits will remove tracing within the hole, damaging the board.
Drill slowly, applying minimal pressure to prevent piercing the circuit layers or rendering the board inoperable.
Using Desoldering Braid
Start by heating the solder iron and placing the braid over the old solder joint, covering it completely. Press the iron tip onto the braid to liquefy the solder, allowing the braid to absorb it.
Simultaneously remove the braid and iron, then inspect the joint to ensure no solder is left. Repeat if necessary until all residual solder is gone.
All-in-One Solutions
All-in-one desoldering units are typically more effective, as they simultaneously melt and vacuum the solder.
This significantly reduces the time needed for repair and rework. These tools offer adjustable temperature and suction power—making the process more precise and consistent.
They also reduce workspace clutter, enhancing efficiency and organization.
Removing Old Solder
Solder becomes harder to melt as it ages, especially using a soldering iron and solder sucker. However, as solder material hasn’t changed much since its invention, modern solder melts similarly to old solder.
This means that you can melt old solder by applying a layer of new solder, and then easily remove all of it using one of the desolder techniques mentioned above.
Safety Precautions and Best Practices for Desoldering
Following safety guidelines when desoldering minimizes risks and prevents damage to components. Below are key practices to ensure safety and effectiveness.
Handling High Temperatures
Ensure components cool down fully before reheating to prevent excessive heat build-up, allowing them to function as normal.
Use lower temperatures for sensitive components, such as ICs, to prevent accidental burns. Attaching a small heat sink to leads helps dissipate heat and protect sensitive parts.
Proper Tool Maintenance
A clean tip improves heat transfer, making the soldering process faster and more efficient. As such, remove oxidation and contaminants regularly to avoid complications.
Dirty tools can introduce debris, old solder, or flux into joints, potentially causing weak connections or short circuits. Maintain tools routinely to prevent corrosion and prolong their lifespan.
General Safety Tips
Desoldering generates hazardous fumes, so always ensure proper ventilation by turning on a fan or opening a window. If these measures aren’t sufficient, a fume extractor can filter harmful particles from the air.
Always wear appropriate safety gear. For instance, using a respirator, safety glasses, and heat-resistant gloves can shield you from fumes, solder splashes, and burns.
Conclusion
Desoldering pumps and braid wicks are the most commonly used techniques for removing solder, each with its specific strengths.
Braid wicks excel in precision, making them ideal for surface-mount components, while desoldering pumps are better suited for through-hole solder joints.
When removing solder, always take your time to minimize risks and protect the circuit. Consider the techniques to find the one best suited for your situation, and then follow all relevant best practices and safety measures.
Even for challenging techniques like drilling, a calm and steady approach will minimize the risk of damaging the circuit.
And always protect yourself from fumes, burns, and debris by wearing appropriate safety gear. By adhering to these practices, you’ll get the results you need while keeping yourself and your workspace safe.


