Contents
The Ease of PCB Design
Have you ever considered what type of printed circuit board you need? Do you have the perfect design in mind and only need a tool to turn your wishes into reality?
The abbreviation EDA stands for electronics design automation, and EasyEDA is a tool that will help you design the desired PCB quickly and effortlessly.
This software is perfect for you even if you don’t have a particular design.
It allows you to experiment with different layouts without paying a cent. The program is free, and you can run it online or download the software.
EasyEDA is the perfect PCB design software for beginners. Regardless of the effect you want to achieve with your board, this tool will be a convenient solution for your design.

How to Design a Schematic Diagram with EasyEDA

Would you like to learn how to design a schematic diagram in several simple steps? Take a look at this detailed EasyEDA tutorial and see how easy the software is to use!
Step 1: Choose the way to use the software
EasyEDA allows you to choose between online and offline modes. If you want to use the software immediately, you can run the Online Editor in a few seconds.
Otherwise, download the Desktop Client, available for Windows, Linux, and Mac.
The software’s core features are forever free. However, if you choose to subscribe, you can enjoy many useful additional perks.
Step 2: EasyEDA—Start a Project
Once you open EasyEDA, it is time to begin working on your schematic.
Start by initiating a new project:

And then pick an option to begin working on a New Schematic:

Step 3: EasyEDA—Placing Components
You will find a selection of components to place in your schema on the design. Setting the symbol on the project involves clicking on it in the menu and then putting it on the project.

Feel free to browse the library with numerous components spread across various categories. Users also have the option of searching for a particular element. All you have to do is type what you want to find.

It is time to choose a resistor. Once you have chosen one from the library, add it to the project.

Please note the Design Manager on the right side of the screen. To remove a component, you can easily do that by selecting it and pressing delete.
Step 4: EasyEDA—Joining the Components
The next step is joining resistors and components. All that takes is to hit the “W” button on the keyboard. That will open a wiring tool, which will help you to join everything:

We have the schematic ready now, and we should convert it to a design layout of your printed circuit board. Take a look where you can find the Convert option below:

Once the conversion completes, the screen will remind you of this one:

Step 5: Finalizing the Process
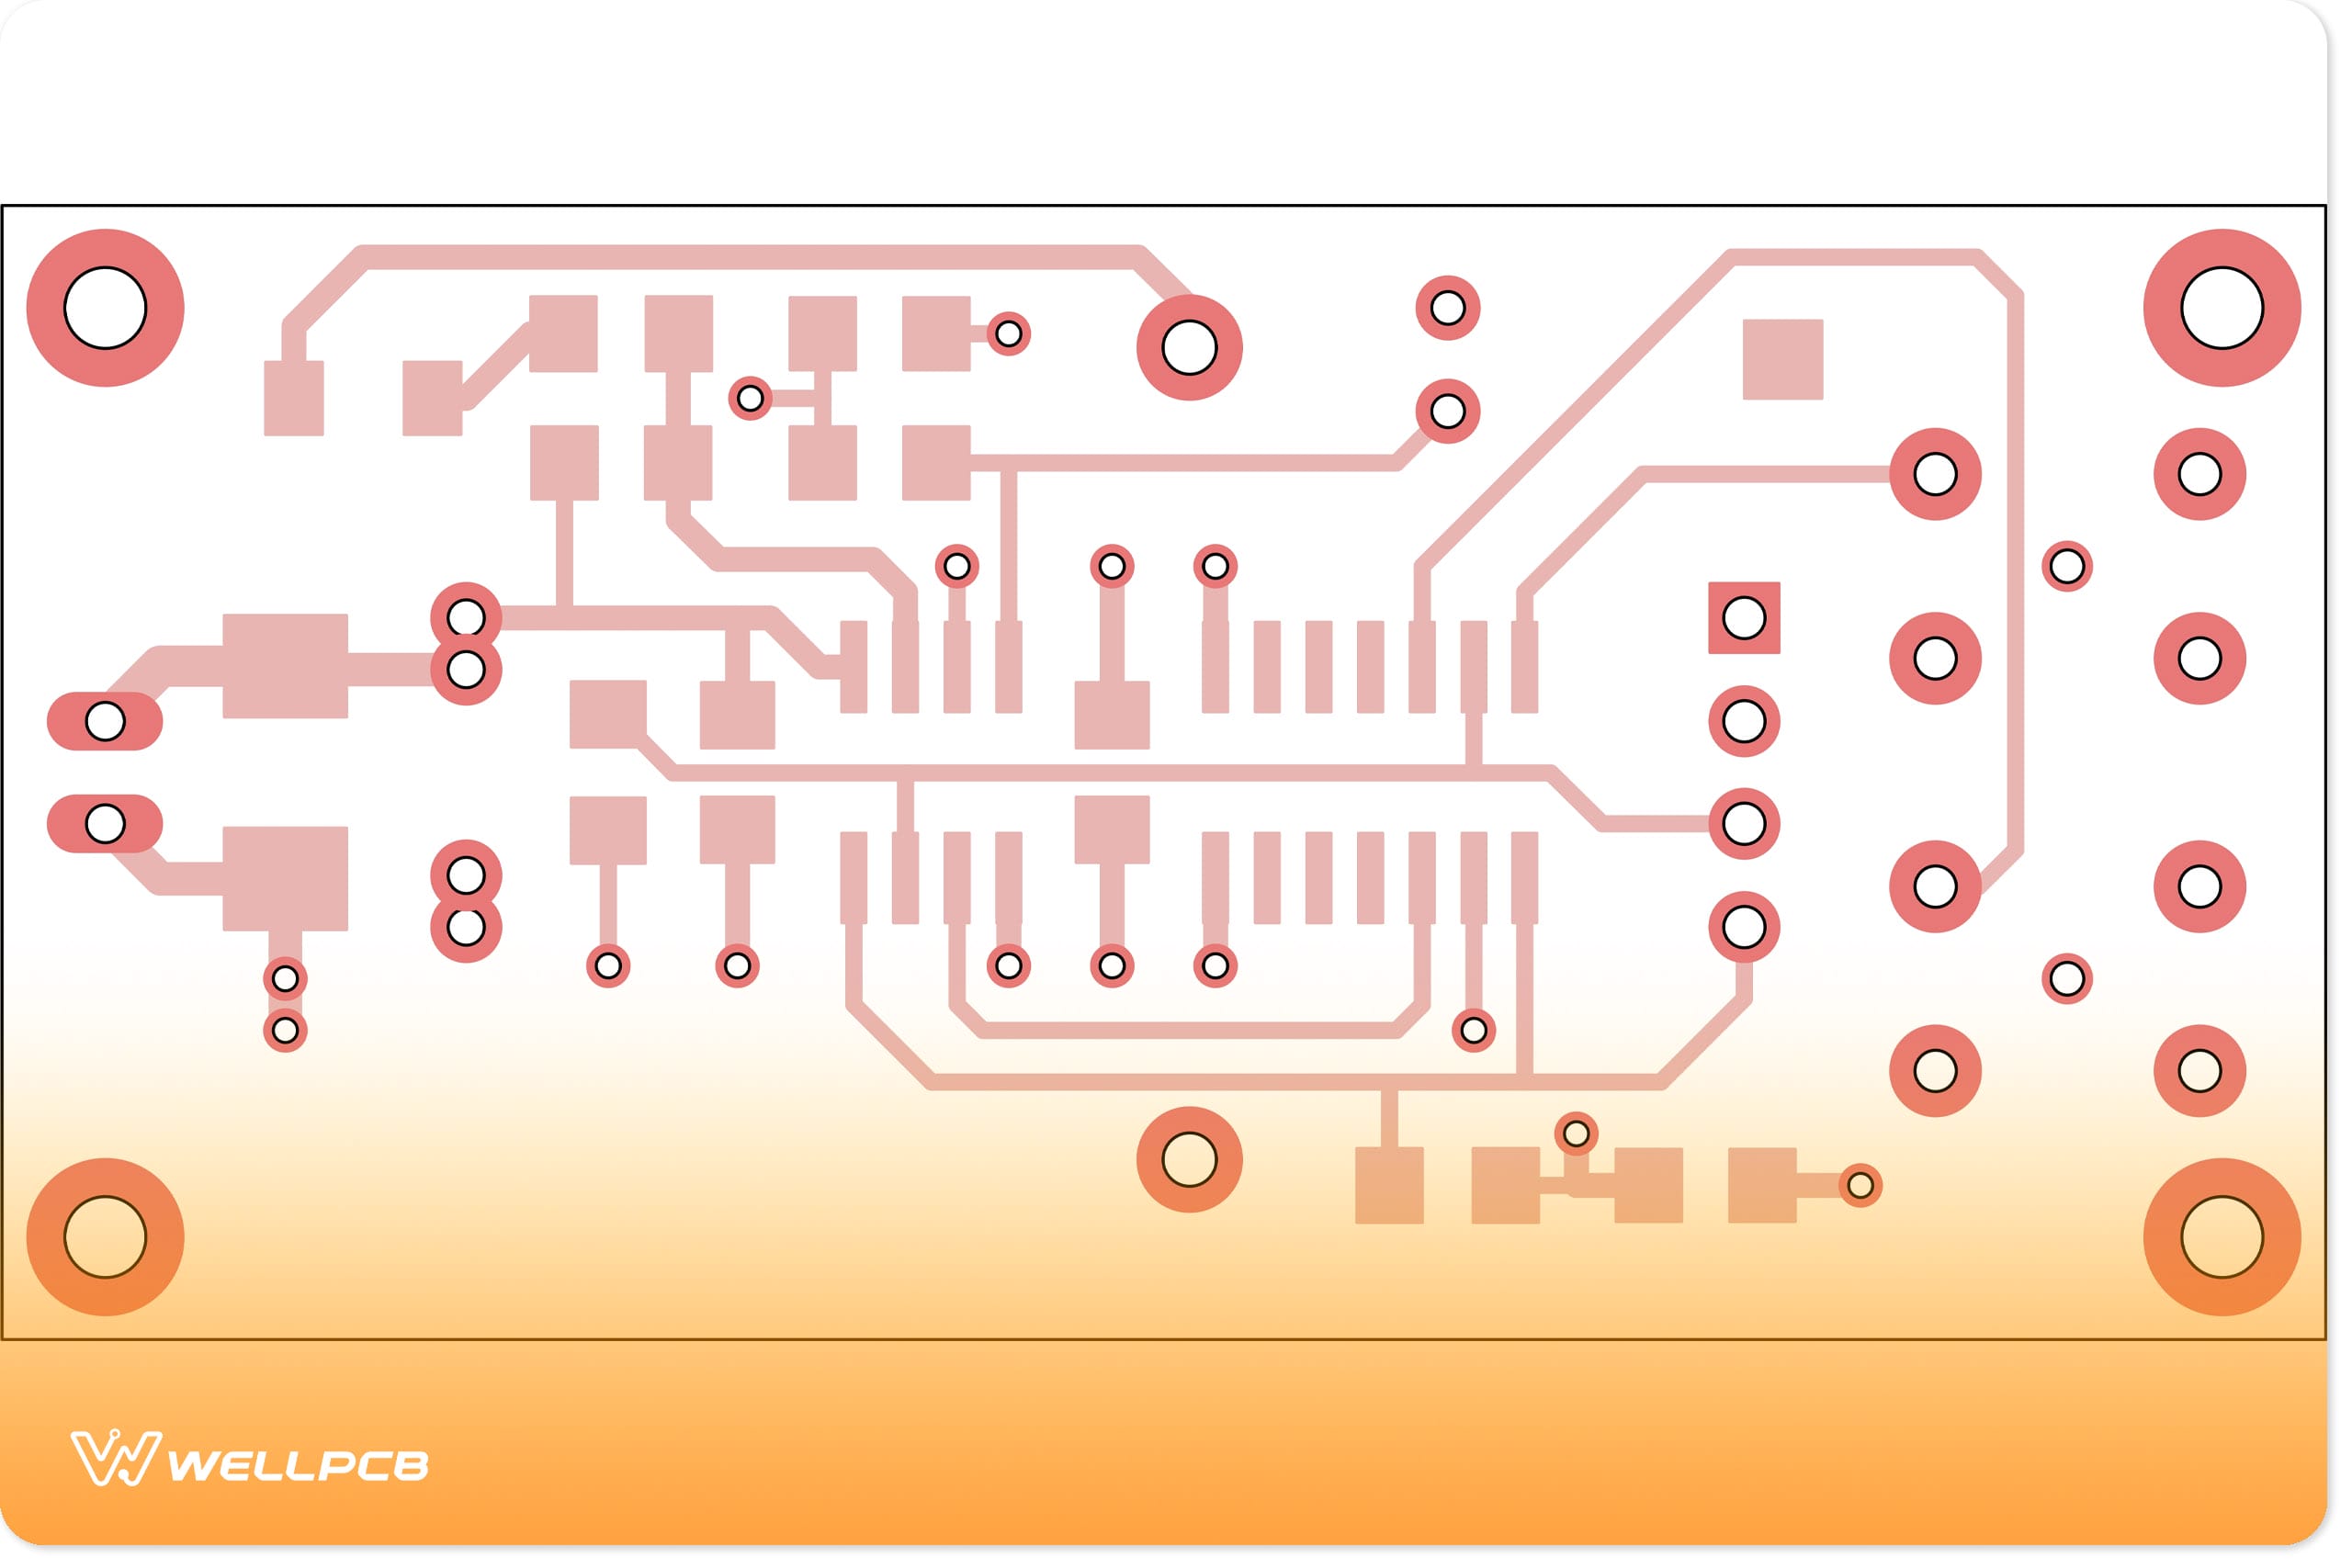
You should now position the desired components inside the edge of your PCB. Pick them and use PCB tools for connections. Here is where it all depends on how you want to connect the components, but here is an example:

If you click on Photo View, you can check out how your layout looks:

Another useful function of EasyEDA is to include solid copper at the board’s top layer.

Are you happy with the design? If the answer is yes, go ahead and save it.
Tip: You can also check this video tutorial posted online.
Advantages and Disadvantages of EasyEDA Compared to Other Software
EasyEDA offers some fantastic features, but is it the most reliable solution? Can it win the KiCad VS EasyEDA battle?
Here is an overview of the pros and cons of this software when compared to the alternatives.
EasyEDA–Advantages
- The tool is incredibly easy to use and beginner-friendly.
- A massive library of components that allows you to draw schematics quickly.
- You can download a desktop client for Windows, Linux, and Mac. But if you don’t want to install it on your PC, you can also run a free Online Editor with the same functions.
- EasyEDA imports schematics and other files from KiCad, Eagle, and other tools.
EasyEDA–Disadvantages
• It is a relatively new software that hasn’t been around as long as KiCad. However, it has been getting the attention it deserves lately.
What Do the Users Say About EasyEDA Software?

The best way to check a program’s quality is to see what existing users think. Here is a small part of the feedback provided by EasyEDA users.
We came across an EasyEDA review emphasizing the software’s simplicity. The learning curve is short; you should learn how things work in minutes.
Another user pinpoints the importance of a community-built database of components.
Thanks to that, you may encounter some unique components in this database that you can’t find anywhere else.
Finally, users also love the fact that EasyEDA supports multiple platforms.
It will be possible to use it on different Windows, Mac, or Linux versions.
You can also use the Online Editor to store all your cloud data.
Once you finish the design, sharing it with other users is possible.
Ordering Your PCB
Apart from putting you in charge and letting you design the desired PCB, EasyEDA enables simple ordering that only takes a couple of minutes.
Here is why you should order from EasyEDA:
- Professional staff with years of experience in the business.
- Experts capable of following your order to the smallest detail.
- State-of-the-art equipment is capable of handling the design of any complexity.
- Affordable rates for all users.
EasyEDA–How to Place an Order
You can order your printed circuit board by visiting the EasyEDA website. First, create a free account and log into it.
Using a desktop client, use the same data for logging in there.
Next, choose Fabrication Output:

The software will open a page on the EasyEDA website. From there, you can place an order and take advantage of the affordable rates offered.

Conclusion
As you can see, it is simple and enjoyable to use EasyEDA and place an order via the website.
In case you have any questions, you are welcome to contact us.
We are also looking forward to contacting you if you have your PCB design ready!