Have you heard of schematic capture programs that generate Gerber files, but you have no clue how it works? Or are you dealing with PCB projects and need to know more about generating these files with schematic capture programs? If yes, then you’re reading the right article.
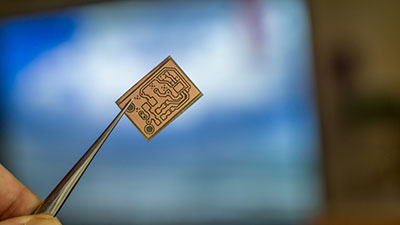
Gerber files are essential for PCB fabrication as they contain information about each conductive layer of a completed PCB design.
Plus, you can use four different schematic programs to generate Gerber files. Hence, this article will cover developing them on all four schematic capture programs.
Hang in there!
Contents
What are Gerber Files
The Gerber Scientific company (founded by Joseph Gerber) was the first to develop the Gerber files. Interestingly, the files usually have information about the design of your printed circuit board. Also, you can zip Gerber files into a single file before sending it to your PCB manufacturer.
Sometimes, Gerber files may include multiple layers depending on the PCB build, assembly, fabrication drawings, drill programs, and array layout.
Plus, your design must have a matching Gerber file for each artwork, ground, copper circuitry, or power layer. That way, manufacturers can create the needed pattern.
Additionally, most Gerber file names are descriptive enough for the manufacturer to know what board layer matches the File. In some cases, you can indicate plated and non-plated holes, blind and buried vias, and slots in different Gerber files.
Furthermore, these data files provide all the necessary data to generate two-dimensional and three-dimensional designs once you import them into the CAM engineering software. Plus, manufacturers use these CAM systems to create designs for production.
Also, manufacturers use the references and guidelines in the Gerber file to avoid errors when manipulating and entering the board data.
Gerber File Formats
Gerber files come in different formats ranging from the oldest form to the most recent. These file formats include:
RS274-D
The RS274-D is the oldest Gerber file format. Gerber Scientific first designed the RS274-D and made it work in NC (Numerical Control) form. Also, in the 1970s, it supported various photo plotters.
However, this Gerber file format was unsatisfactory, which led to the production of other forms. But, the device is famous for being the Standard Gerber.
RS274X
Since the standard Gerber had numerous flaws and drawbacks, a newly revised format came into the limelight in 1998. So, instead of the numerical control format, this revised version (RS274X) uses embedded units, data information, and structures.
Additionally, manufacturers can use multiple layer structures, special polygon fill commands, film control, and polarity controls with the RS274X format. Also, this version doesn’t require entering data manually, and it minimizes photo plotting errors.
ODB++
Valor released another self-extracting file format. This version was an all-inclusive and standardized input format. The ODB++ design also automates the stack-up process, labeling, and drill placement.
Unfortunately, the first version of this file format had complications with other software programs and lacked user-friendliness. But the later versions allowed most CAD programs to use ODB++ as an input.
Also, the ODB++ format didn’t give room for human errors by automating most of the processes. So, most people don’t like this format, but it’s still useful for PCB manufacturing.
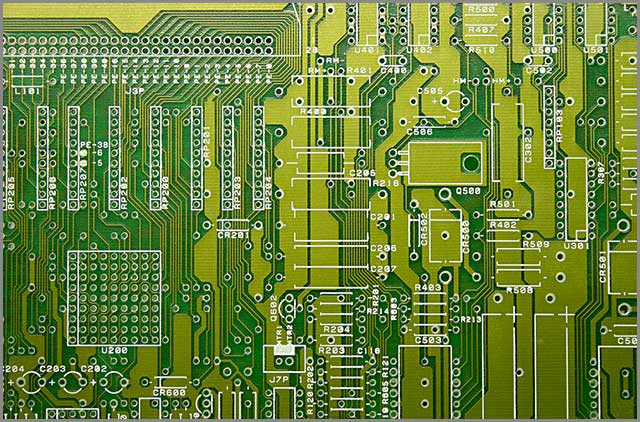
PCB
Gerber X2 Format
The Gerber X2 is the latest Gerber file format for more advanced CAM software. Also, the design allows you to assign attributes to features inside the Gerber file.
Interestingly, the CAM software interprets and implements these attributes while providing extra data for the CAM operator and fabricator.
How to Generate Gerber Files in Altium
There are two ways to create Gerber files in an Altium designer. While one is filled with complex processes, the other is simple and easy. For this article, we’ll only discuss the easy way that requires you to create Gerber files directly from your Altium PCB editor.
Once you have your PCB design, click on ‘File. Then, proceed to ‘Fabrication Outputs’ and the ‘Gerber Files.’
Afterward, you should see a configuration window that allows you to choose the layers you want to include in your Gerber file package.
While you’re at it, ensure you check the files for errors after exporting them. You can find some fundamental issues that may result in defective fabrication runs. Also, you can import the File to a new CAMtastic document and inspect the layer.
How to Generate Gerber Files in Eagle
With the Eagle design software, you can generate a Gerber file for each section of your PCB design.
The first thing you have to do is open your CAM processor. As a result, you can generate your File and define the sections of your designs. So, you can do this by either clicking on the CAM files button or navigating to “File, and click the CAM processor.”
You can use predefined jobs from myProto to make Gerber files creation easier. In the process, ensure you put your Porto files in the following directory: C:\EAGLE\cam.
Now, use your CAM processor to open your predefined job. As a result, you should see different tabs that generate a Gerber file.
Lastly, export your Gerber file types by processing them to your project directory folder. While you’re at it, check your output files for errors.

How to Generate Gerber Files in Cadence
Different schematic capture programs offer different ways to generate Gerber files. For instance, you can generate the files on a Cadence Allegro.
And you can do this by manually adding artwork layers for production. Text, click “Film Control,” and add your board outline and artwork layers by selecting “Add Manual.”
Then, move to your general parameters and set them according to preferences. You can now select the name of your film, and it’ll appear in the views drop-down list. Furthermore, you can generate the Gerber files by clicking ‘Export’ and ‘Gerber.’ The process should take you to the ‘Artwork Control Window.’
At this point, you can select your preferred layer files to generate Gerber files. You need to right-click the folder under the ‘Film Control’ tab. Next, move to ‘Domain Selection’ and click add.
Finally, enter a name for your Gerber file. So you can repeat the process to create Gerber files for all your layers.
How to Create Gerber Files in OrCad
When creating your PCB design, use the OrCad tool to inspect your parameters. If everything looks good, click export to select your Gerber parameters. While you’re at it, choose your parameters and click ‘Ok”.
When this is complete, click on ‘export’ to export parameters. Also, ensure you choose a suitable file format before clicking ‘Ok.’
Additionally, click on export and choose Gerber. Then, select your layers and create your artwork. Now, click ‘Ok’ when you’ve chosen the appropriate options.
Finally, click export again and choose NC drill. Then, adjust the settings and select ‘Drill.’ When you close your program, all your created Gerber files appear in your directory.
Final Words
If you want to create PCBs and even mass-produce them, Gerber files are the industry standard to follow. No doubt, Gerber files are vital because they give the exact graphic details of the PCB board.
Also, the designer of the PCB can easily send all the Gerber files in a zip folder to a manufacturer for building without having to watch the PCB manufacturing process. But, before you send any file, it’s crucial to check for errors to get the best quality PCBs.
Have any questions? Feel free to reach us, and we’ll be happy to help.