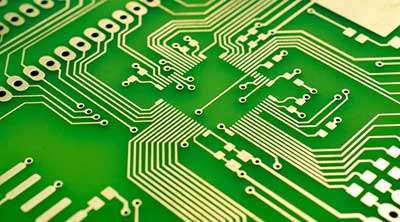
Under normal circumstances, the PCB design is printed indirectly on the board. It can be printed on glossy, magazine, or photo paper. It would be best to use a photocopying machine or a laser printer for PCB printing.
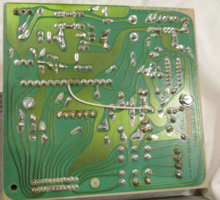
1. How to make sure PCB Printing Properly:
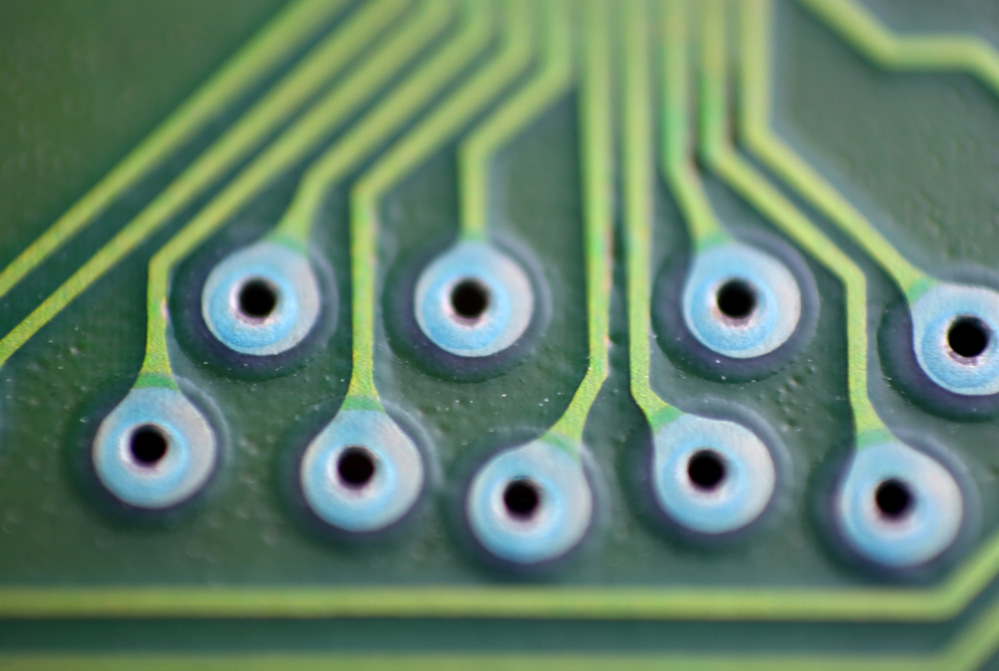
1. Customize the desired circuit board that you will need for the PCB printing.
2. When you have finished designing your circuit board, you can then iron the design you have printed over the copper side of your PCB. This procedure will ensure that the ink is transferred as it should.
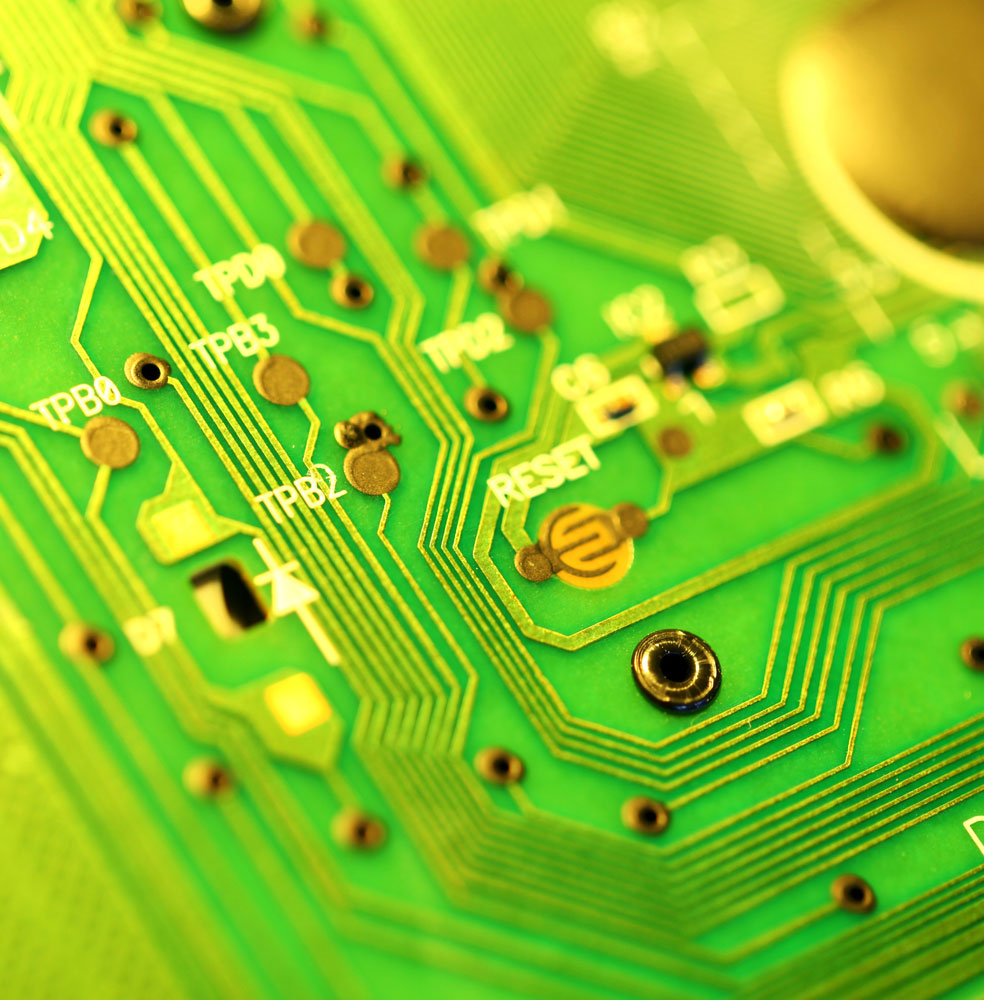
That is transferring the design that is on the glossy paper onto the PCB board.
The work of the ink in this process is to cover and protect the copper part, which is not supposed to be etched.
3. When you are through with transferring the ink onto the PCB board, you can then proceed to dip the PCB board into your etching solution, such as ferric chloride, for about 15 minutes.

4. Then, rinse the PCB board with water to clean out the solution used for the etching.
5. When you are through with the rinsing, remove any residual ink with a thinner. This will enable you to reveal the copper part that was un-etched.
6. When you are sure that the ink is removed, you can now drill holes for your components needed to be soldered on the board.
7. The final action you have to do for your PCB printing is to sell the components you have designed onto the customized board.

Note that the solution used for the etching is only active when it is used with metal and not ink. Therefore, you should transfer the ink onto the copper side of your PCB.
This ensures that your desired pattern will be etched on the PCB board while the ink is a part that wouldn’t.


