Contents
- 1 What are Medical PCBs?
- 2 Medical PCB Types
- 3 Medical PCB Technologies
- 4 Applications
- 5 Standards for the Design of Medical Electronic Devices
- 6 How to Design and Fabricate Medical PCBs
- 6.1 Step 1: Design your First Schematics
- 6.2 Step 2: Prepare the Board Layout
- 6.3 Step 3: Brainstorm and Include Crucial Factors
- 6.4 Step 4: Properly Split the Board’s Power
- 6.5 Step 5: Use Multiple Layers
- 6.6 Step 6: Review the BOM (Bill of Material) List
- 6.7 Step 7: Examine your Components
- 6.8 Step 8: Make an Alternative List of Components
- 6.9 Step 9: Map Out the Board’s Assembly
- 6.10 Step 10: Indicate your Design’s Test Points
- 6.11 Step 11: Build your Medical PCB Prototype
- 6.12 Step 12: Medical PCB Assembly
- 6.13 Step 13: Solder Paste Stenciling
- 6.14 Step 14: Component Placement
- 6.15 Step 15: Soldering Reflow
- 6.16 Step 16: Inspection and Quality Control
- 6.17 Step 17: Final Inspection and Functionality Test
- 7 Considerations for Populated Medical PCBs
- 8 Last Words
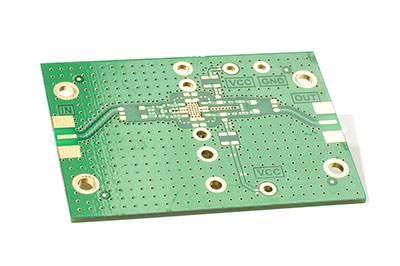
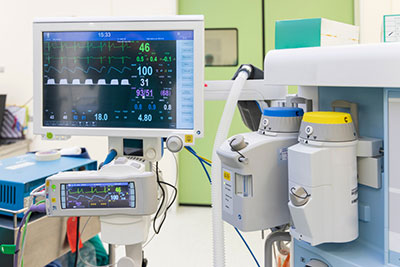
What are Medical PCBs?
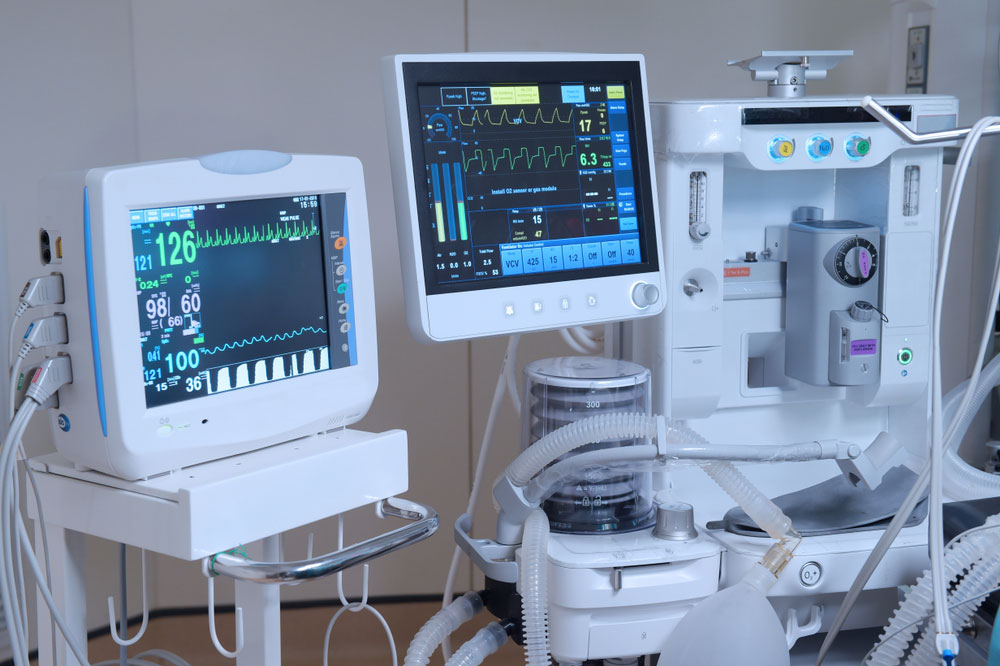
Medical devices
As the name implies, medical PCBs are boards used in the medical field. Additionally, these boards are incredibly accurate and precise.
Medical equipment and facilities are critical and must leave no room for errors. After all, an inaccurate medical PCB could risk the lives of many patients or cause unnecessary damage.
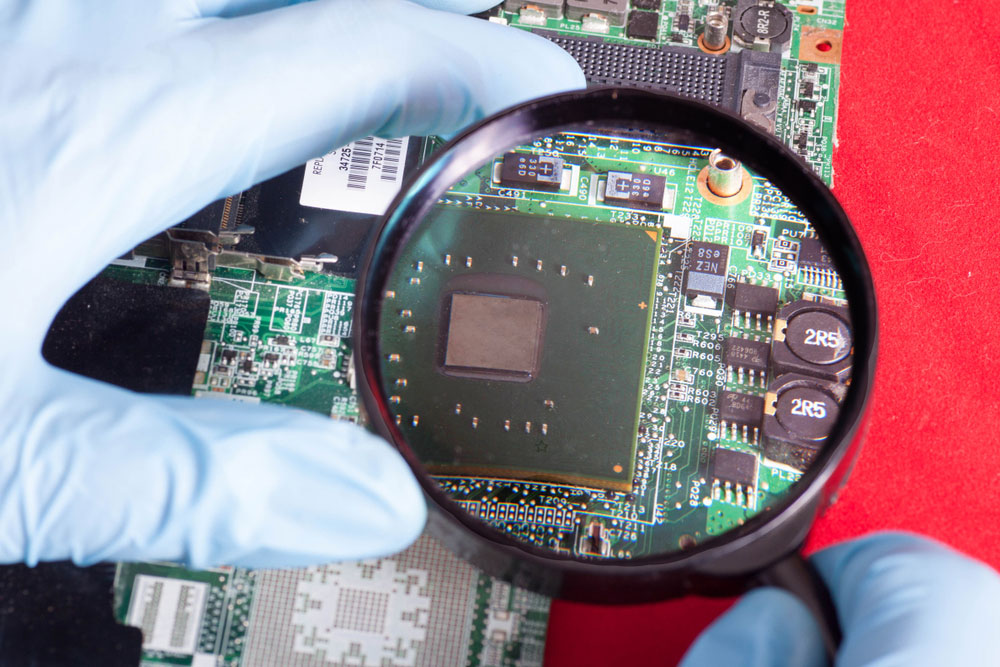
Medical PCB Types

PCB under inspection
Medical PCBs have various types, depending on the application. Here are some available variants:
Single-layer Medical PCBs
Let’s start with the most basic form of medical PCBs: Single-layer boards. These boards feature one substrate layer as the PCB’s main structure. Also, they have copper layers added on top of the substrate layer.
Lastly, manufacturers place a silkscreen on the board to indicate vital board details. Additionally, single-layer medical PCBs have all their components on one side of the layer.
Double Layer Medical PCBs
These include medical PCBs with two layers. Interestingly, both sides of the layers have copper coatings and holes for mounting electronic components.
Multiple-layer Medical PCBs
Medical PCBs under this category have more than two layers. So, you can mount components on each layer of these PCBs. Although multilayer PCBs have enough space, they can be heavy.
However, you won’t have to carry them around, so these PCBs are ideal for more complex and high-speed medical devices.
Rigid Medical PCBs
These medical PCB types use rigid materials that make them firm. Therefore, their bases are unbendable and strong enough to support several multi-faceted circuits. Also, it’s easier to preserve rigid medical PCBs than other PCB types.
Flexible Medical PCBs
Unlike their rigid counterparts, Flexible medical PCBs use pliable materials that give them bendable bases. Interestingly, flexible medical PCBs have different forms. So, you can get single, double, or multi-layered versions.
Rigid-Flex Medical PCBs
This PCB type combines rigid and flexible PCBs. Typically, it contains several flexible and rigid boards, depending on the application’s demand. These PCBs are also lightweight and space-efficient.
Medical PCB Technologies
PCB under magnifier
With more advancements permeating the medical world, medical PCBs use one or more of the following technologies below:
Free PCB DFM Services
It’s crucial to always do DFM checks for manufacturability before making any prototypes. Even the slightest errors in your designs could make you start all over.
But you can avoid such situations with reliable DFM services. The technology checks your designs for problems and gives accurate, in-depth feedback. Hence, you can avoid quality problems and delays before manufacturing.
IPC Class III Technology
During the manufacturing process, PCBs are categorized into three categories, each indicating a quality level. These categories include classes 1(lowest quality), 2, and 3 (highest quality).
Further, medical PCBs with IPC class II must lack annular ring breakouts. They must also have a minimum of 1mil plating through holes and tighter conductor and width spacing.
Different Laminate Types
Although FR-4 is the most used PCB laminate, many medical PCBs require other materials like Teflon, polyamide, and ceramic. These laminates are necessary for meeting the unique requirements of several medical applications.
Applications
Some medical PCB applications include:
- Scanning technology
- Control systems
- Internal medical devices
- Scientific instrumentation
- Wireless communication

Standards for the Design of Medical Electronic Devices

Medical PCB requirements
Several standards exist to regulate the design and manufacturing of printed circuit boards. And since medical devices are so sensitive, they have stricter regulations than other electronic products.
We can divide these standards into three types, including IPC, ISO, and FDA.
IPC Standards
IPC is a body that provides standards for regulating electronic component production and assembly. These crucial standards include:
- IPC-A-600: A standard specifying the acceptability of PCBs.
- IPC-A-6012: This standard indicates the PCB requirements for performance and qualification.
- IPC-A-610 specifies the acceptability of electronic assemblies and has different versions for soldering, cables, wire harnesses, and enclosures.
ISO
ISO stands for International Organization for Standardization. It’s a body that releases different standards for designing, manufacturing, and testing PCBs.
Some of these standards include:
- ISO 9000: A required standard for OEM certification. It approves the function and safety of medical equipment.
- ISO 13485:2016: An upgraded quality management standard for medical tech devices. This version focuses on risk-based decision-making and risk management.
FDA
The CDRH (Center for Devices and Radiological Health) under the FDA imposes laws on companies manufacturing, importing, repackaging, and re-labeling medical devices in the United States. The body also keeps track of products emitting radiation, like X-ray devices, ultrasound systems, and lasers.
Additionally, the FDA splits medical devices into three classifications:
- Class 1 includes low-risk instruments such as sunglasses, IV stands, and adhesive bandages.
- Class 2: Devices under this classification have intermediate risk levels. Generally, they include powered wheelchairs, syringes, surgical masks, and other instruments.
- Class 3: These are devices with high risk. Instruments under this category include neuromuscular implant stimulators and heart valves.
How to Design and Fabricate Medical PCBs
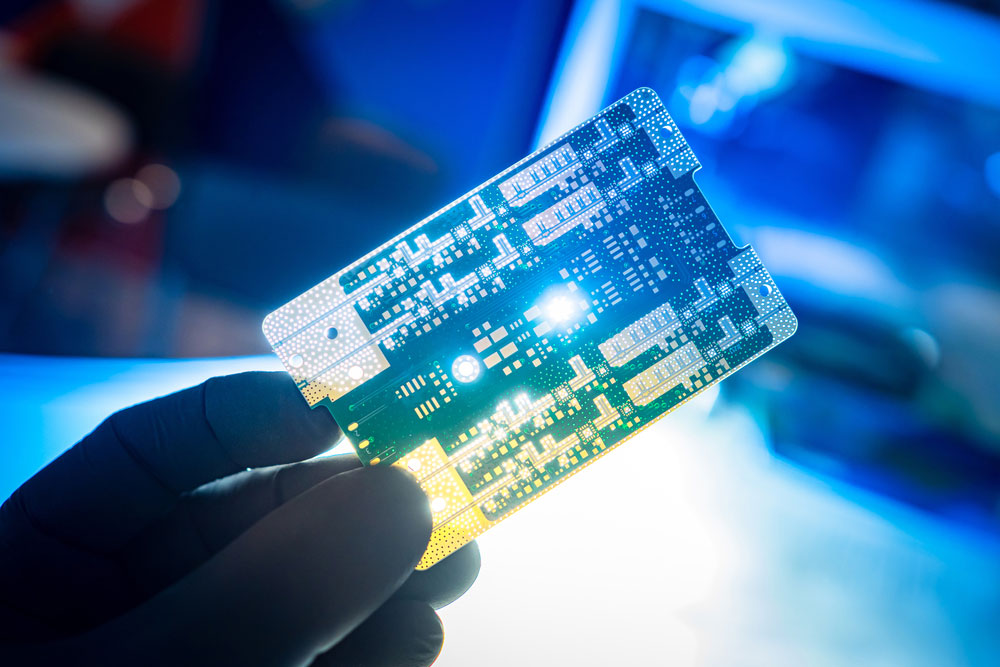
Hand holding PCB
Medical PCBs need careful design and fabrication strategies to ensure flawless operation. Let’s examine the steps to design and fabricate a high-quality and reliable medical PCB.
Step 1: Design your First Schematics
Proceed by designing your medical PCB’s initial schematics. Some of the things you should consider include PCB application, type, material, and power requirements. While at it, ensure they’re accurate to avoid future issues.
Step 2: Prepare the Board Layout
Next, prepare the board’s layout. At this stage, you can upload the schematics on the CAD software.
Step 3: Brainstorm and Include Crucial Factors
Producing an effective and accurate medical PCB requires several considerations. The factors to consider during the design stage include sequencing, pin selection & number, and split planes.
Step 4: Properly Split the Board’s Power
Splitting your PCB’s power helps reduce crosstalk and noise. Ensure you do this correctly for the best results.
Step 5: Use Multiple Layers
Multiple layers on your PCB’s base help decrease noise and SNR levels, while multi-layered medical PCBs boast increased reliability and performance.
Step 6: Review the BOM (Bill of Material) List
Next, check out your medical PCB’s BOM list. It should include all the PCB parts and materials.
Step 7: Examine your Components
Check your components thoroughly to ensure they meet the medical PCB design requirements.
Step 8: Make an Alternative List of Components
It’s good practice to prepare for the worst. An alternative component list will save you trouble if specific components don’t meet the requirements.
Step 9: Map Out the Board’s Assembly
Medical PCB assembly is a complex process. Also, medical PCBs are sensitive and require accuracy.
So, it’s best to draw the assembly process for your designs to avoid assembly-related issues.
Step 10: Indicate your Design’s Test Points
Ensure you show all possible test points when designing your medical PCB. Consequently, it will help make the testing process more efficient and eliminate errors.
Step 11: Build your Medical PCB Prototype
Build a prototype first before producing your design in large quantities. PCB prototypes help manufacturers determine the board’s success and shortcomings before production.
Check out the processes involved in prototyping medical PCBs below:
- Create a medical PCB design.
- Draw the schematics.
- Build a routing design.
- Generate a photo film.
- Print the board’s inner layers.
- Fuse the layers.
- Drill the holes.
- Image the board’s outer layers.
- Add copper plating.
- Use tin plating.
- Etch the traces.
- Apply solder mask.
- Use surface finishing.
- Apply a silkscreen.
Step 12: Medical PCB Assembly
PCB assembly comes after design and fabrication. During this process, you can solder several components on the board. However, you need to consider critical factors before the assembly.
These factors include PCB part characteristics, board function, and PCB type. Also, we recommend conducting a manufacturability test before assembling the PCB.
Step 13: Solder Paste Stenciling
This process involves using a stencil to cover your board, leaving only the area for mounting components. As a result, you can apply solder pastes in vital places only.
Step 14: Component Placement
You can use a robotic device to place SMD components on the solder paste.
Step 15: Soldering Reflow
Medical PCBs need soldering reflow to ensure board joints and electronic components. Then, you can move the board through a reflow oven and heat it to about 2500 degrees Celcius.
After the solder paste melts, you can pass the board through coolers to resolve the paste.
Step 16: Inspection and Quality Control
Next, thoroughly inspect the assembled PCB to find and correct any issues. These inspections usually include X-rays and manual and automatic optical checks.
Step 17: Final Inspection and Functionality Test
You to check the board thoroughly, ensuring it meets the medical field standards. After approval, you can wash the board to remove flux, oil, and other dirt, making the medical PCB clean and suitable.
Considerations for Populated Medical PCBs
Here are the factors to consider when designing and assembling medical circuit boards:
- Regulatory compliance
- Production timeline
- Reliability
- Safety
- Cleanliness
- Accessibility
Last Words
Designing medical PCBs requires special attention and accuracy. After all, these boards are useful for devices that work on the human body, so they have stricter standards and regulations to prevent fatal damage.
Regardless, medical PCBs offer fantastic benefits to the medical field. They can build devices that monitor health conditions constantly and make recording data faster.
We recommend working with a PCB manufacturer with experience fabricating medical PCBs. This will help avoid project delays and unwanted errors.
Do you have any questions? Be sure to contact us, and we’ll be happy to help.