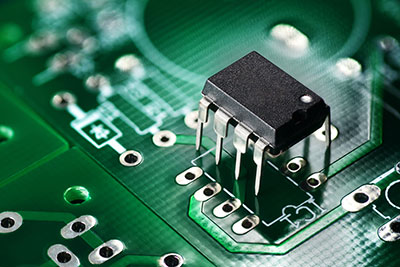
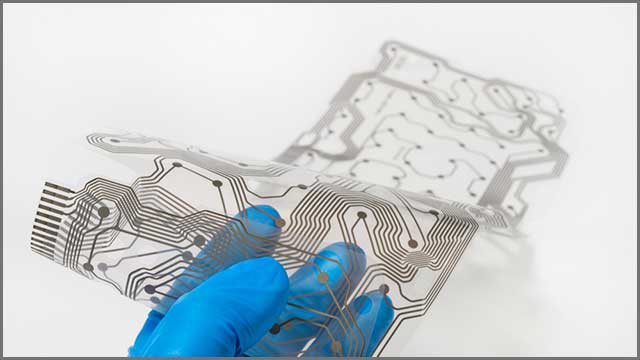
The long road that flexible circuit boards have passed until today is fantastic. From a cumbersome solution, the industry progressed to a level where they can offer boards of different sizes and flexibility. In this article, we are focusing on the secrets behind flexible PCB and its assembly technology. Our goal is to dig into details and get you familiar with the entire manufacturing process.
Are you ready to improve your knowledge? In that case, start reading right away and learn how to maximize your PCB assembly and performance!
Contents
- 1 1. How to Distinguish the Different Flexible PCB Structure
- 2 2. Essential Things to Know About Flexible PCB Materials
- 3 3. Flexible PCB–Starting the Assembly Process
- 4 4. It’s Time for Cleaning and Plating
- 5 5. Everything You Should Know About Etching and Lamination
- 6 6. Completing the Assembly Process of a Flexible PCB
- 7 7. How to Choose the Right Company for Your PCB Needs
- 8 Conclusion
1. How to Distinguish the Different Flexible PCB Structure
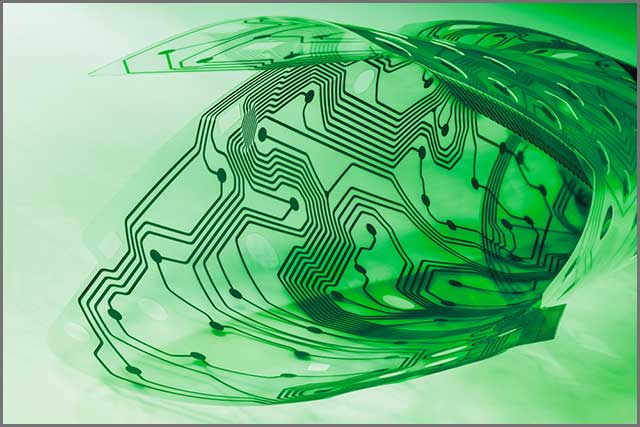
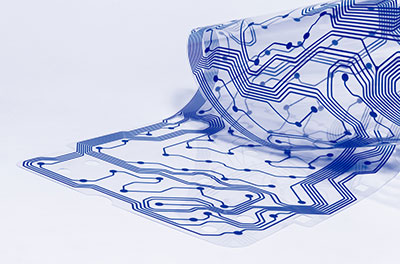
Nobody thought about flexibility at first, and all you had at your disposal were standard printed circuit boards. These are rigid, and you cannot flex them, but they can still do a good job.
However, the increased demand for various consumer electronics products and the development of wearable technology led to flexible printed circuit boards.
The flexibility has gone a long way since then because it resolved all initial problems related to stability. Today, flexible PCBs are reliable, and they can meet and exceed performance expectations.
Here is an overview of the three standard PCB structures:
• Single side – these are as simple as they can get for flexible boards, but they can still be a suitable solution for some applications. It involves putting flexible materials only on one side of the board.
• Double-side – you will face more challenges when designing and assembling them, but they will return the favor with high performance.
• Multiple layers – as the word suggests, you use multiple layers for the structure of this board. It is challenging to assemble, but it is incredibly versatile.
The industry experts are also designing flex-rigid printed circuit boards. These combine rigid and flexible materials. Although they have a limited amount of flexibility, they might have some other advantages.
2. Essential Things to Know About Flexible PCB Materials
Now that we’ve discussed different structures of printed circuit boards, it is time to talk materials. You can follow the assembly process up to the smallest detail; it won’t be worth much if you picked the wrong materials for your base substrates and other components. That is why you want to make the choices that will maximize the durability and lifespan of your flexible PCB.
You start with the primary material, and you can’t go wrong with polyester or polyimide there. The entire idea is to secure optimal performance in terms of mechanical and electrical characteristics.
If you are wondering why you should choose polyimide, its main advantage is that it is non-flammable. Of course, that by itself wouldn’t be worth a lot. Still, the trick is that polyimide manages to stay fire-resistant and deliver reliable performance in terms of physical and electrical properties.
Polyimide also has better elongation properties, as well as a lower factor of dielectric loss. You may go with polyester to keep the costs low, but you should stick to PI if you want the most out of your application.
3. Flexible PCB–Starting the Assembly Process
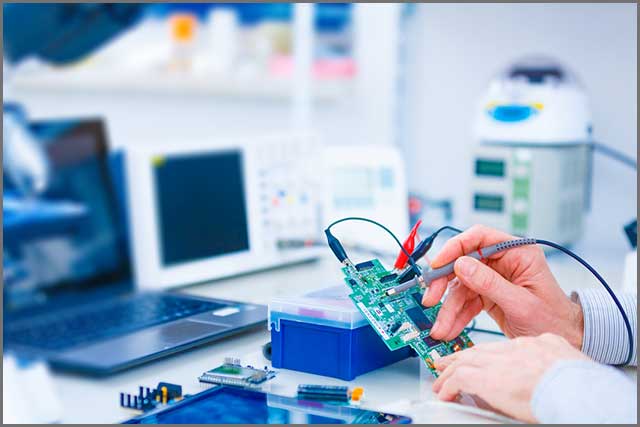
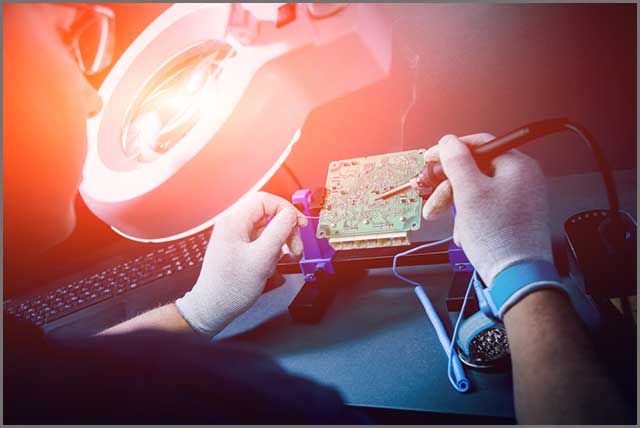
Once you select the materials, it is time to begin the assembly process. The first step is blanking, which involves preparing the materials you will need. You want to thoroughly prepare and think ahead, which means you should also get auxiliary materials ready.
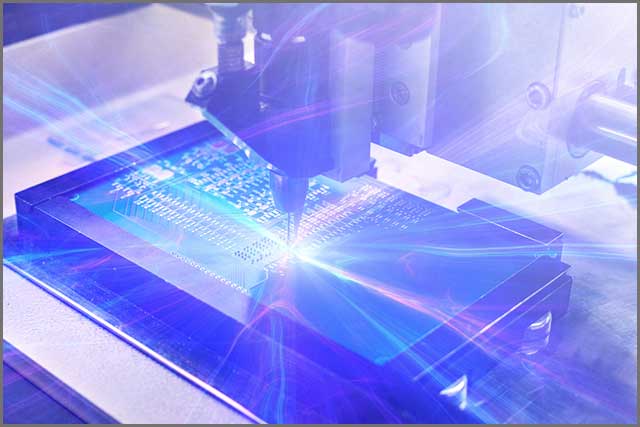
The next thing you should do is drilling. Although you can design homemade printed circuit boards, it is not recommended for amateurs to drill for professional applications. That will require an expert who knows how to deal with soft and thin materials. The idea is to drill the components without damaging them or compromising their performance.
That is why you may want to consider stacking the board before drilling. If you get all the pieces of a cladding layer together, you will achieve higher thickness, minimizing the risk of damaging the components while drilling.
4. It’s Time for Cleaning and Plating
Have you completed the drilling process successfully? If the answer is yes, you should clean the material first. The chances are drilling left some residue or dirt, and you don’t want that on your board. Once again, allow us to remind you that you are dealing with compact components, which is why adequate care is necessary to keep them damage-free.
Once your board is clean, it’s time for pattern plating. If you go with electroless plating, you want to apply a suitable solution before treating the board. The most common choice is acidic colloid palladium, but you can also consult professionals who suggest a better alternative for your application. While working, make sure to have adequate reaction time and speed, or you may face material swelling.
Keep in mind that electrical plating may be a better option than electroless plating. The reason is improved flexibility and mechanical characteristics. Thanks to that, this plating ensures enhanced thermal resistance. If you are doing electrical plating, you want to thicken the panel to improve coating integrity.
It would help if you also cleaned the board after plating. If you eliminate any residue, it is time for the imaging process. This approach is similar to the one used in ordinary boards.

5. Everything You Should Know About Etching and Lamination
It is now time for the etching process. If you are designing a flex-rigid board, you should connect rigid and flexible layers on the front side of the elastic material. It is vital to keep in mind the transmission direction, pressure, and position of the etching itself. You want to keep the etching direction throughout the entire process.
After completing the etching, it is time for surface treatment as that can enhance the binding capabilities. Next, grab the cladding layer, and put them into their designated place.
The experts recommend baking the cladding layer and the board because they vary in humidity absorption potential. You can use a baking oven and place the components there for a couple of days. Another piece of advice is that the total height of your stack-up design shouldn’t be above 25mm, as that can affect its performance and reliability.
5.1. What You Should Know About Lamination
The PCB lamination requires you to keep the optimal heating rate. The experts recommend taking about 10-20 minutes to reach a 170C temperature.
The next consideration is lamination time, and if you use full pressure, the estimation of the net pressure time is around an hour. However, you also want to ensure that you can reach maximum pressure in up to eight seconds. Finally, it would be best if you kept the tension between 150N and 300N/cm2.
Now, it is vital to choose a suitable gasket material, such as PVC film or polyethylene. The characteristics you want to keep in mind include formability (as high as possible), fluidity (as low as possible), and maintaining its shape. The last means that your material won’t lose its size while cooling.
6. Completing the Assembly Process of a Flexible PCB
We are getting close to finalizing the assembly of our flexible PCB. The remaining steps include baking the board and hot melting. The board must stay dry, so don’t get it wet. You also want to put the board through sharp processing to get rid of any moisture.
The manufacturers will probably take care of proper packaging and shipping. However, it would help if you still double-checked with the company on how they plan to pack your boards. Your boards must stay damage-free during transport.
7. How to Choose the Right Company for Your PCB Needs
The crucial thing to consider when picking a manufacturer is to find a company that will listen to your desires and requests. You probably have a specific idea for your application, and the manufacturer needs to give its best to turn those wishes into reality. If that is not possible, they also need to point that out and suggest an alternative.
The company needs to have access to premium and accessible materials and own modern equipment capable of assembling even advanced boards.
On top of that, you want a manufacturer that makes striking a deal with them easy. That includes providing great quotes, affordable prices, and swift delivery. You can ask the company about the projects they have worked on and the skills of the engineers. If you have a complex PCB structure, you want professionals to handle the assembly and design a high-performing and reliable board.
Conclusion
Our article explained the entire assembly process and the technologies used for flexible PCBs. The assembly will depend on the preferred structure of the board and the materials you use. Although you need to consider your budget, you should primarily think about the performance and trustworthiness of your board. Top-class manufacturers can help you throughout the entire process and ensure that the design and assembly are a perfect deal.
Our article explained the entire assembly process and the technologies used for flexible PCBs. The assembly will depend on the preferred structure of the board and the materials you use. Although you need to consider your budget, you should primarily think about the performance and trustworthiness of your board. Top-class manufacturers can help you throughout the entire process and ensure that the design and assembly are a perfect deal.